Breaking News

Add Embroidery Designs to Wilcom Clipart

Clipart

Clipart is a convenient way to store and add embroidery files to your designs.
Clipart is usually used for generic type files that can be re used in more than one design.
But you can add any file or part of a file that you create yourself to Clipart.
The Clipart icon is found in the Docker Toolbar.
Once the clipart folder is open simply left click hold and drag a file to the work area.
These are vector files and as such can be resized and manipulated  and the properties will preserve the quality of the design.
Using a file from clipart is straight forward but what may be a little obscure is how to save a file to clipart.

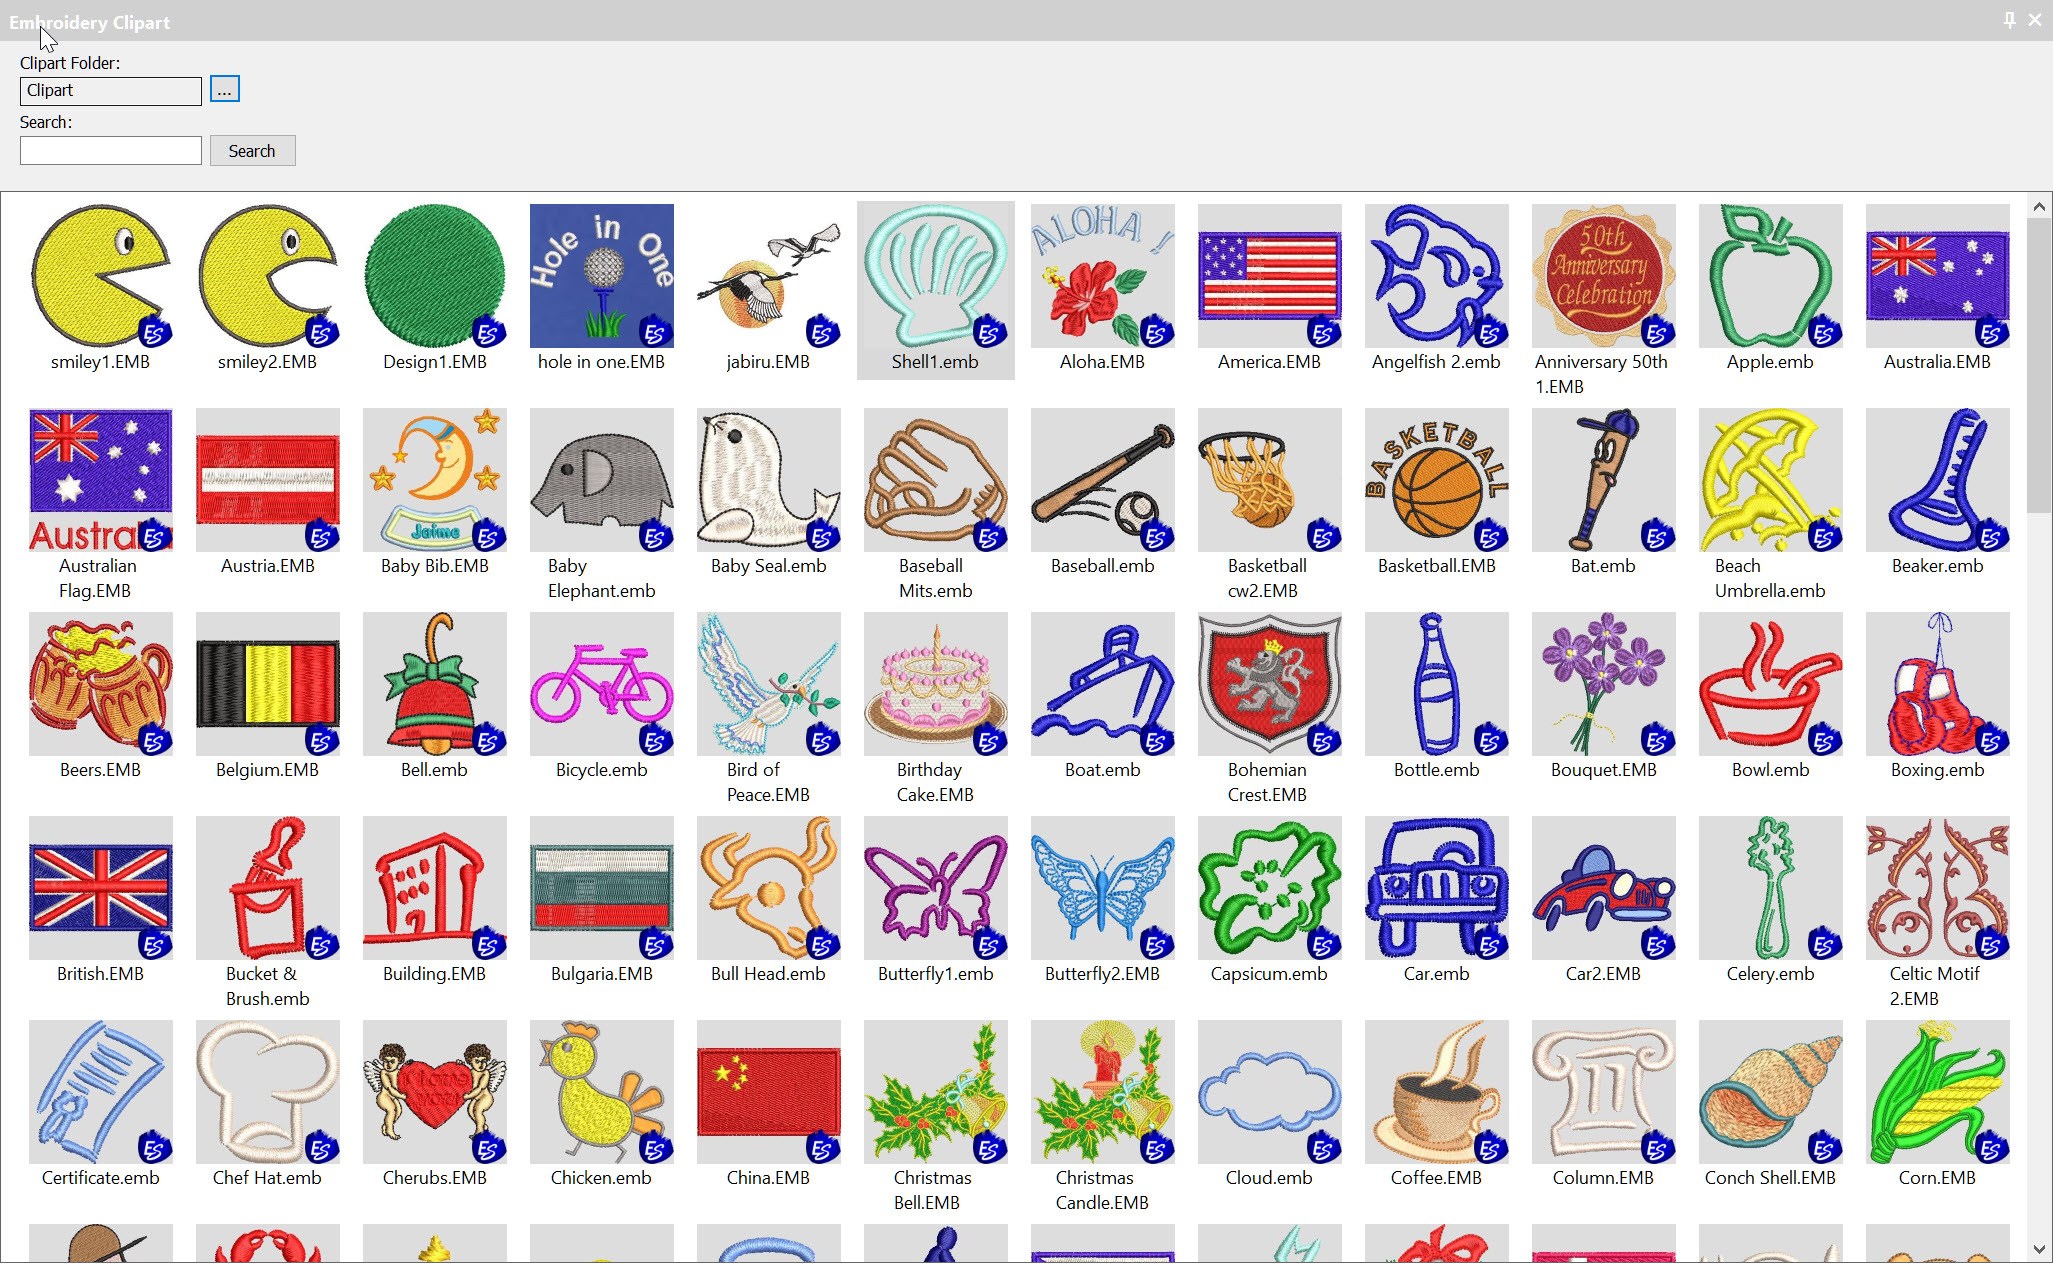
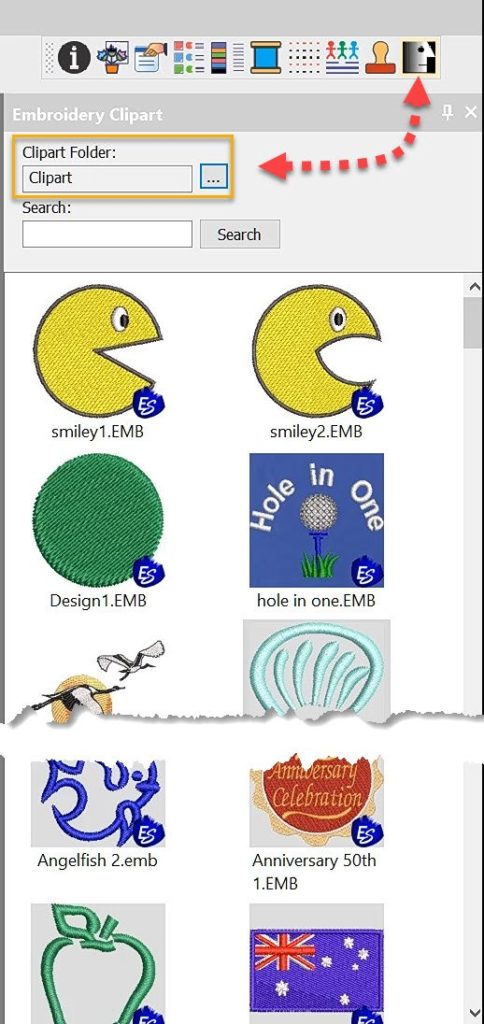
To save a file to clipart is the same as saving any other file, the obscure bit is the location of the folder.

C:\Users\Public\Public Embroidery\EmbroideryStudio e4\Clipart

Quite a bit to remember each time you wish to save a file! But creating a Quick Access shortcut saves time and makes the saving process obvious.

Navigate to the file with your Windows File Explorer, locate the file and right click and select Pin to Quick Access.

Once added left click and hold and drag the shortcut  to a location in the list that suits you.

3 thoughts on “Add Embroidery Designs to Wilcom Clipart

  1. Thank you for the new video. Great as usual!
    Can you do one to show how to change the orientation of doing a motif run? If you have a run line and you create open offsets, and change one to a motif run, it can come in upside down or going the wrong direction.
    Thank you

Leave a Reply to John Wright Cancel reply

Your email address will not be published. Required fields are marked *