When learning to digitize I think it is important to begin with simple designs, after all even the most complicated embroidery design is created with a few simple tools and a few stitch types.
Understanding the basics while creating a manageable design will make your learning more enjoyable and at the end of the day you will learn more quickly.
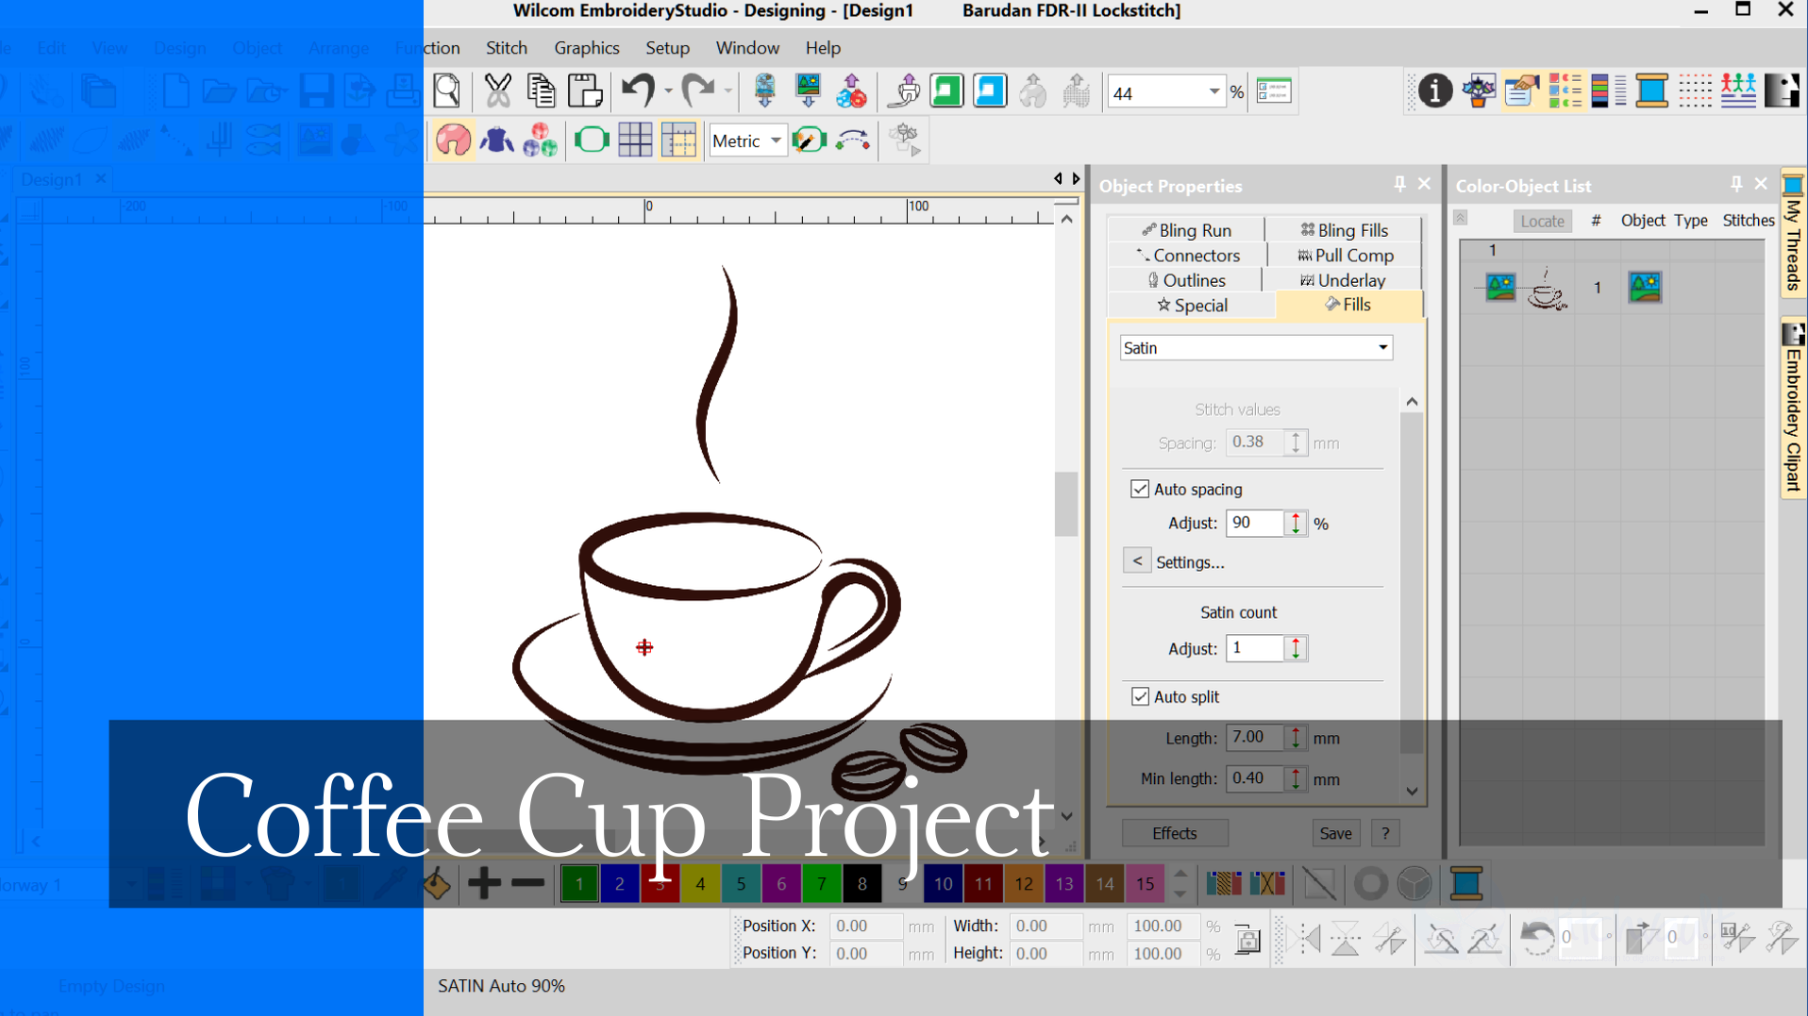
In this coffee cup design I want you to think about the logical sequence of objects to avoid thread trims and the use of a run stitch for detail and as a connecting stitch between to otherwise unconnected objects.
The Tools used will be.
- Outline Run tool
- Back track
- Column A
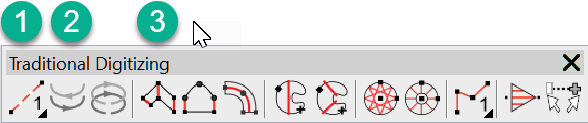
Traditional Toolbar
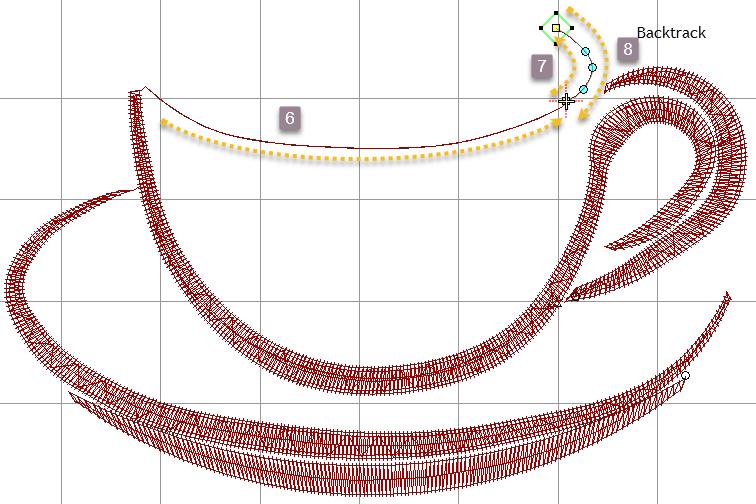
Take particular notice of objects numbered 6 , 7 and 8 when watching the video, to understand how to use the run stitch as a connecting stitch and to provide detail.
Attached is a step by step instruction sheet and some art work to practice yourself. Please let me know how you go with this.
Column A tool
In Decorating the tool is called “Digitize Column” and in Designing “Column A”The two variants are found in the Traditional digitizing toolbar in Designing and
One thought on “Coffee Cup Project”