To do this The Auto Fabric Assistant controls three quality control properties in your designs.
- Pull compensation
- Underlay settings
- Stitch Spacing/Density
These settings will change depending on the fabric you choose and the size of the object. To use the auto fabric assistant look in the Design Menu and then Auto Fabric.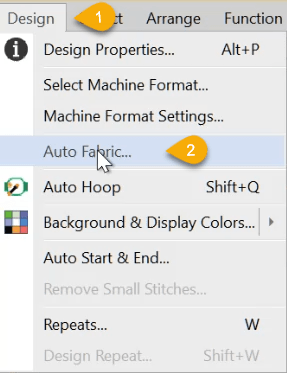
There are two ways to use the Auto Fabric assistant
- After the design has been created
- Preset the Auto Fabric assistant in your template.
If the design you are working on has been created for a fleecy fabric and it is now going on Denim use the auto fabric assistant to change the 3 settings mentioned above.
Open the Auto Fabric assistant from the Design menu and select the fabric the garment is to be stitched to and choose the fabric from the dropdown.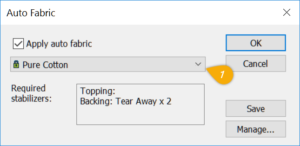
![]()
Notice the pull compensation in the “Fleecy” file is wider than in the “Denim” file, in some parts of the narrower columns the underlay has changed, and less noticeable but importantly the stitch spacing has also changed.
Or you can set your template so that the Auto Fabric Assistant is set permanently enabled.
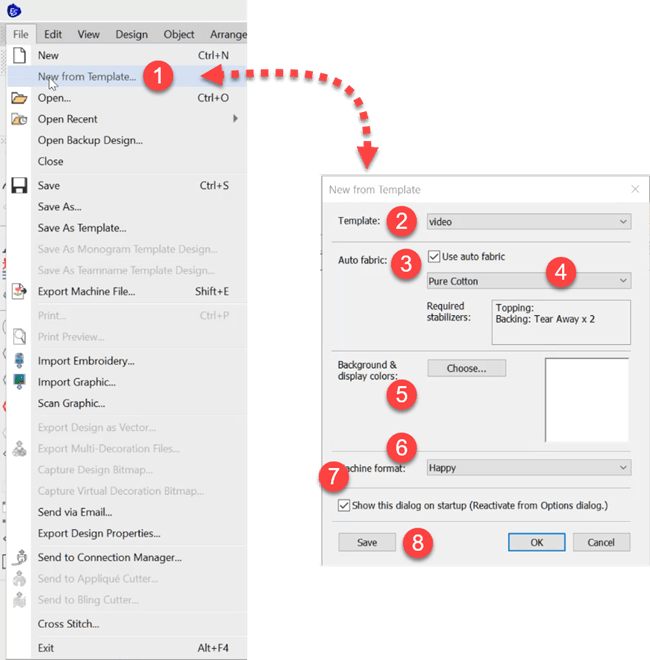
To activate the Assistant in the template Select New from Template in the File menu.
- Select New from Template.
- From the dropdown you can cheese the template if you have more than one.
- Check if you want the Auto Fabric Assisttant to take care of the settings
- Choose the fabric taht you woudlnormally use in this template.
- Setup the background colors.
- Choose your machine format.
- Nominate to show this dialogue box each time the software is opened.
- Save the settings to the template, in this case my video template.
Once you have saved this and before you create any object in the work area, check out the Underlay, Pull compensation and Fill settings in the property box you will see the settings are greyed out and cannot be adjusted.
After objects have been created then you can override the settings if you need to.
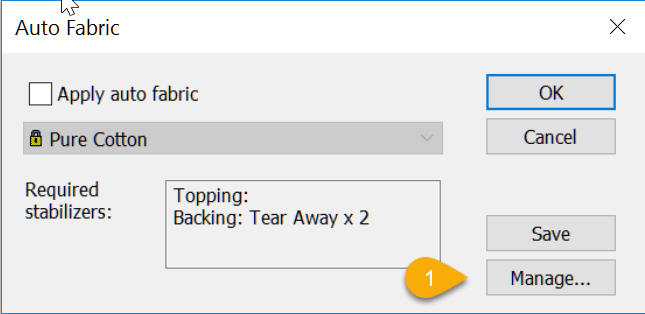
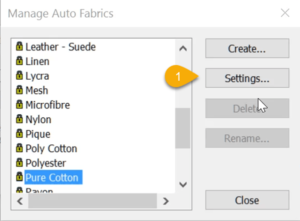
It is possible to create your own auto fabric settings.
Select Manage in the dialog box then create from the settings dialogue and add your settings in the tabs shown in the last Image. See the video below for details.
Manage Fabric Settings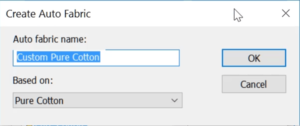
Create Settings
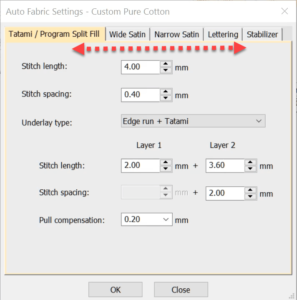
Add Details to the Tabs
One thought on “Auto Fabric Assistant”