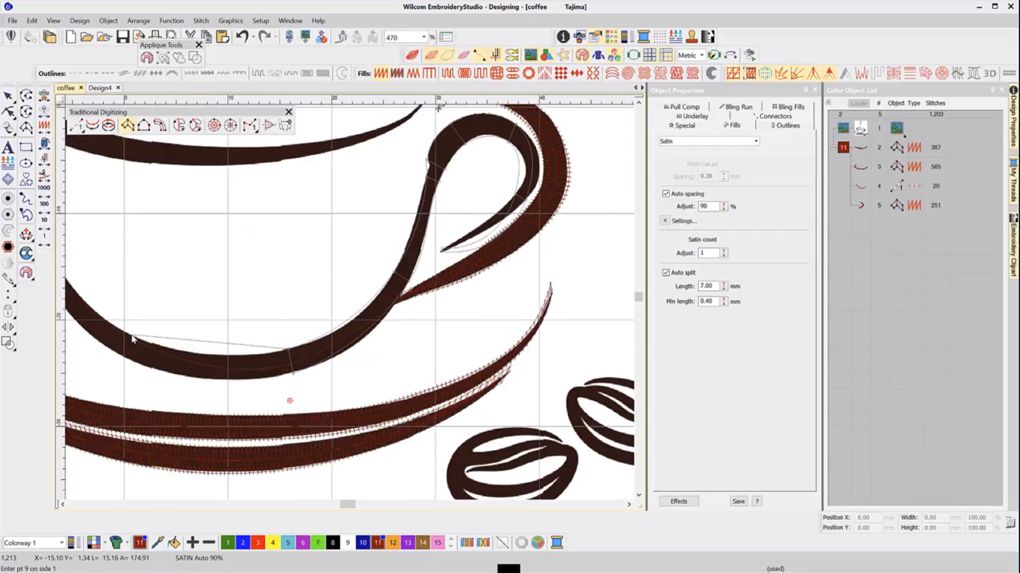
In this embroidery digitizing tutorial, I focus on using the Single Run outline tool and Column A digitizing tool, as a result giving you an overview of digitizing a design in Wilcom EmbroideryStudio. Step by step I’ll walk you through creating this simple coffee cup design explaining the use of each tool. Most importantly, I’ll also outline the importance of node and stitch angle placement.
My top tips for digitizing
- Avoid trims by first carefully planning the sequence of your objects
- Try to digitize your design from one side to another (right to left, or bottom to top). This helps avoid trims and unnecessary travel stitches
- Use Column A tool for turning satin objects
- Travel under objects with a Single Run to avoid costly trims
- Use your Color-Object List to see the objects in and sequence of your design
- Use the ‘H’ key to enable the reshape tool to reshape and refine your design
- Zoom in closer to help with your node and object placement
Watch the video
If you have any questions feel free to ask in the comments section below.

Thanks for the nice tutorial. Can you please inform if it is must to do digitizing from center out when doing it for cap or hat? One of our senior digitizer insists on sticking with starting from Center towards outwards for every case despite some designs for caps can be easily done from one side to another and can be used both on caps as well as left chest embroidery. By the way, we are also using Wilcom!
HI Sasha, Thank you for your question.
It is generally accepted that to digitize for a cap you should, where possible stitch from the center out. This is to avoid stitching across the center seam of a 6-panel cap. The center seam can create problems with the smooth travel of the cap across the needle plate on the embroidery machine which will cause alignment issues in the design.
Regards
John
I wanna say thank you for that really helpful guide/tutorial that you’ve shared with us. I was very impressed with your last post which is on “Color Object List” you have shared a wonderful guide, I really appreciate that…
keep sharing these kind of posts and tutorial, and keep up your good work!
Thanks for the comment! John indeed does a great job 🙂
Thanks Mark,
Please let me know if there are any other topics you would like me to cover.
Regards
John