Tatami stitch is generally used for larger areas of fill in an embroidery design, which often will be the background for lettering or other objects in the design.
Normally this would require an even stitch pattern, with a regular arrangement of stitch penetrations between to rows.
However tatami can be so much more than a backing by changing a few simple properties.
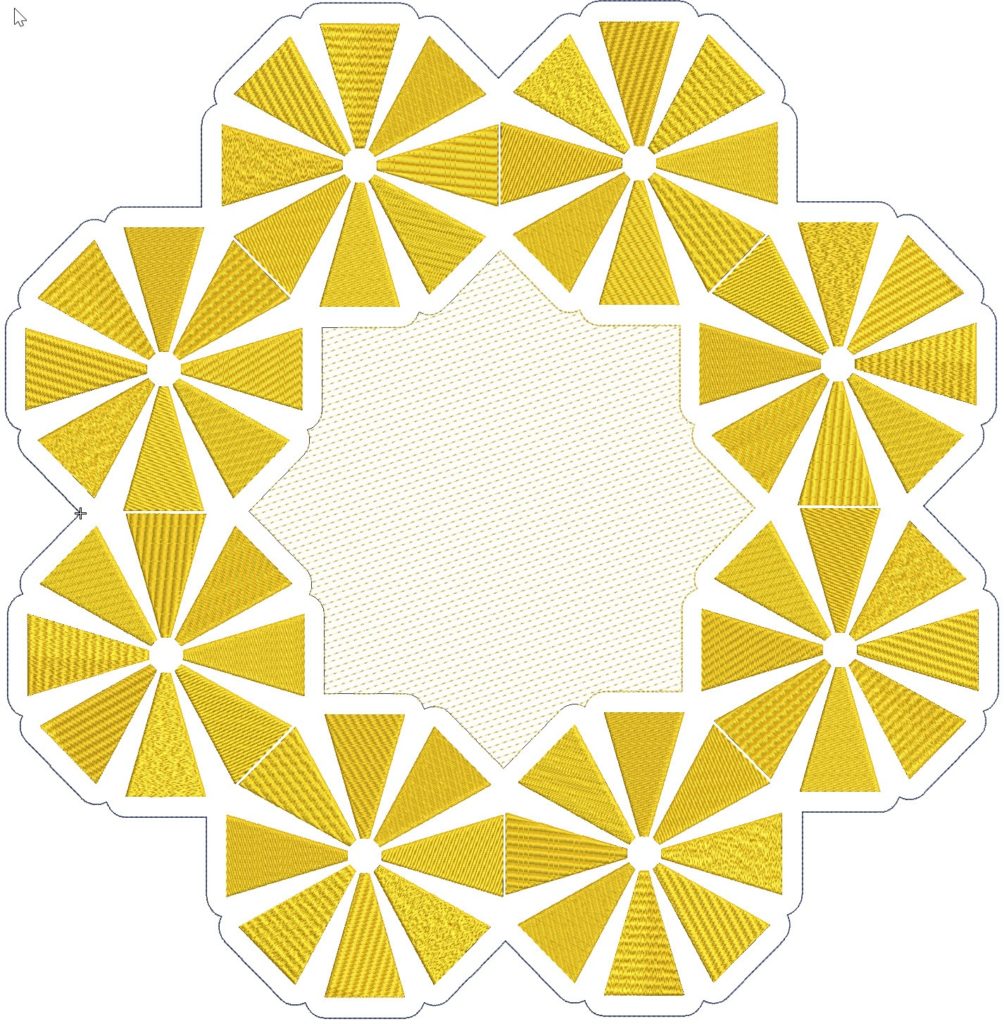
The various patterns in the image above have been created by adjusting some basic settings.
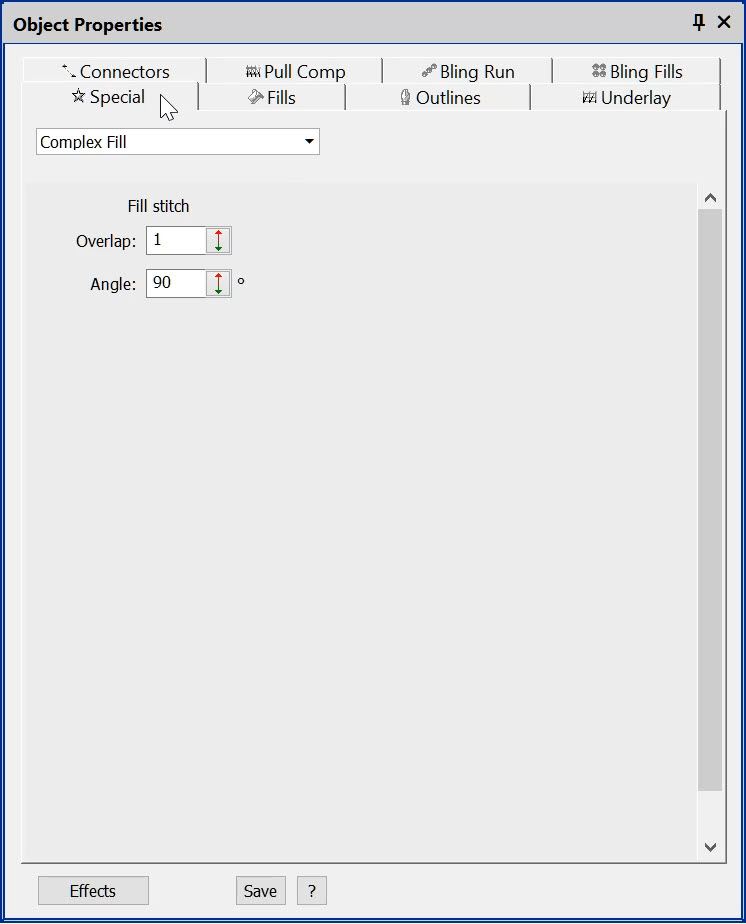
All of which can be found in 2 tabs in the Object Property Box
Special and Fills.
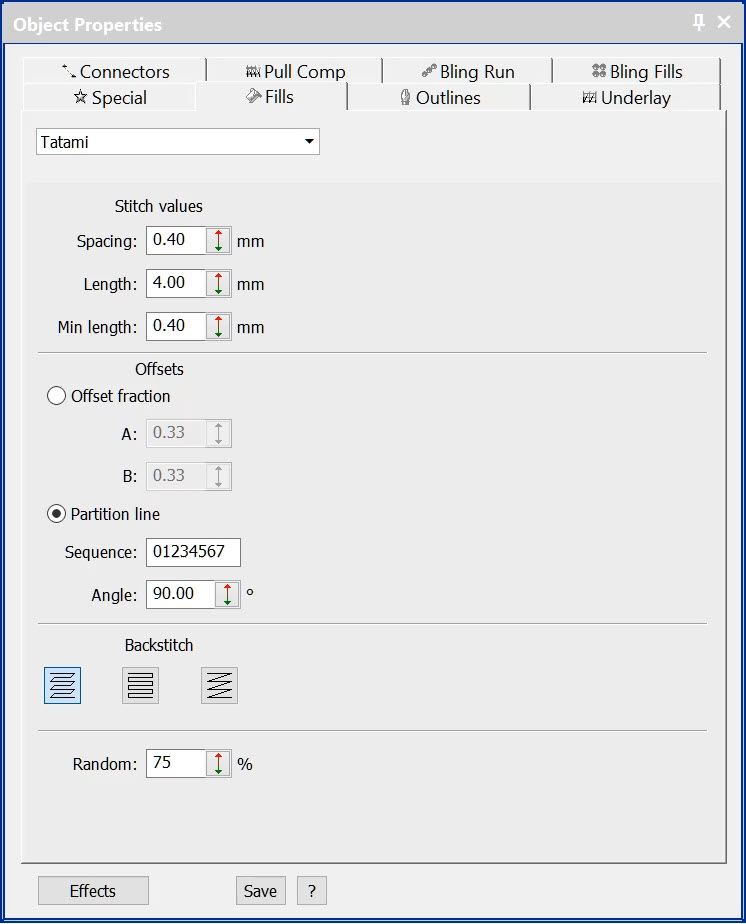
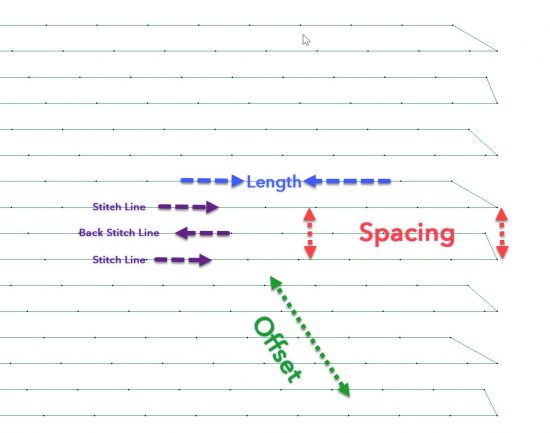
A block of tatami stitching is made up of rows of stitching referred to as the stitch line and back-stitch line.
Spacing refers to the distance between the stitch lines and is measured between two lines of stitching or at the end of the row of stitching.
Length is the distance between each stitch penetration.
Offset is the fraction of the stitch length that each row of stitching is offset from the rows before and after.
The Partition setting divides the stitch length into, up to 8 parts that a stitch can be placed on consecutive lines.
In the image below sitches are placed at points 2-0-1-6-3 of the partition before repeating the pattern.
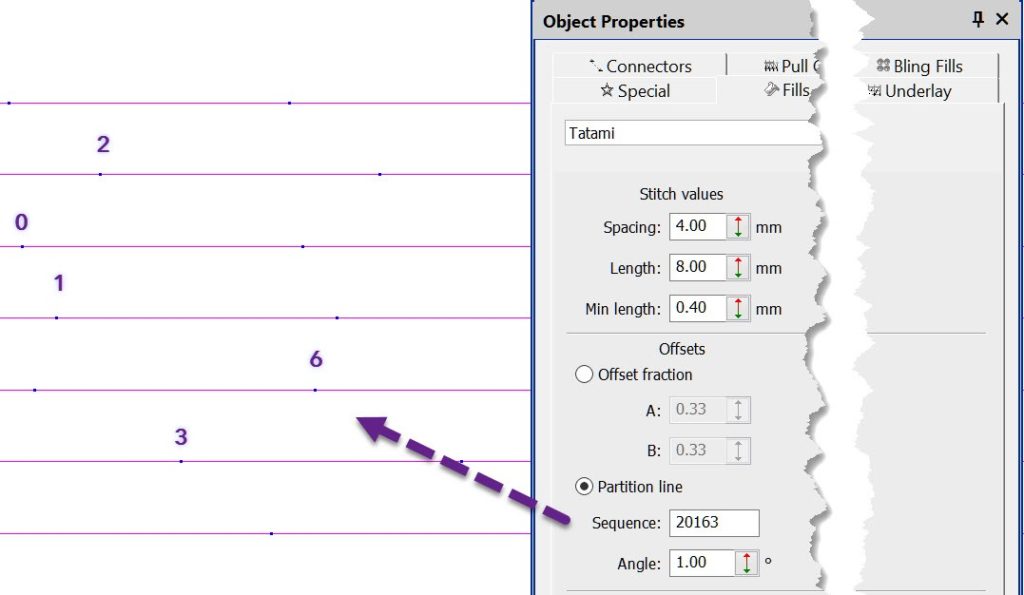
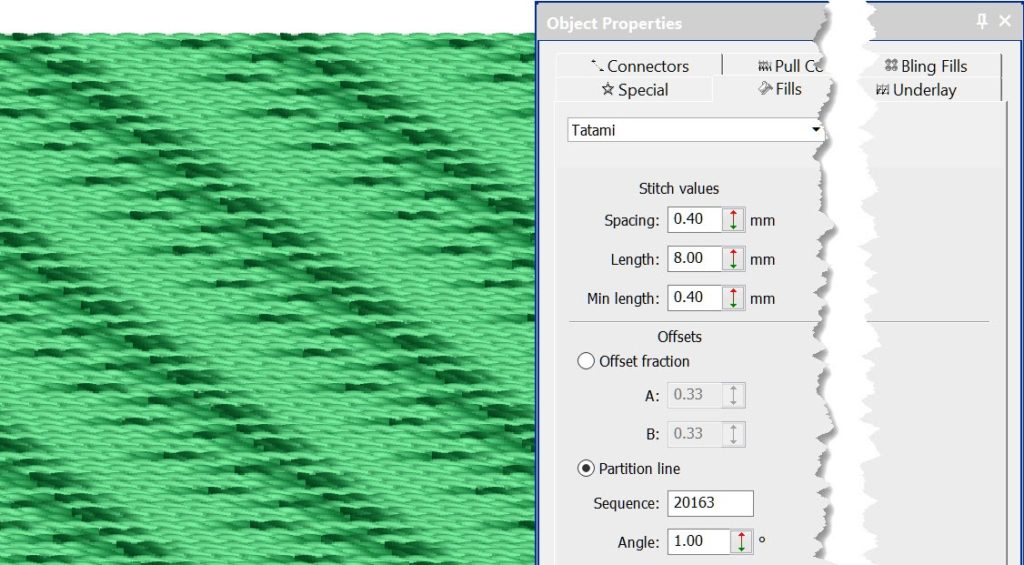
The angle determines the angle of the grid the stitch points sit on.
I find this quite mind boggling to calculate the effect I am after, I simply alter the settings until the effect I am after appears.
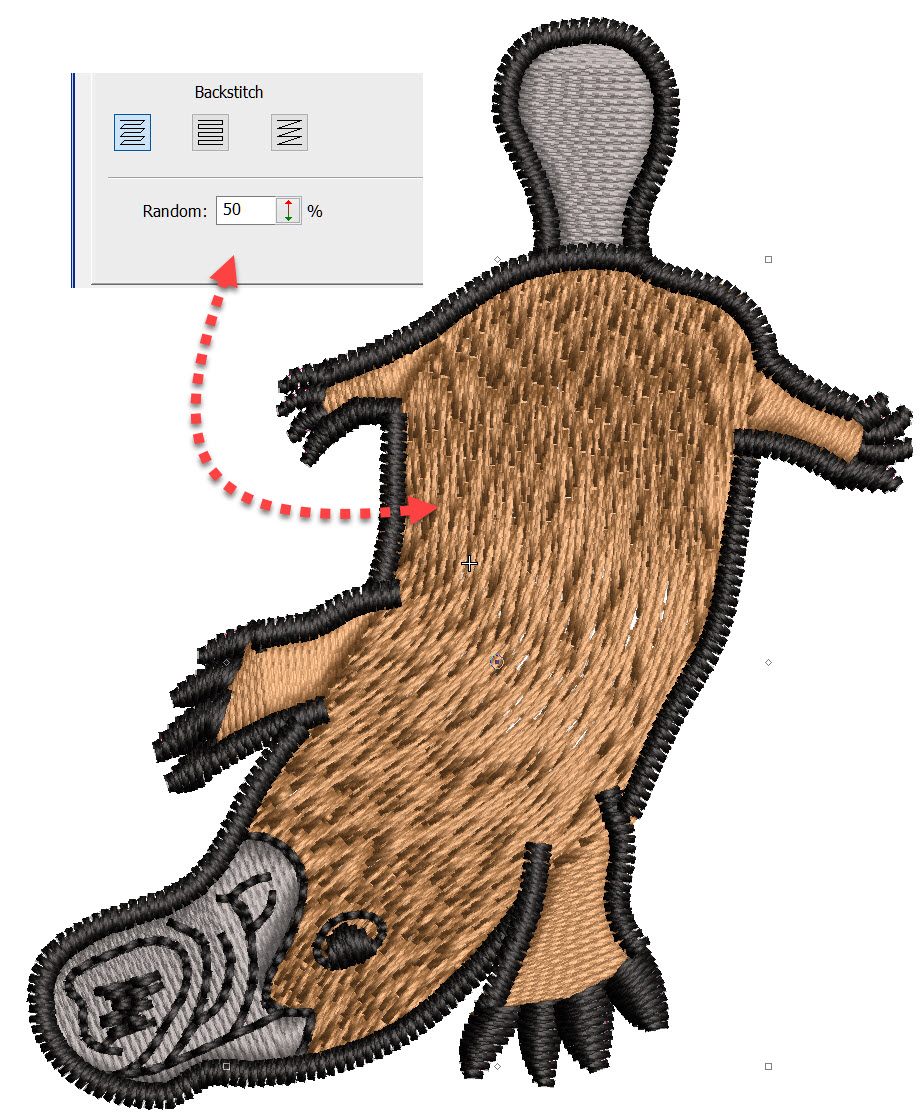
Download the Platypus and try some settings for yourself. 🙂

Thank you so much. I have been using Wilcom for 20 years and never new the mechanics of the partition line. These blogs are wonderful, keep them coming!
HI Gina,
That is great! Thank you for the feedback. I think it is one of those obscure things that we perhaps do not understand immediately and brush it aside. I will make a video on how to save the settings for re use.
Cheers
John
Thank you John. I have played around with the partition lines but did not really have an clear understanding of their use, therefore I have shied away from their use. I love the written tutorial followed by your video. Together, they make an excellent and clear learning path for me. I look forward to setting up some interesting patterns.
Carolyn
HI Carolyn,
Excellent, I am pleased this helped. Please let me know if there is something else you would like me to take a look at, I learn stuff all the time in this software. 🙂
Regards
John
Thank you John! Great explanation of the partition line sequence and when to use the backstitch options.
So glad Wilcom has created this Blog!
Pascale
Thanks Pascale,
As always I appreciate your support and comments. As I mentioned to Carolyn if there are other topics you would like to see covered here please let me know.
Regards
John
This is amazing! I’ve tried to understand partition line and offset forever. Plan to watch this video a few more times. Love the Blog!
Thank you – this is very useful!
Hallo John Wright
how cool that you explain it so clearly and then supported with pictures.
I wonder if you can not even give some explanation to color gradient. for example in texts with some large letters.
I look forward.
Regards
Rina