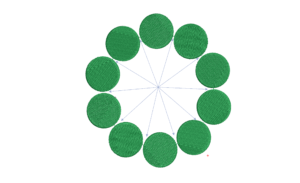
Breaking News

Unnecessary Thread Trims

Why and when does the software create a thread trim?

Basically the software creates thread trims at a color change or when the distance between two objects is over a defined distance. These settings can be found in the Connectors tab:

There are two basic settings in the first dropdown

'AFTER' & 'INSIDE'

Connectores TAB

(To understand this setting better, simply open a design that includes system lettering and you will notice that each lettering object is a single object).

To deal with the trims between letters we need to choose inside object, for all other pieces of the design we would choose AFTER OBJECT.

Lettering Objects

From here, the settings are the same.

Connector Settings
  1. After or Inside
  2. Use jump stitches to next object
  3. Set Trim condition and distance
  4. Choose Tie In or Tie Off settings
  5. Set Tie In condition and distance
  6. Set Tie Off condition and distance
  7. Choose Tie Off method

The goal of the video is to edit the design to meet the above connector criteria and eliminate unnecessary thread trims.

I used three basic tools and techniques to achieve the result.

  1. Travel Toolbar to identify the trims.
Travel Toolbar

2. The Branching Tool to join touching objects that do not join to the objects before or after. And the  Closest Join to align start and finish points of adjoining objects.

Arrange Toolbar

3. Resequence tool to re-order objects in a flowing sequence.

Sequence

See it in action now!

Other related blogs:

Closest Join

We should all be aware of the closest join feature in Wilcom lettering. Did you know there is an automatic setting to adjust the start
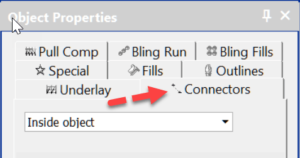
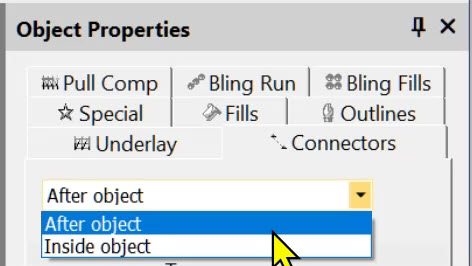
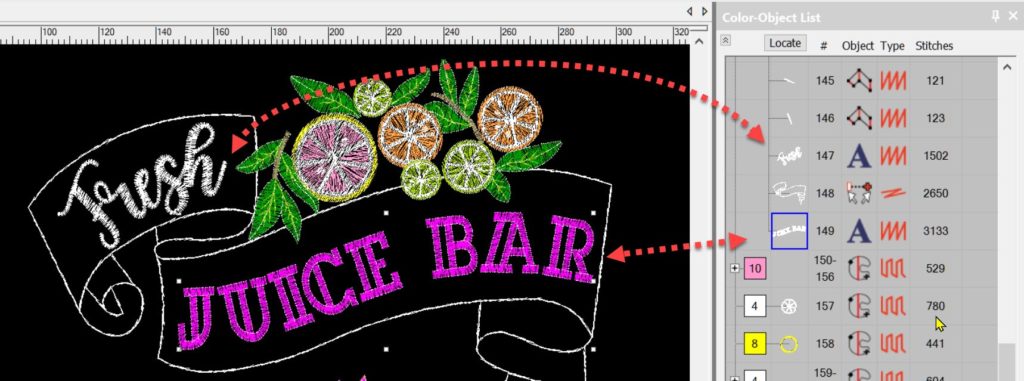
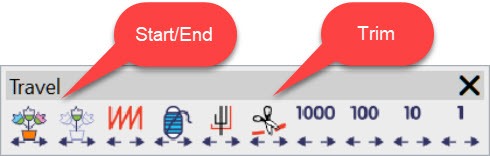
Read More »