Breaking News

Embroidered Christmas Card

Adding a personal touch
this Christmas

Do you remember when Christmas cards came in the mail? Wilcom wants to bring back that special Christmas spirit by demonstrating how to create a unique card design for your loyal customer.  Yes, of course, it involves embroidery! 

In fact, we are using a multi-decoration approach. We are mixing vector graphics, printable embroidery, AND real embroidery! 

All possible in EmbroideryStudio premium software.

What to consider?

Embroidery on paper requires some considerations, as it’s a different medium and behaves differently from fabric. The most important thing to think about is needle penetration. Most decisions involve avoiding close needle penetrations that will cut through the paper.

Stitch Type, Length and Spacing

Stitch type is the first significant decision you should make. The standard satin stitch creates holes that are too close and will likely perforate the card. 

The ideal stitch is a run stitch. Wilcom suggests a longer stitch, such as a 4mm running stitch, and turning off variable run.

Think about your design, don’t digitize objects too close together or with tight corners. Remember, we are working with paper that doesn’t have a weave and is denser than fabric. Any embroidery that is too close will weaken the paper.

Tip: Get creative and try the Hand Stitch effect or use the stitch types in EmbroideryStudio’s add-on Elements, such as Maze Fill, Spiral Fills, Motifs, and Contour Stitch. Remember to keep the density low.

Paper Stock– After testing different card stock, our suggestion is to use a weight of about 200-250gsm. We are using a 250gsm A4 sheet folded, making an A5-sized card.

Set-up

Needles – Use your standard needles. However, it’s best to replace all needles with new ones straight from the pack.

Threads – Use your favorite thread brands and thread colors.

Machine settings – Best to run the embroidery machine slower at 650 rpm. The top & bottom tension are unchanged. 

Start and end points – Use the top-right corner, not the center.

Tie-in and Tie-off – Reduce from 2 to 1 for a neater finish.

Stabilizer / Backing

The best product is Aida, typically used for badges. It’s stiff enough to hold it all in place for you. If you can’t get your hands on it, you can use a Cutaway backing.

Once selected, hoop the chosen stabilizer in the smallest hoop possible. (The paper will ‘float’ on top of the stabilizer).

Hooping

Use a placement stitch to indicate the card’s border (measure your card exactly). You will use this to align your print design to your embroidery accurately.

Cut a window for the stitching area, leaving a 1cm area around the window for your embroidery allowance.

To ‘float’ the card, you will stick the card on top of the stabilizer WITHOUT it being held by the hoop. 

Use tape to secure the card to the stabilizer. Try painter’s tape, as it leaves no sticky residue. Double-sided tape will also work, but you may need to take a cloth and run it over the leftover residue.

Position

In this example, we use a folded card designThe embroidery is on the front half of the paper only. You could continue the print onto the back in a continuous design or use the back for your company logo and details.

To neaten the embroidery, use another piece of paper cut only 1mm smaller to cover the back of the stitches.

For accurate alignment, digitize the top-right corner as the start and end point. This also forces the machine to move the hoop forward, exposing the design space and making the removal of the frame easy, ready for the next one!

Finally, trace the design to ensure everything is inside the cut-out window.


Small Stars – Instead of the recommended 4mm run stitch length, our in-house digitizer changed the stitch value to 10mm. Now the needle drops in the start center and edge only and looks like a manual stitch. A workaround to avoid many penetrations too close together.

Multi-decoration

Christmas is a time for fun, texture, and color. We use 3 decoration methods in our Christmas card design, printable embroidery combined with vector graphics and real embroidery. It’s easy with the integration of CorelDRAW® Graphics Suite in EmbroideryStudio Designing and Decorating levels. 

Create your design in CorelDRAW, then click the Wilcom icon to switch back to the EmbroideryStudio workspace. Digitize the components to be embroidered and the components required for the printable embroidery section. 

Follow our suggestions and remember less is more when it comes to embroidery on cards.

Tip: You can toggle between Wilcom and CorelDRAW by clicking the red Wilcom ‘W’ button in CorelDRAW and the CorelDRAW ‘hot air balloon’ button in Wilcom’s EmbroideryStudio software (top left-hand corner of the screen). Automatically work in graphics or embroidery mode with a single click of the icon.

The dual-screen feature of the software makes the workflow seamless, automatically presenting the on-screen design in embroidery or graphics. 

Don’t own digitizing software.

Use WilcomWorkspace Studio, our affordable on-demand application with easy-to-use primary functionality. Quickly open these Christmas card embroidery files to view, resize, recolor, print worksheets, and convert them to machine stitch files.

Christmas cards just for you

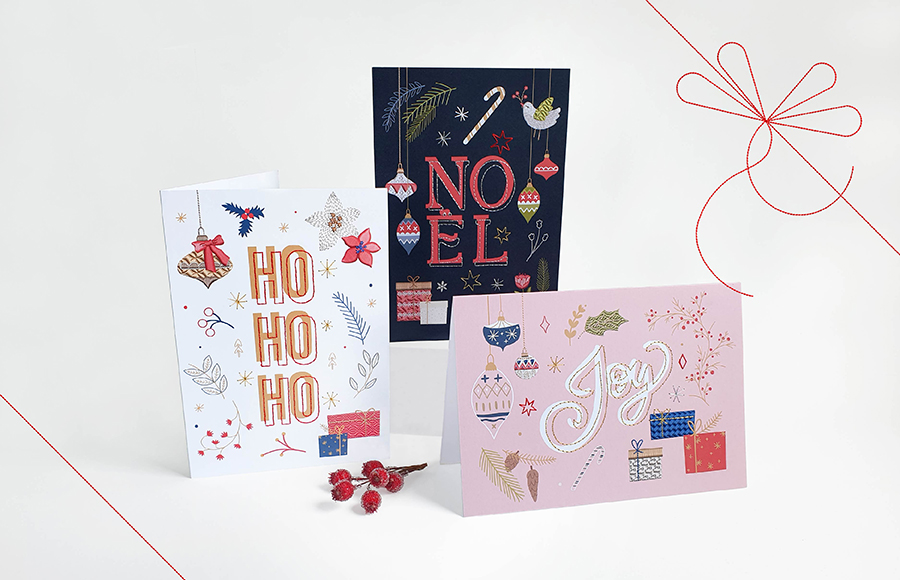
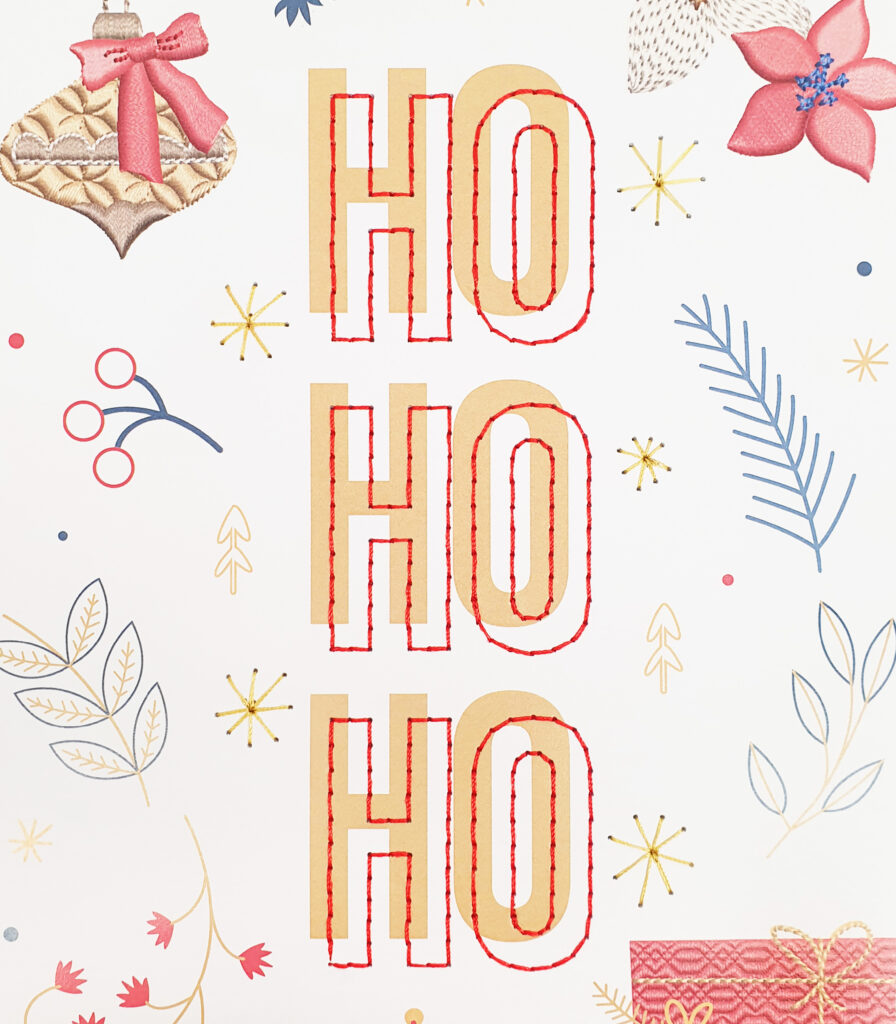
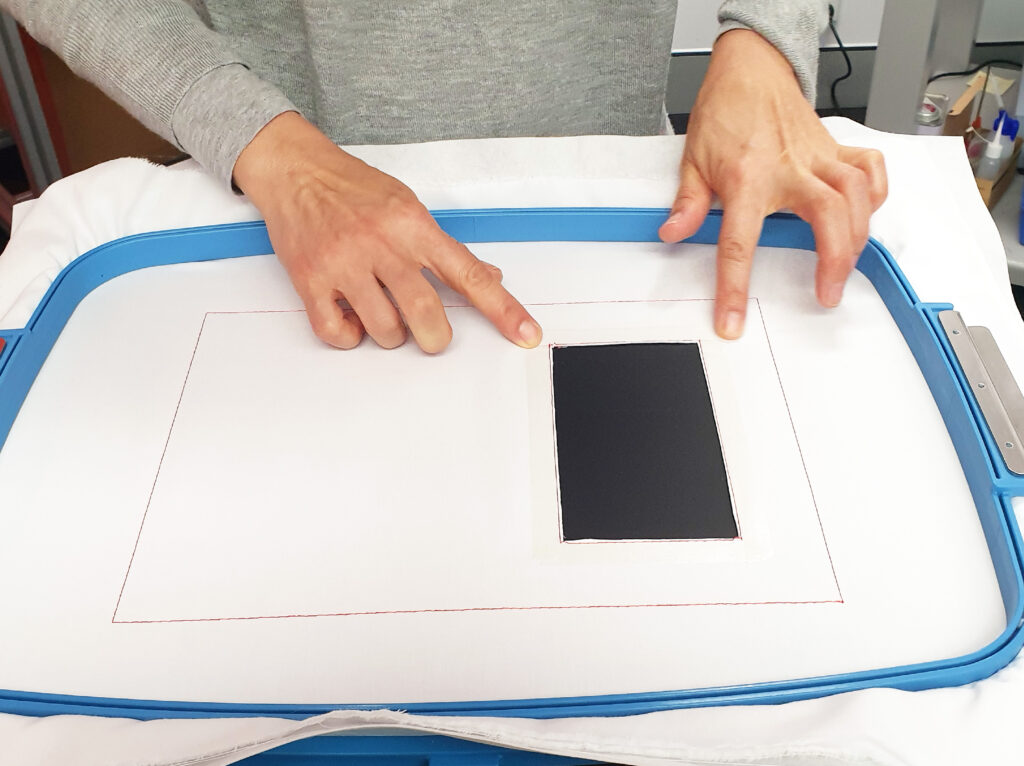
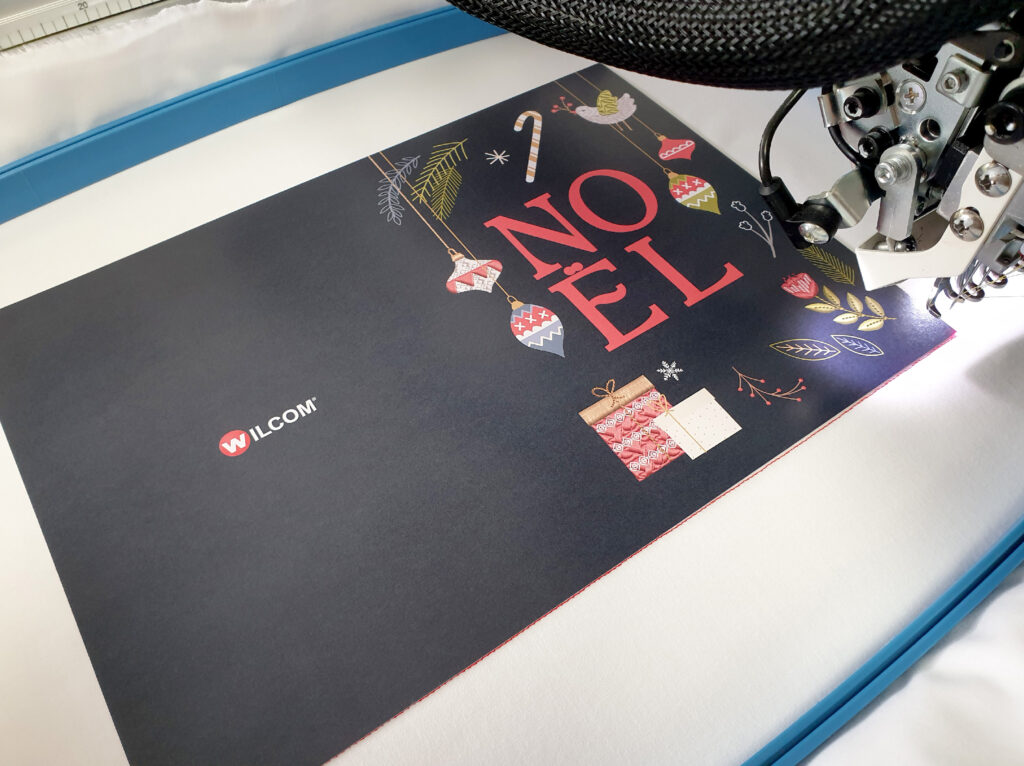
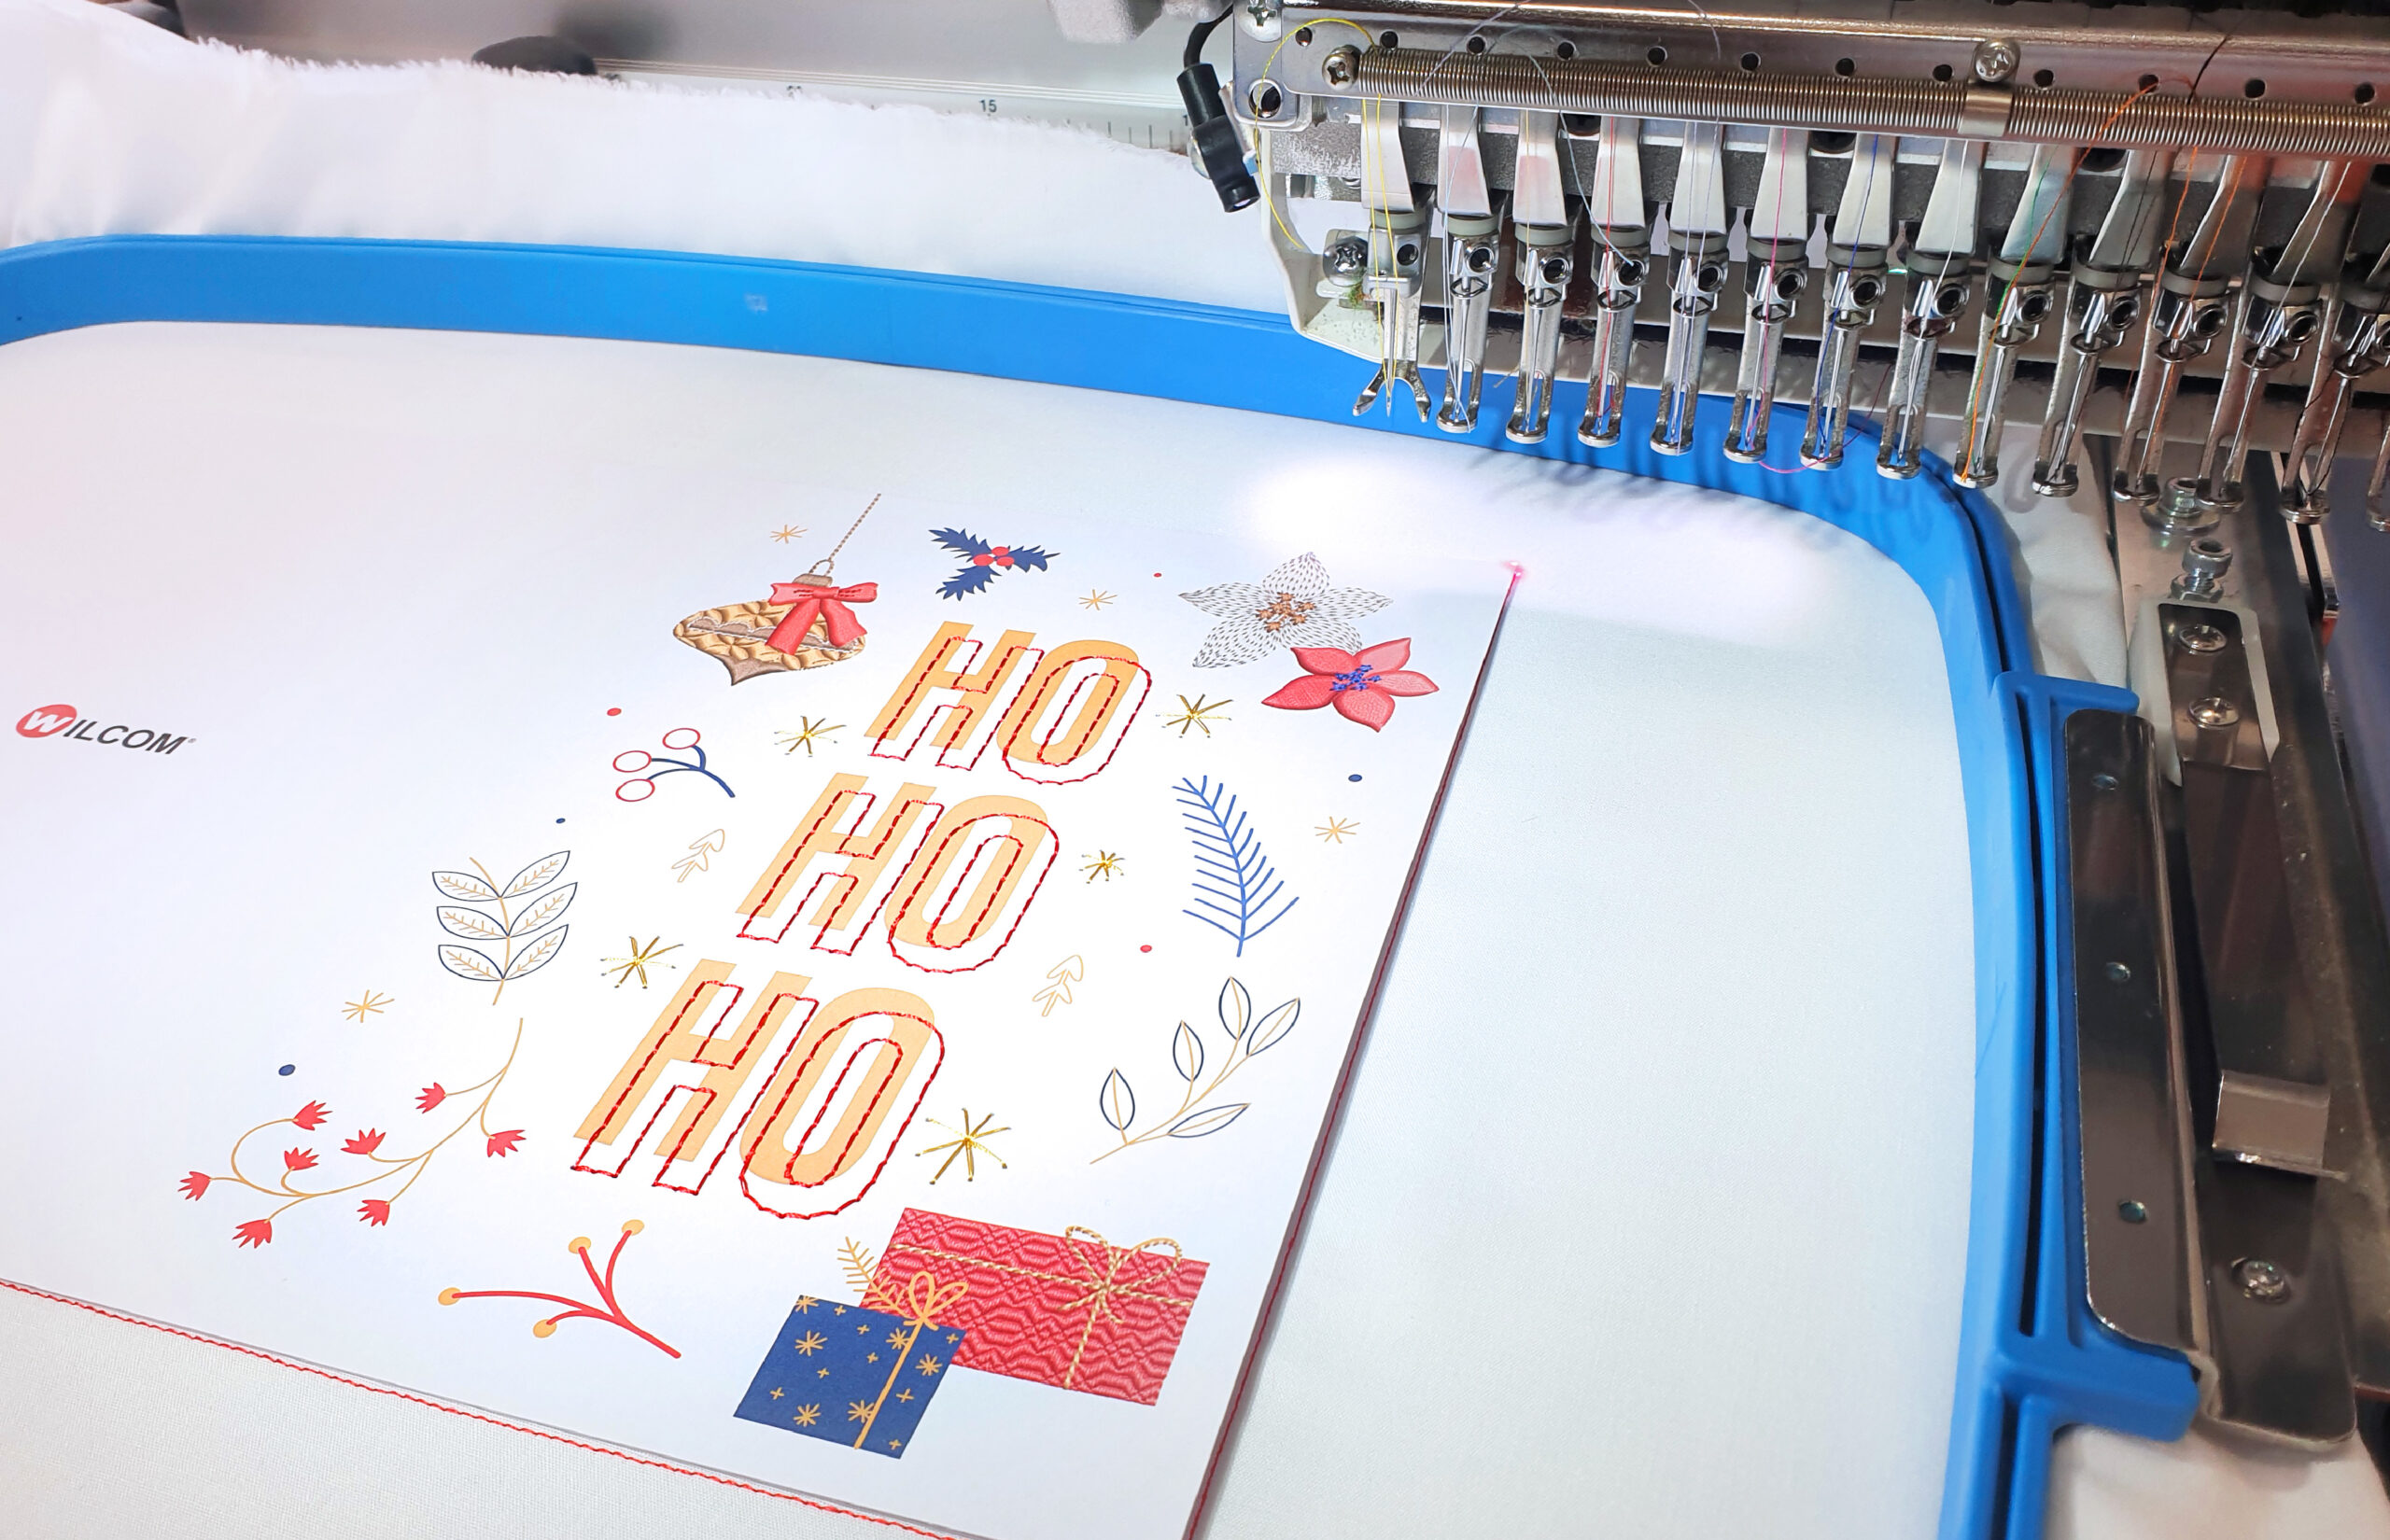
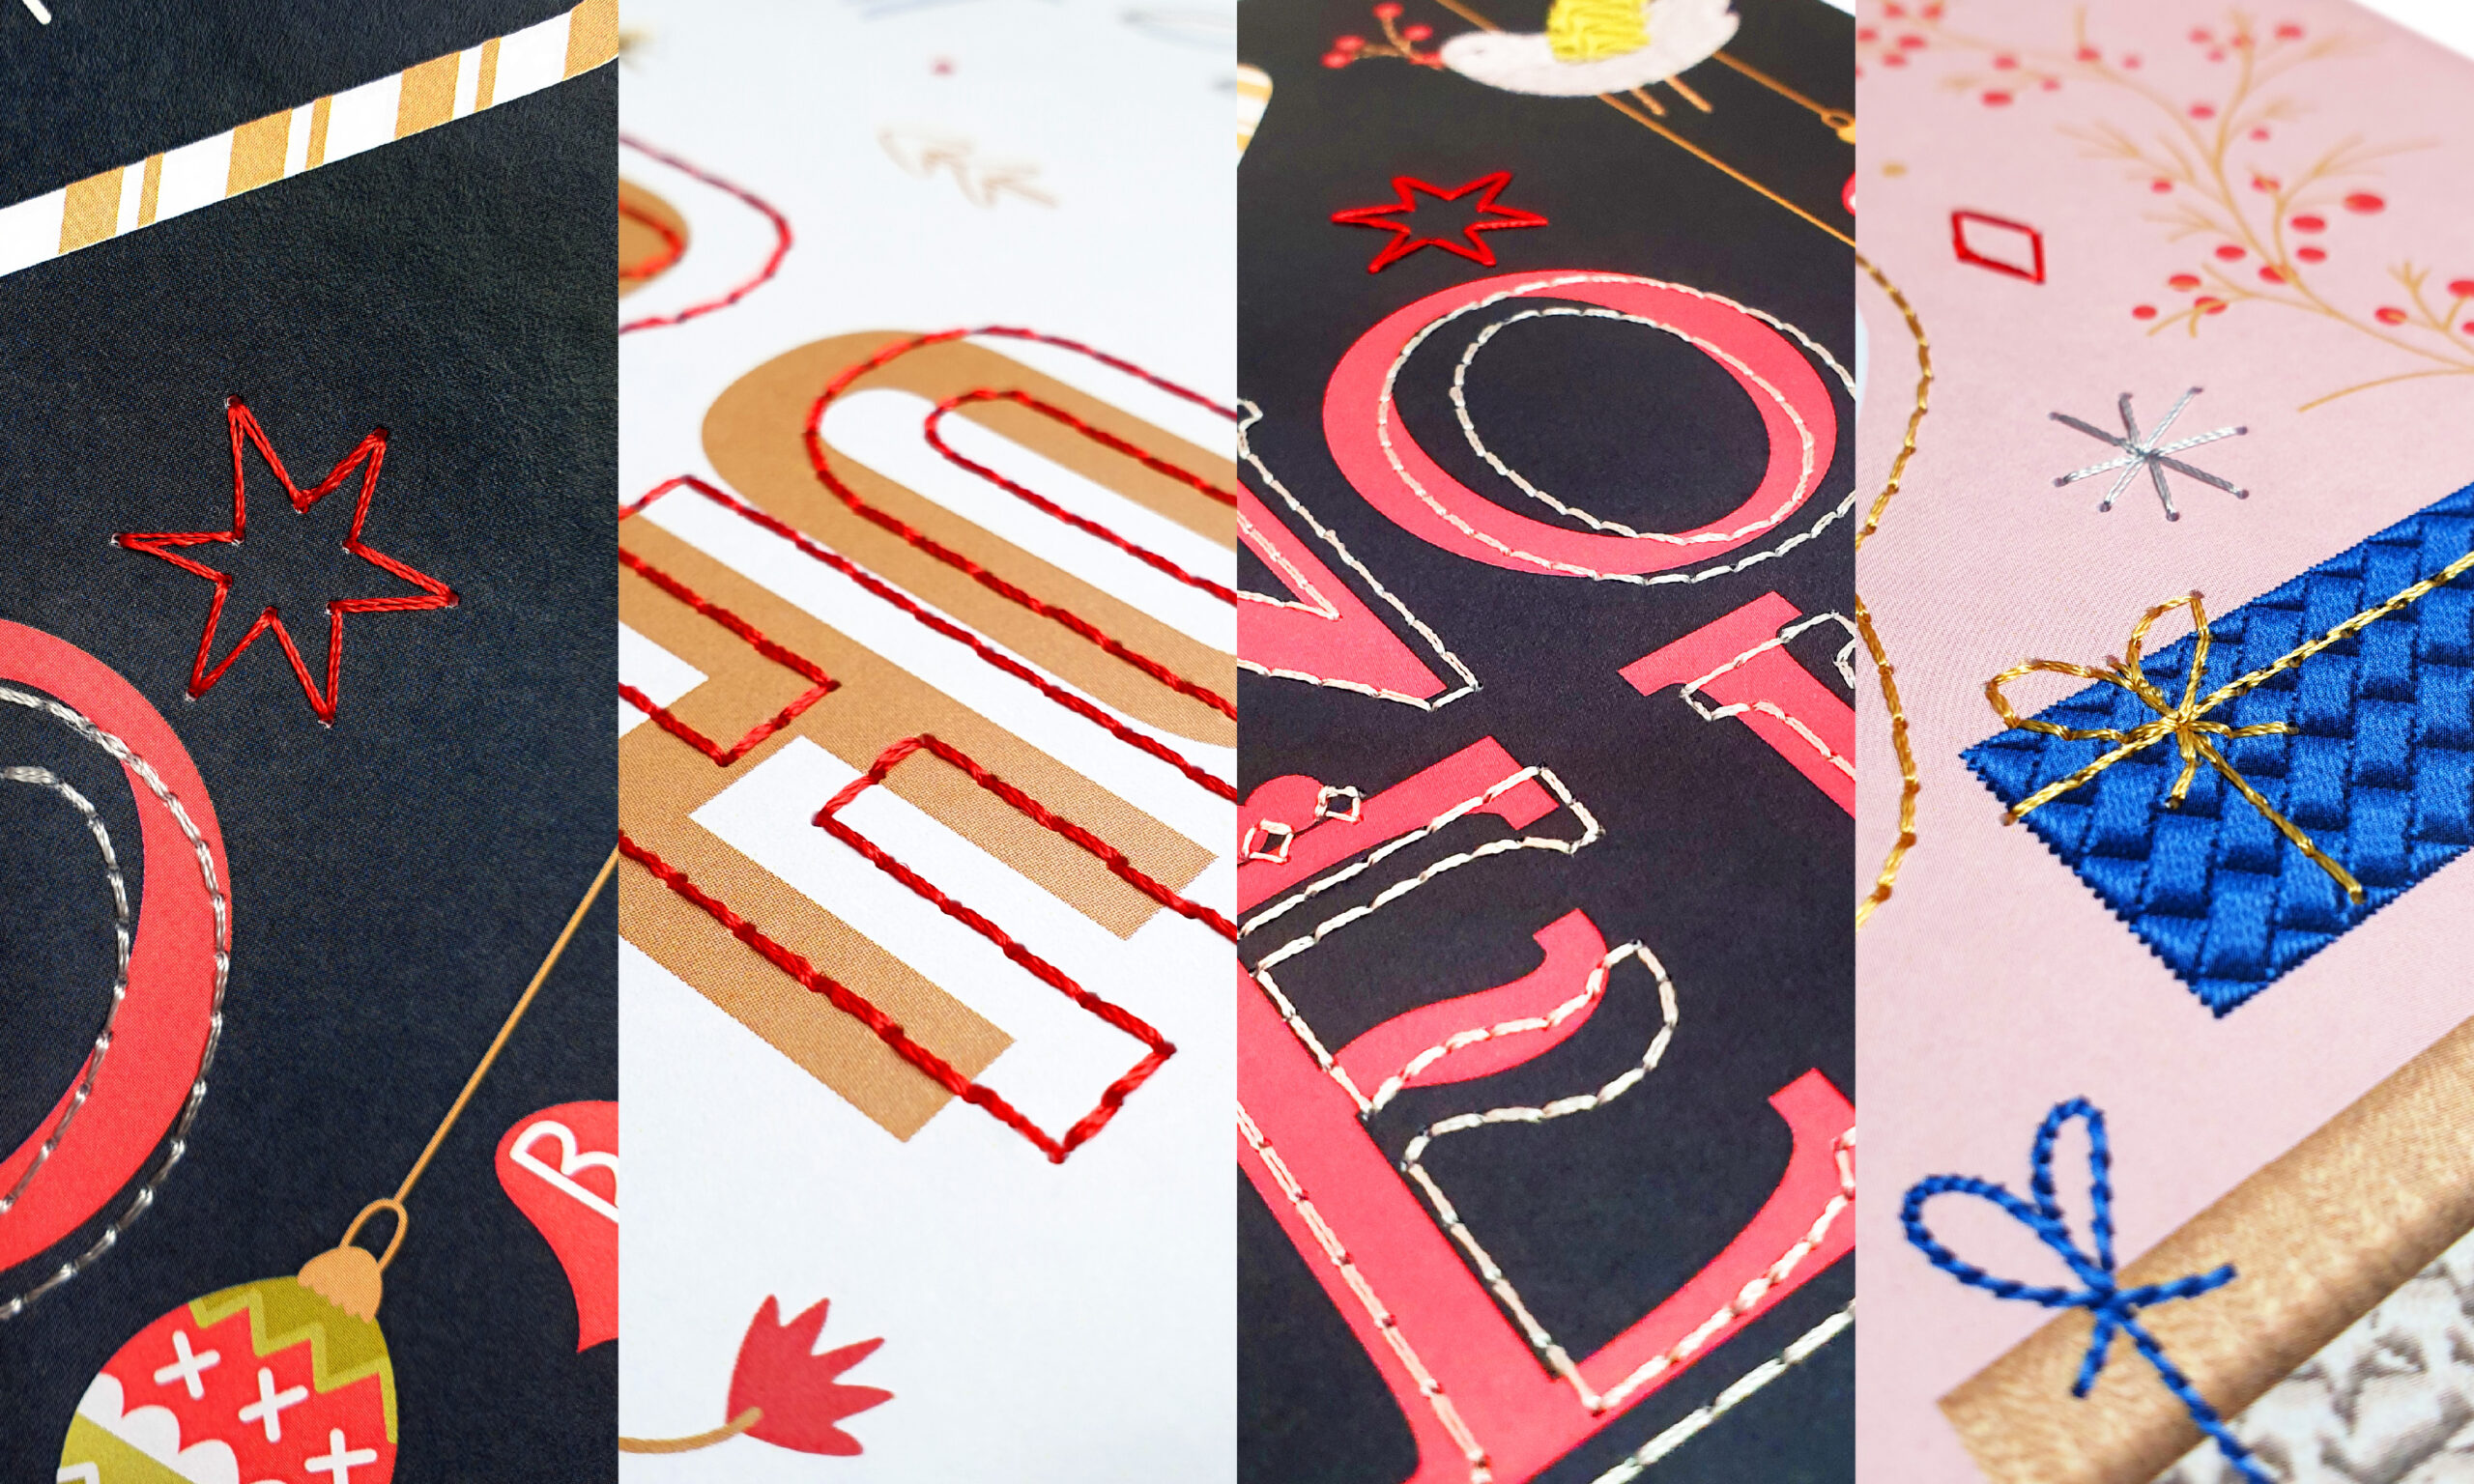
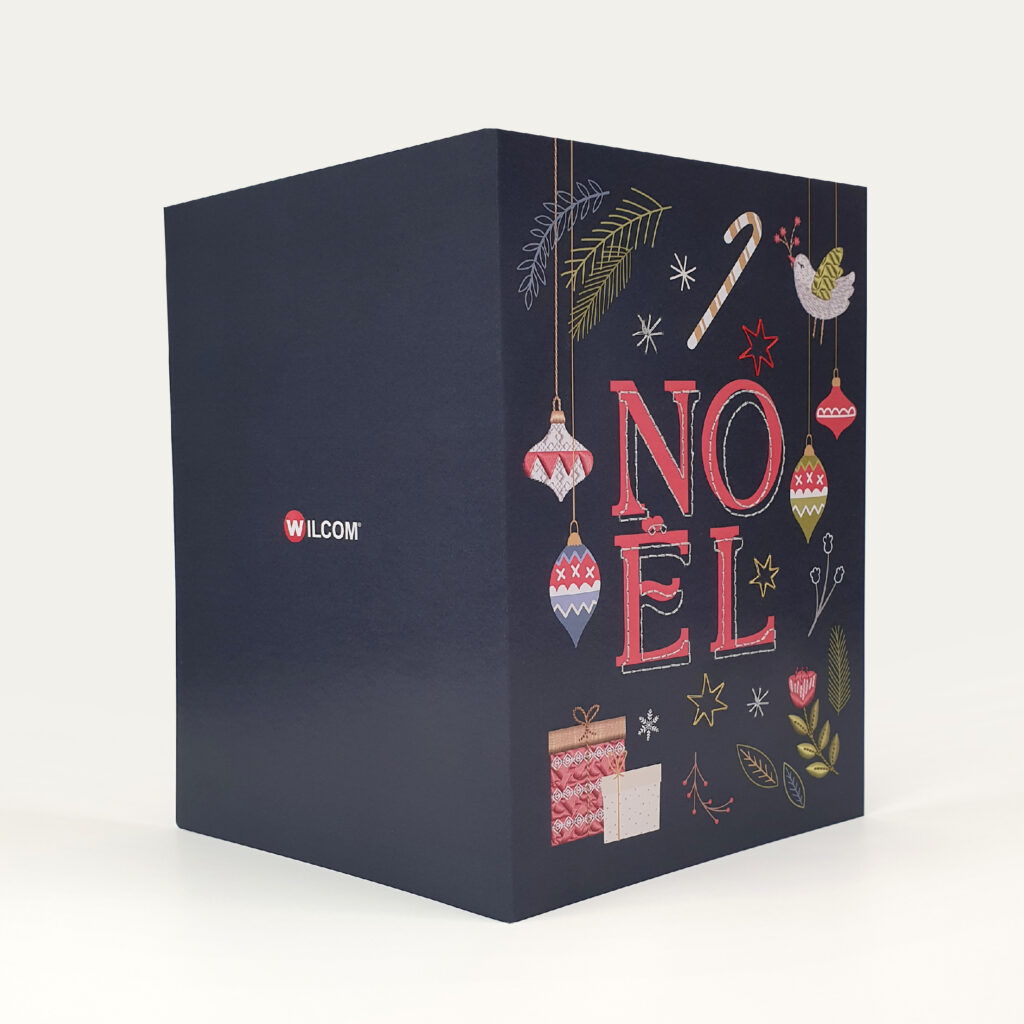
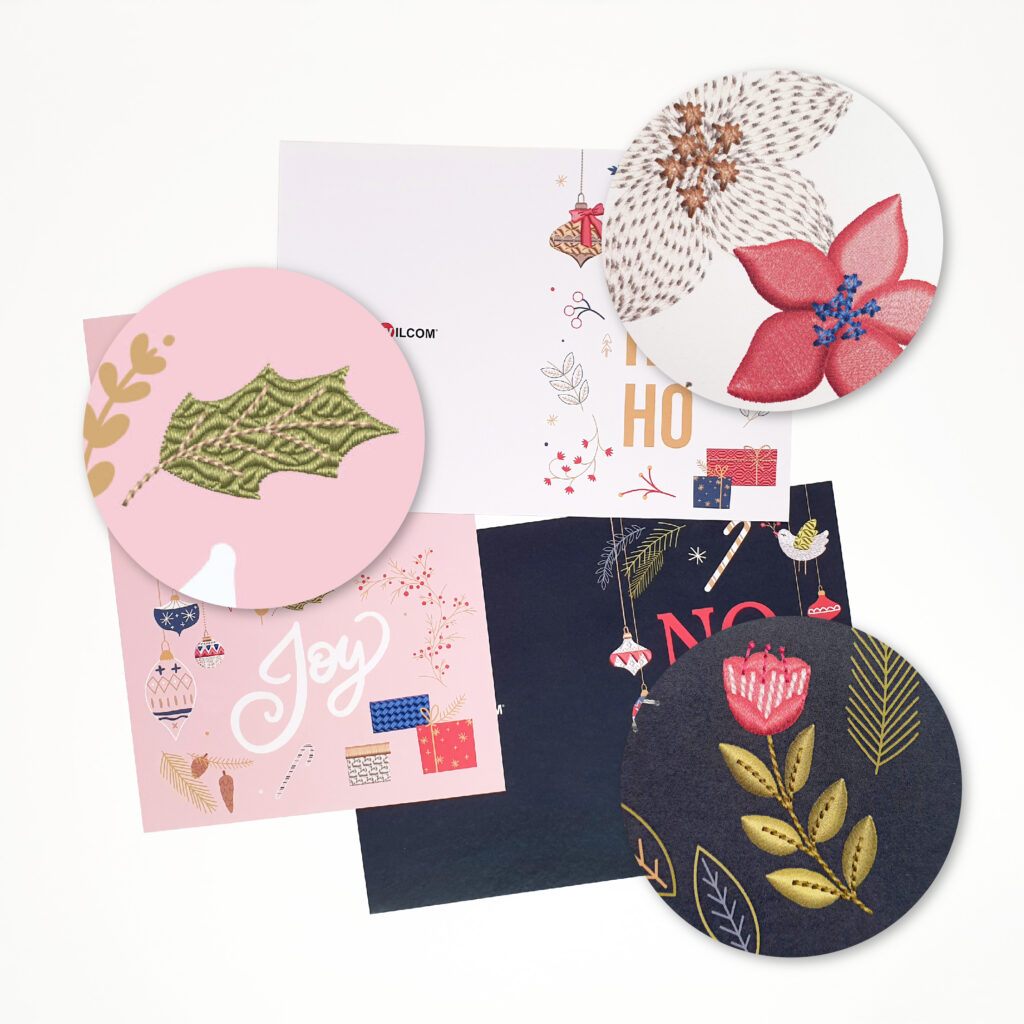
Wilcom designers have created these Christmas card designs just for you. Use our suggestions to create your own, or download and use any of our 3 designs. 

All that’s left is to add a personal message and mail it! 

😊

Send your customers a card to remember


First Name*
Last Name*
Company*
Country List*
State*
Email*
I agree to receive information from Wilcom*
I agree Wilcom official partners can contact me* Privacy Policy
Lead Source
Lead Sub-Source

Need more information. Contact us today.