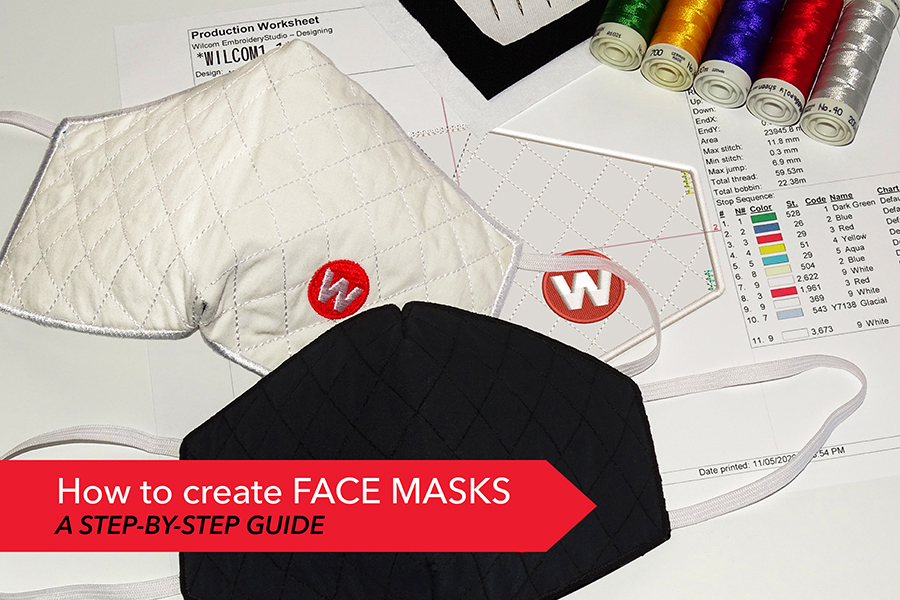
Our customer Click Borde from Brazil explains
The worldwide pandemic has created the need for non-medical personnel* to protect themselves amid the global shortage of protective garments. Our customer, Click Borde from Brazil, answers the call of many of their customer for a protective face mask pattern.
Their solution also addresses the massive global economic situation caused by the lockdown. They too were faced with a country of idle embroidery businesses and idle embroidery machines.
Click Borde created two templates of protective masks that were almost entirely produced by embroidery machines.
(The face mask templates NOW AVAILABLE as e2, e3 & e4.5 format)
The critical point was to facilitate the creation of the masks for their customers, who may not have sewing machines. While at the same time, making use of the many stationary embroidery machines in their country.
The pattern, the fixing of the elastic, and the satin stitch edges
were all stitched WITH AN EMBROIDERY MACHINE.
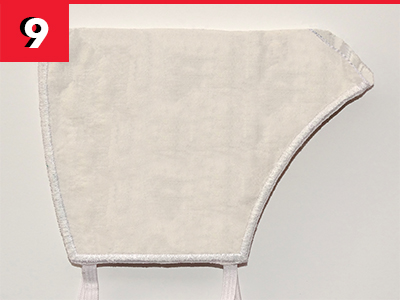
There is a small seam on the top and bottom that can be overlocked or sewn on a sewing machine or even stitched by hand.


Surprise Result
Incredible interest for embroidered kids masks
“Many customers have told us that children have resisted wearing the protective masks. However, they are happy to wear our embroidered masks that showoff their personality”.
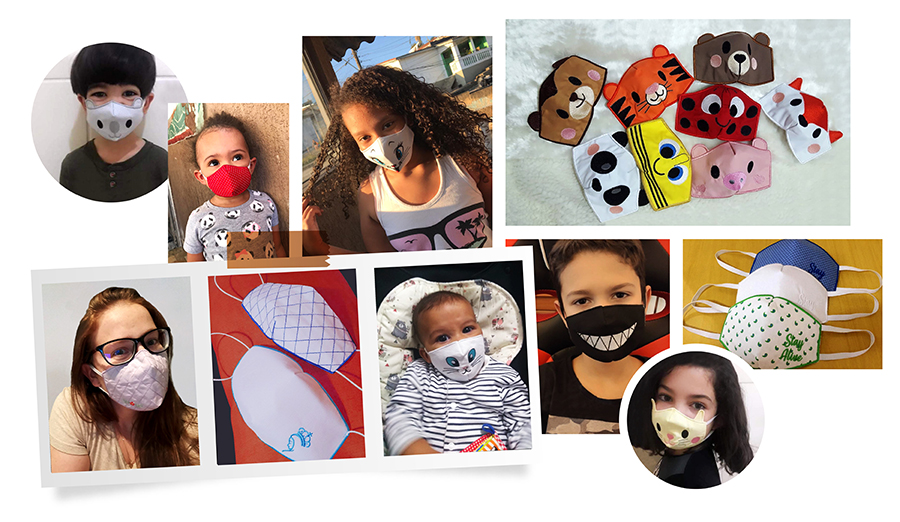
“We have had a few reports from mothers of autistic children, where the kids refused to wear the traditional masks, but will wear our mask embroidered with pet faces”.
“We have one client who had an overwhelming online result SELLING OUT of over 250 masks in just 5 hours… they simply ran out of fabric!”
Click Borde have graciously offered their face mask pattern to Wilcom customers for FREE.
Two .EMB Face Mask Templates and the Instructions are available at the bottom of this page.
Step by step Instructions:
Create these face masks with your embroidery machines using the Wilcom template provided. The guidelines are suitable for both templates.
Remember to add colour and character to your mask with your choice of embroidered logo or pattern. Have fun creating your own!
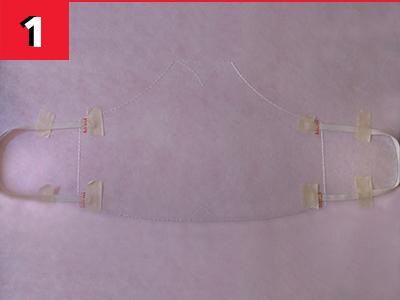
Start by cutting 2 lengths of an elastic band at 19cm each. Attach the stabilizer only, to the frame and embroider the first color in your embroidery file.
Position the elastics at the marked points and embroider the next 4 steps (colors), which will hold the elastic in place.
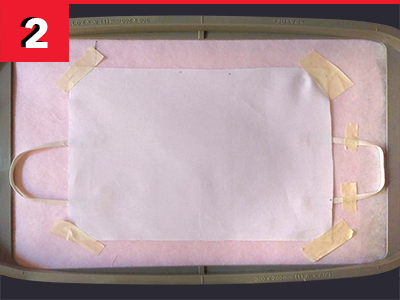
Remove the hoop from the machine and place your choice of fabric on top
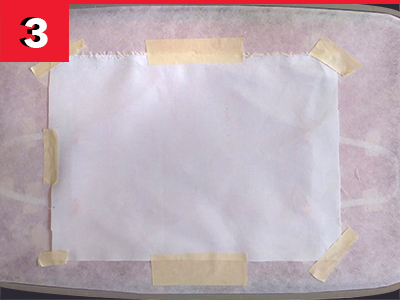
… and underneath the hoop and tape them in place.
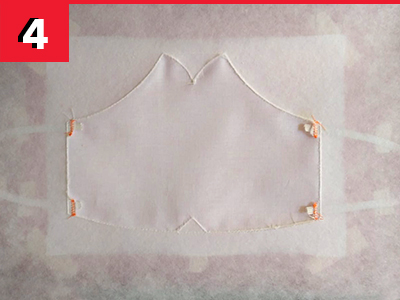
Return the hoop to the embroidery machine and continue stitching. The next step will embroider a running stitch around the perimeter of the mask.
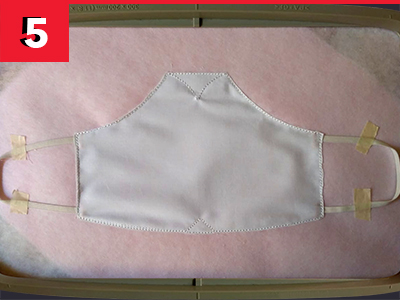
Remove the hoop from the machine and cut away the edges of the top fabric. Cut as close as possible to the running stitches, both on top…
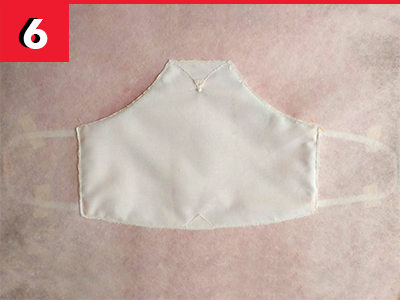
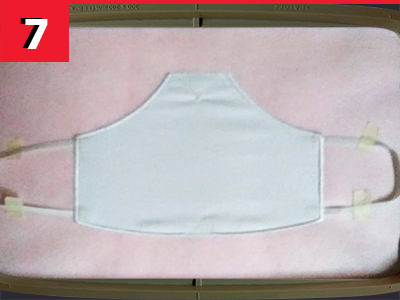
Return the hoop to the machine and and then finalize with a satin stitch around the edges of the face mask.

Remove the fabric from the hoop and detach the stabilizer from the mask. You are nearly there.
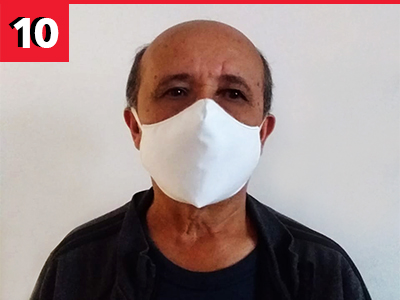
Congratulations!
You have made a protective face mask.
Staying apart is the best way to remain united.
Please share photos of YOUR face masks
#wilcom_int
The face mask templates NOW AVAILABLE as e2, e3 & e4.5 format.
Download yours today!
Please follow the Government regulations in your country.

Where can I get more information on the cute kids masks?
Our customer Click Borde in Brazil has created the masks and provided the 2 templates for our customers.