
There are four methods of adding a motif pattern to an Embroidery Design in EmbroideryStudio 4.5
- Individually placed randomly (Stamp)
- As a Run
- As a Column
- As a Fill
Each of these applications is based on the same library of Motif shapes.

Procedure
To select the motif you wish to use as a stamp you must select the motif from any of the sets by opening the Fill or Outline

Choose from either Motif outline properties 1 or 2
OR
Motif Fill properties 3 or 4
Make your selection 5
Then activate the Individual motif Tool 7 and click where you need the motif to be placed.
The motif has an anchor/rotation point, Left-clicking once then moving the mouse will rotate the motif, at the same time holding down the SHIFT key will resize the motif and a second click will place the motif and you can move to the next location for a new placement.
If you do not need to resize or rotate left-click once followed by ENTER or SPACEBAR ensuing motifs can be placed by moving the mouse then ENTER or SPACE without the need for a left-click.
ESC key will deactivate the tool when you are finished.

Drew Nelson and Reef Photo Stitch
Unique Embroidery Masterpiece with Reef PhotoStitch By Drew NelsonOver the years, I’ve often been asked, “How did you do that?”Today, Wilcom invites me to share

Q&A from 3D Puff Embroidery Webinar
3D Puff Embroidery Webinar Your Questions Answered By Justin Armenta Thank you to everyone who attended our “Unleashing Creativity with 3D Puff Embroidery” webinar! We

Binated!
Meeting Binated: A Powerhouse in the Embroidery Industry In the ever-evolving world of embroidery and design, one company stands out as a beacon of innovation,

The Essential Rules for Embroidering the United States of America Flag
The Essential Rules for Embroidering the United States of America Flag Embroidering the United States flag requires attention to detail, respect for tradition, and adherence
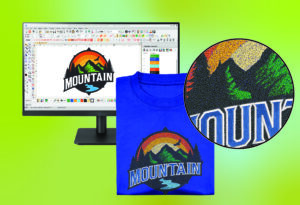
Diversify Your Printing Business with Embroidery
Diversify Your Printing Business with Embroidery! In today’s competitive market, adding embroidery to your business is a smart strategy to attract new customers and expand

A Multi-Sequin Embroidery Revolution: Now with 8-Sequin Support!
Léalo en español > Leia em português > A Multi-Sequin Embroidery Revolution: Now with 8-Sequin Support! What’s New! Transform your sequin embroidery with Wilcom’s user-friendly