
UPDATE: At present, EmbroideryStudio does not support Windows on Mac with Apple M1 chip using Parallels Desktop. Click here for future updates.
Can I Install Wilcom EmbroideryStudio on my Mac? What options do I have?
Yes you can! There are basically two options, Boot Camp and Virtualization
Boot Camp is a technology that allows booting your Mac in different operating systems, and the Boot Camp Assistant will guide you to convert a portion of your Mac hard drive into a full Windows PC environment; this is done by partitioning the hard drive, installing Windows on that new partition and use the Mac hardware as a PC (taking advantage of the Intel chipsets). Be aware that in order to use this option you will have to re-boot your Mac every time you want to use Windows.
Virtualization is the ability to run Windows and Windows base programs within the Mac OS as a window without the need of rebooting. By using virtualization you will be able to run EmbroideryStudio e4 (or any other Wilcom product) along with CorelDRAW in your Mac; the virtualization software will allow to share all the Mac services (printing, networking, exchange of files, etc.). There are a few companies out there offering virtualization products, in our case we will focussing in the most renown: Parallels, and VMware Fusion.
Parallels will use the installation of Boot Camp allowing you to use only one version of Windows for both Boot Camp and Parallels; that’s why we are using this product to explain how easy is to run Wilcom ES e4 on your Mac!. For this exercise we have chosen a Macbook PRO laptop running 10.13 (HighSierra) with 8 GB of RAM and a 512GB SSD hard drive.
Getting all the things you need
Through this process we will be:
- Setting up your Mac
- Downloading Windows
- Installing Boot Camp
- Installing EmbroideryStudio e4 & CorelDRAW
- Getting and Installing Parallels
Before you get started! Download our PDF version of these instructions.Installing-Wilcom-EmbroideryStudio-on-a-Mac.pdf
Setting up your Mac
The only thing that you need to do before initiating this process is to check that your Mac has enough free space. The minimum recommended is 32 GB; we recommend 48 GB o more so Windows can run properly.
Download Windows
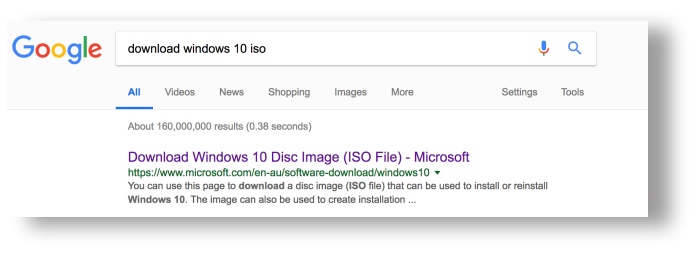
Download Windows 10 image (ISO File) from the Microsoft web page, if you are unsure, just Goggle it and chose the one from microsoft.com, this is the link: https://www.microsoft.com/en-au/software-download/windows10ISO.
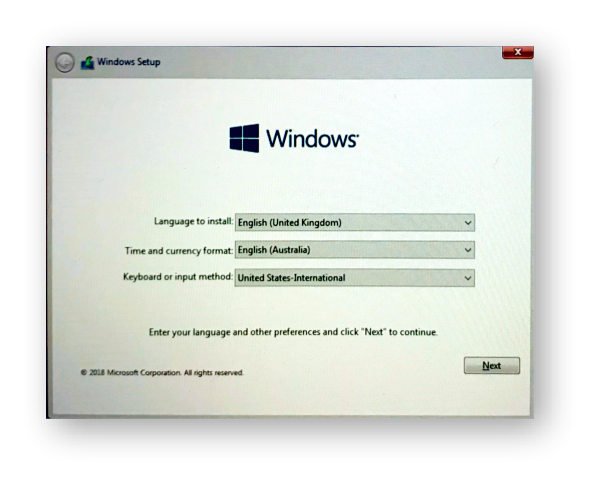
When prompted please select Windows 10:
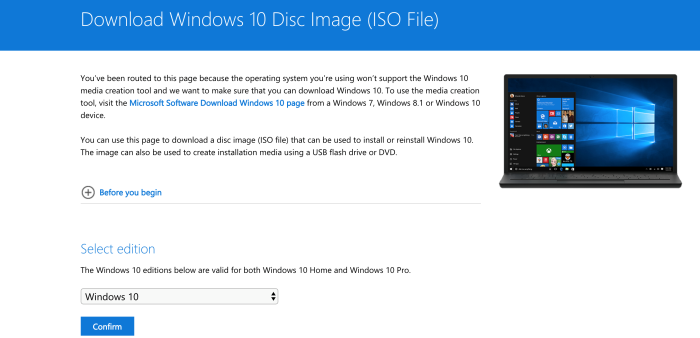
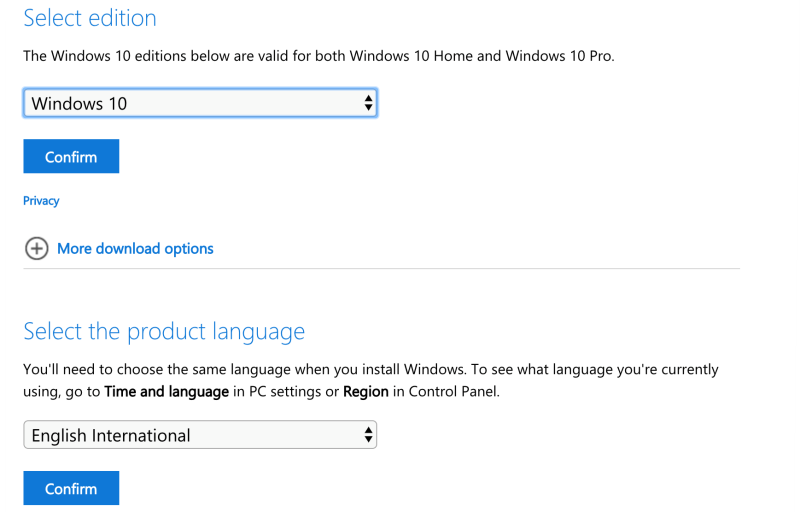
- In ‘Editions’ please choose Windows 10, and;
- In ‘Product Language’ please choose your preferred language
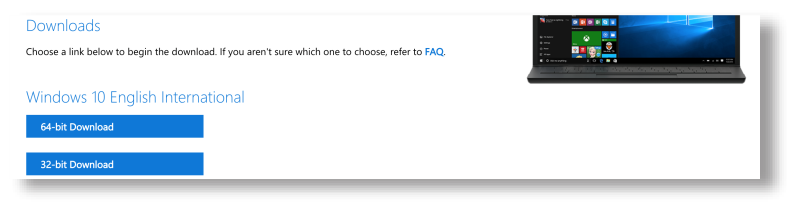
Choose the ‘64 bit download’, this is the only one that will work properly in your Mac.
Installing Boot Camp
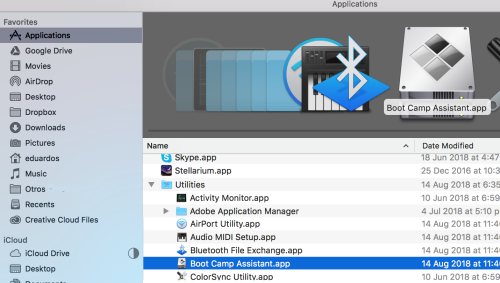
Navigate to your Application folder, scroll down until you find the folder “Utilities”, choose Boot Camp Assistant and launch it.
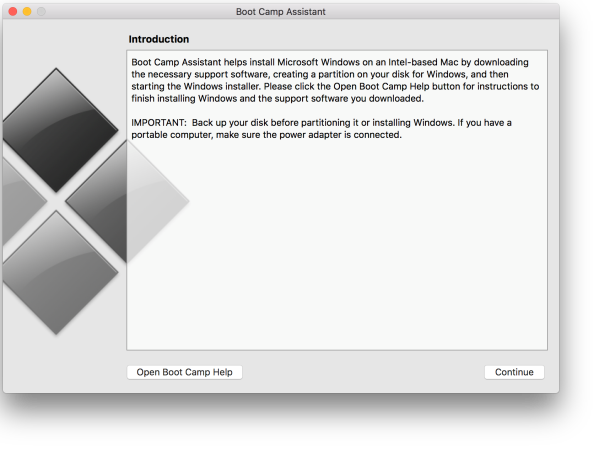
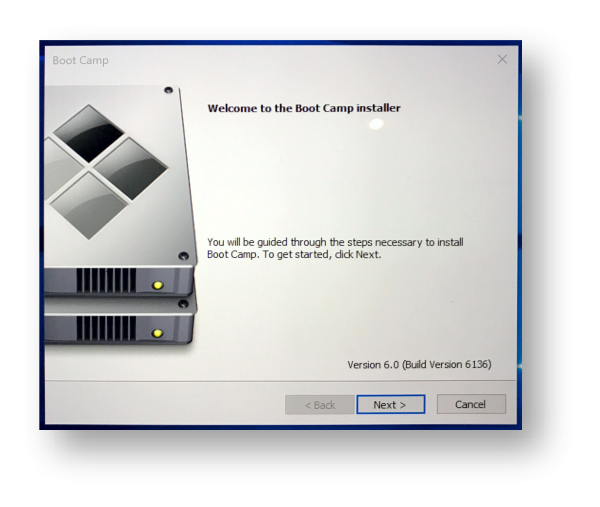
Once you are on the Boot Camp App, click on Continue.
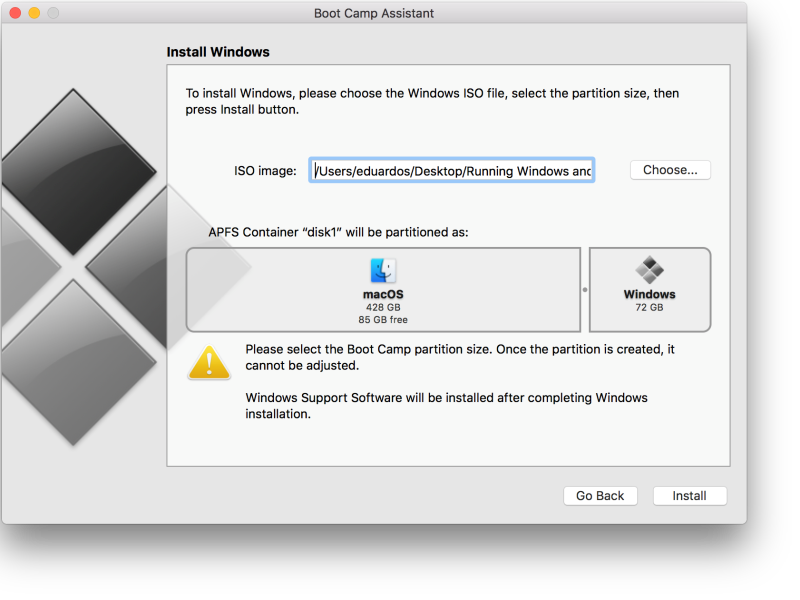
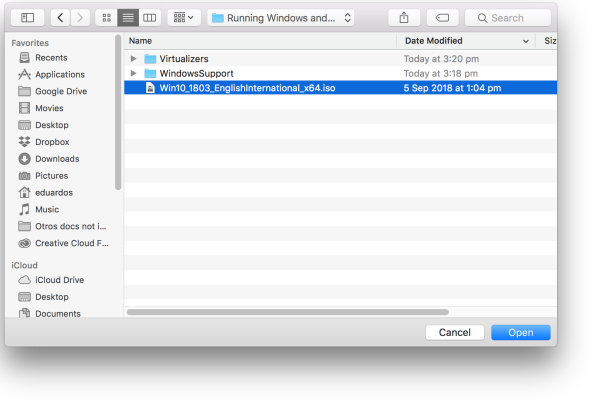
On the ‘Install Windows’ screen please choose the Windows ISO file that you previously downloaded from the Microsoft site, and the decided how much space you are going to spare for the Windows partition. Please be aware that once you have made this decision, will be very difficult to change it, most probably you will require an technician to do it for you.
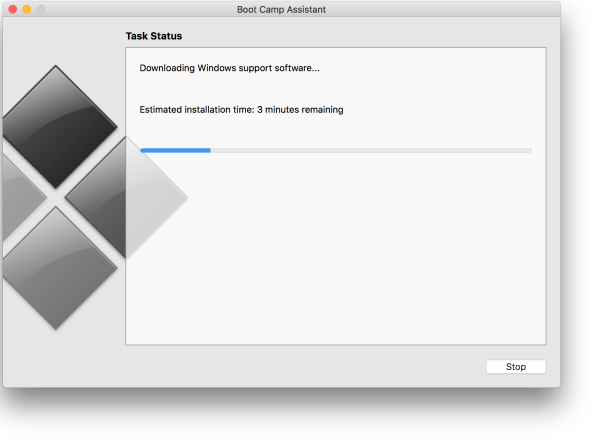
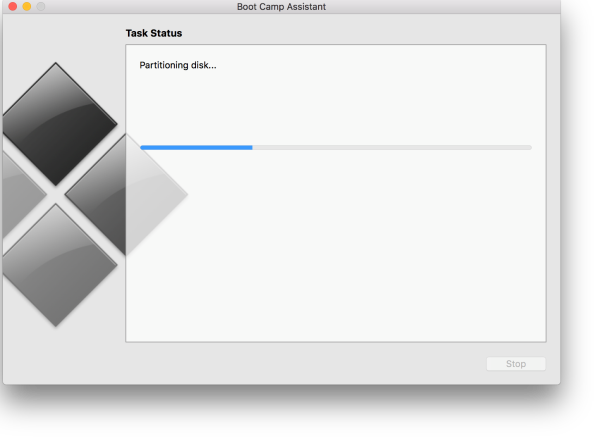
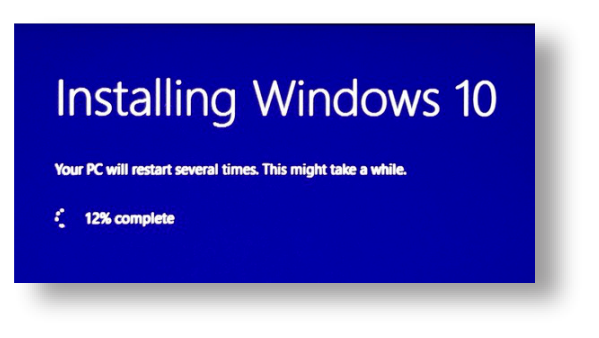
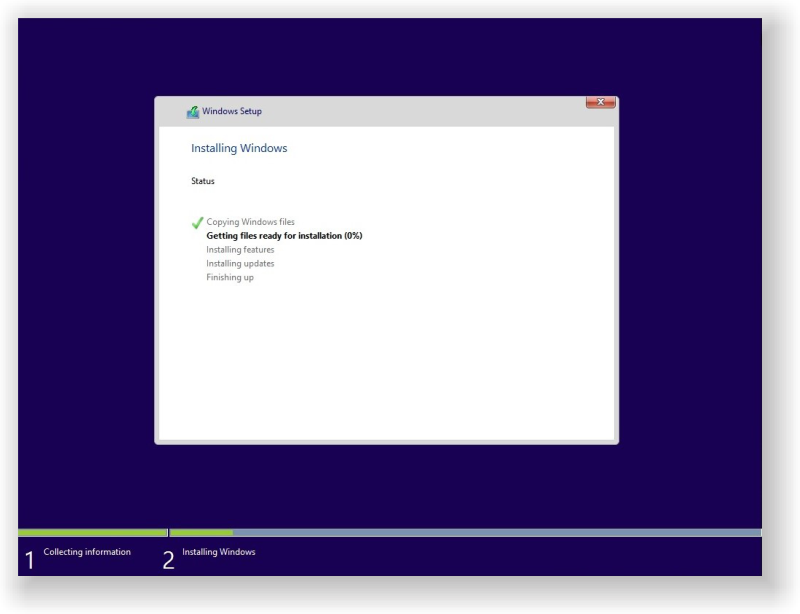
The installation process will take between 25 minutes to an hour depending on your internet connection and your Mac hardware, the Assistant will install the Windows Support Software, then it will partition your hard drive, install Windows 10 for you and finally install the Boot Camp tools needed to run Windows properly.
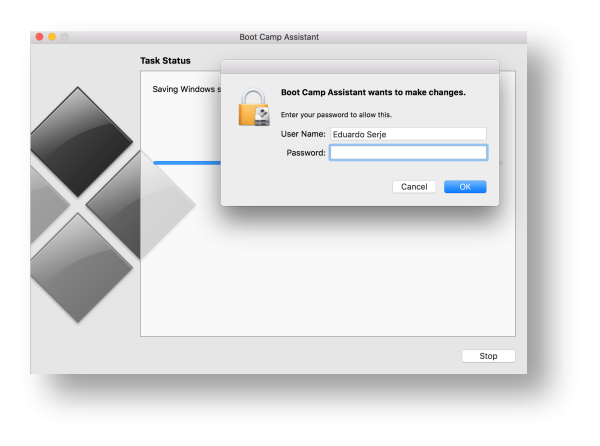
Before installing Windows 10, Boot Camp will ask you for your password.
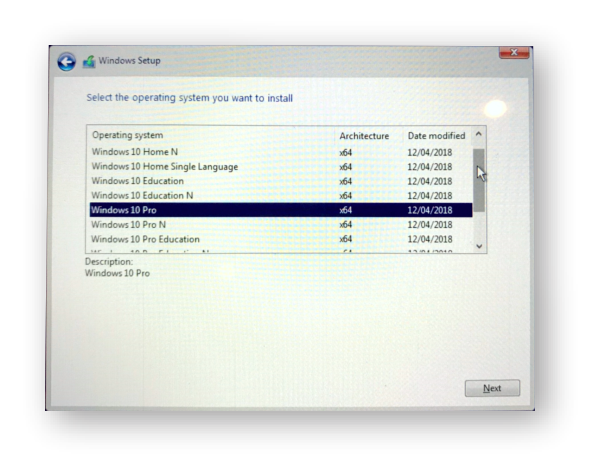
The Windows installation will begin and you will be asked for you personal data, date and time, network and/or Wi-Fi password etc. You will also need to provide an user name and password that will be use every time you log into Windows. Boot Camp and Windows will restart several times during this process. Please take into consideration that you will need to purchase a Windows license to activate Windows, or if you’re working in a company they might provided for you.
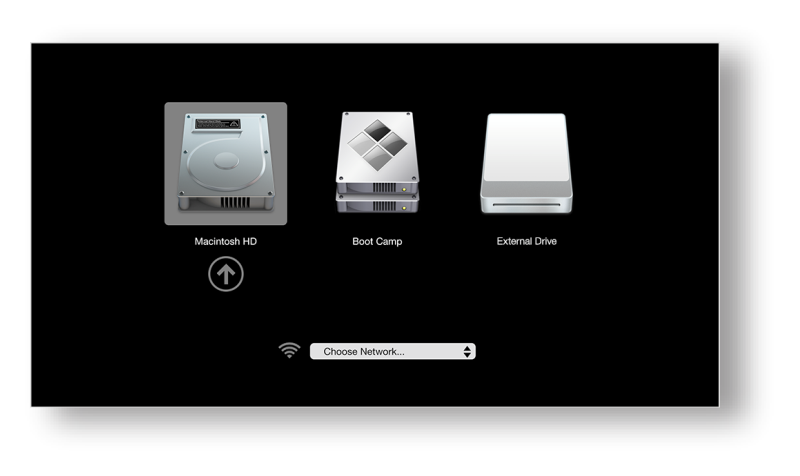
Once the installation have finished, your Mac will be restarted; if you want to boot into Windows, please maintain the Option key pressed until you get the following window and choose Boot Camp:
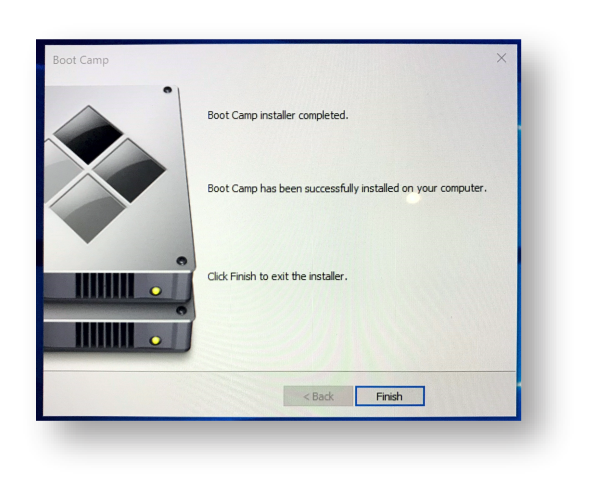
Once you boot into Windows for the firs time you will be asked to install the Boot Camp tools, a set of drivers that will allow you to properly use the Mac hardware in your newly installed Windows 10:
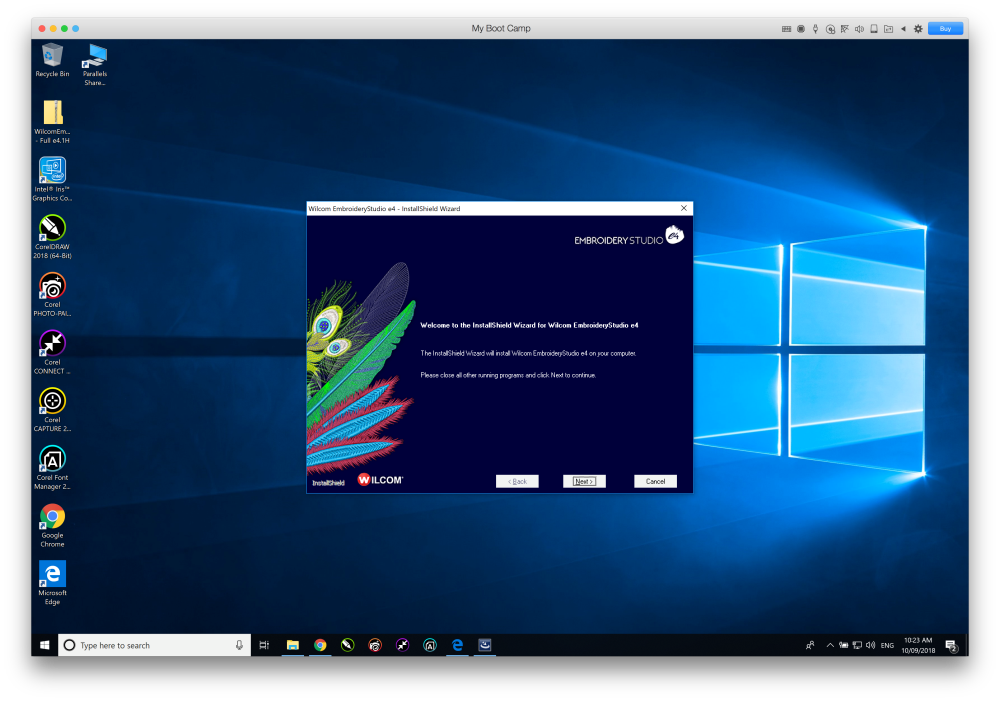
Installing EmbroideryStudio e4 & CorelDRAW
Once the Installation of the Tools have finished you can proceed with the installation of Wilcom EmbroideryStudio e4 and CorelDRAW Graphics Suite following the instructions provided in the product box:
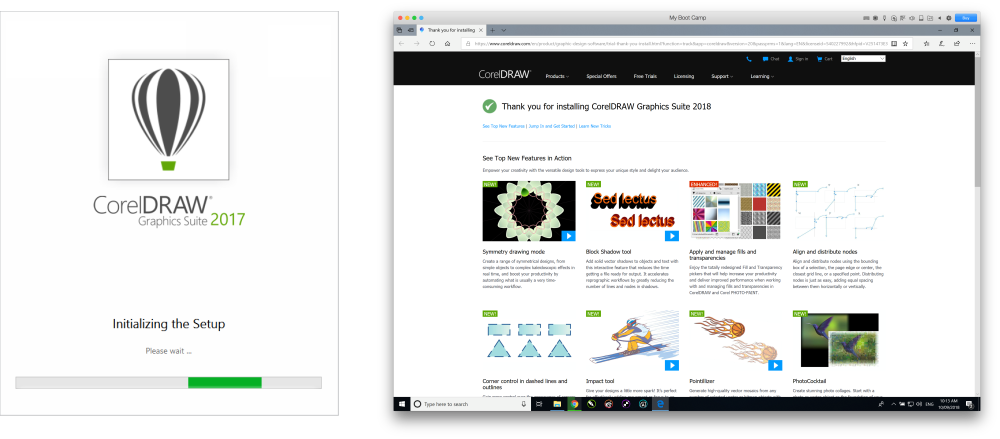
Once you finish with the installation of EmbroideryStudio e4, please install CorelDRAW Graphics Suite:
Getting and Installing Parallels
Download the latest version of Parallels from their website, they have several versions, we tested EmbroideryStudio with their standard version, if you need something fancier, be prepared to pay much more
At the time of this blog, the latest version was 14. Parallels offer a 15 days full trial in case you need to test it before hand. Once you have download click on the parallels.dmg app and follow the instructions:
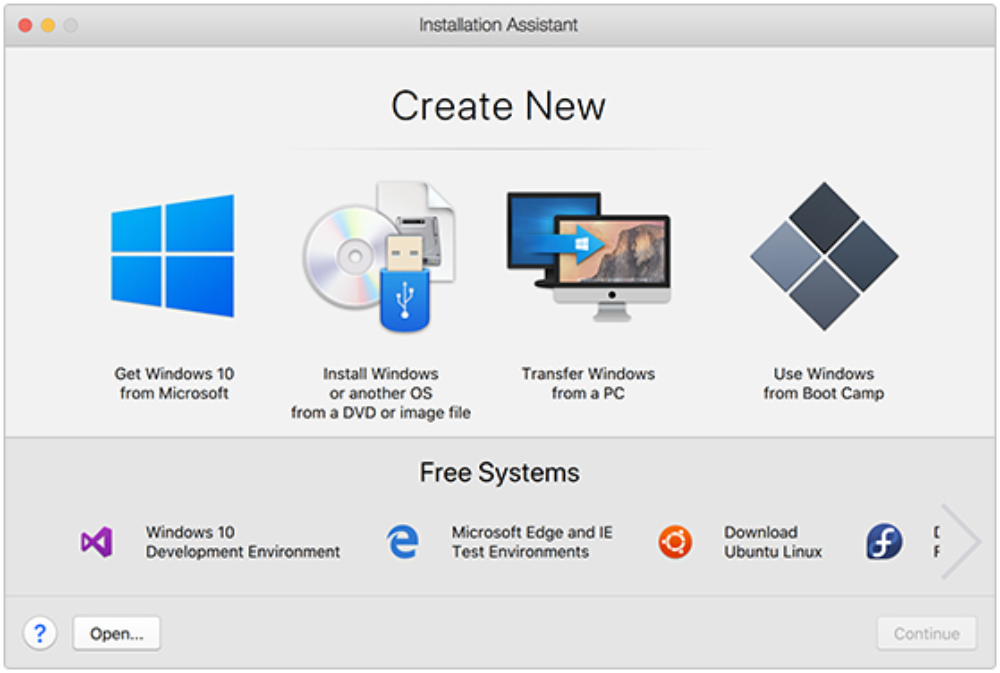
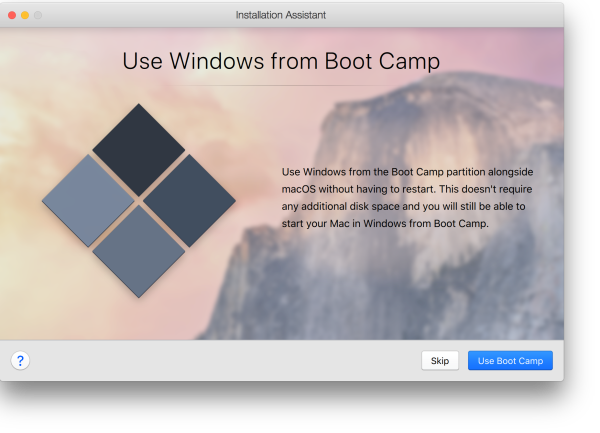
The first screen that will pop up will give the ability to install Parallels (and Windows) in several ways. Because we have already installed Windows on Boot Camp successfully, the easiest and faster way is by choosing “Use Windows from Boot Camp). You will save not only time but also space in hard drive by avoiding two different Windows installations, one in Boot Camp and the other inside your MacOs.
Is the smartest and easiest way!
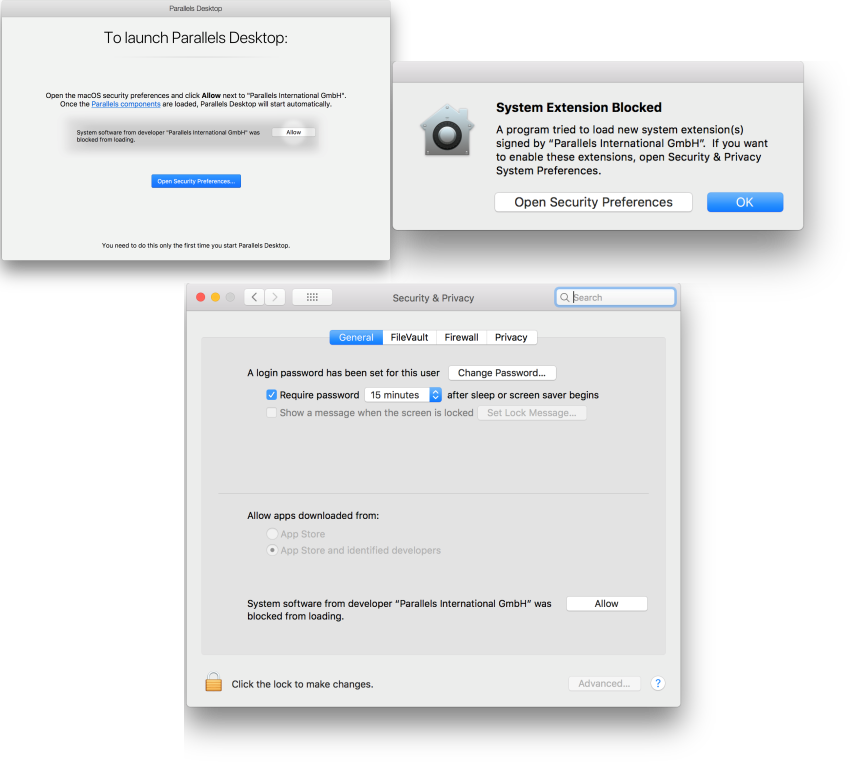
If you’re prompted to “Allow Parallels International GmbH” please do so, you have to do this only the first time.
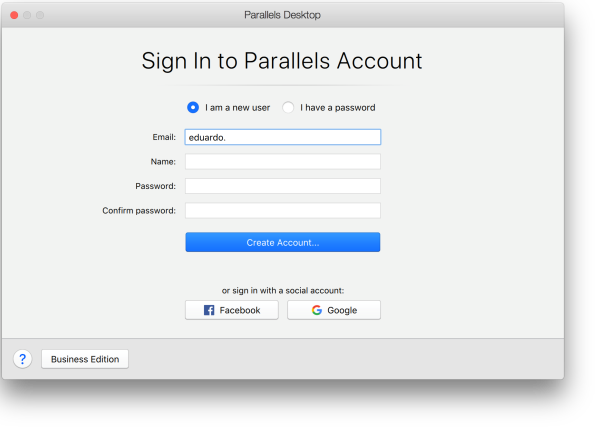
Before launching for the first time you will be prompted to sign in or register an account with Parallels:
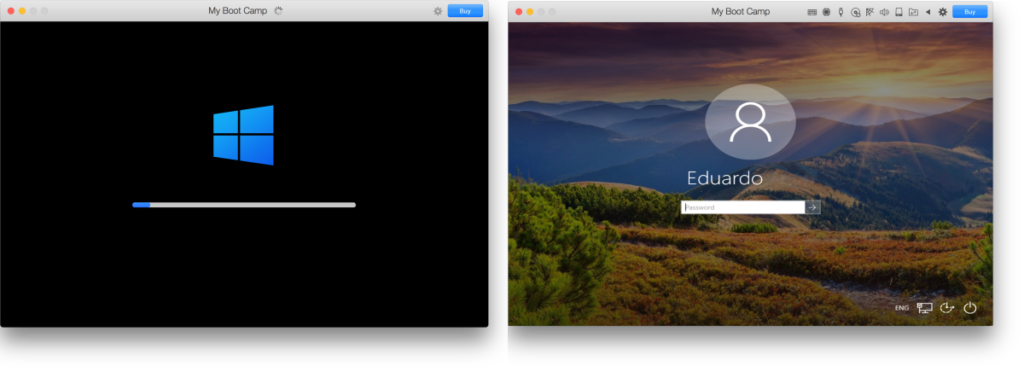
Once you’re finished with the registration, launch Parallels from within your MacOs without rebooting and log in into Windows using the same credentials that you use for Boot Camp:
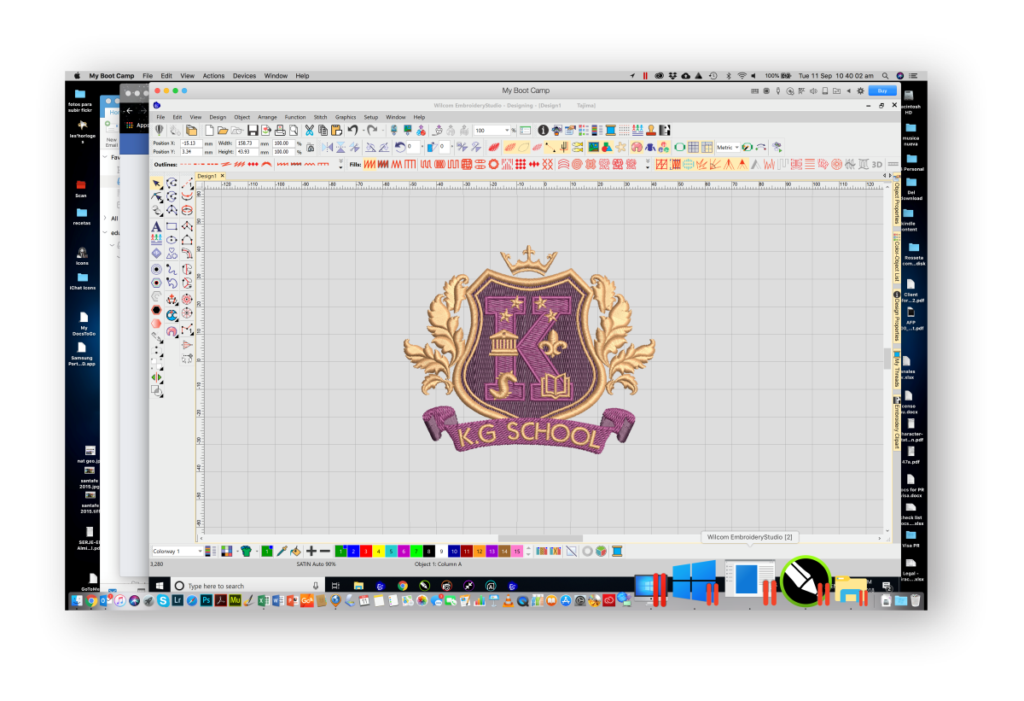
And voila! Now you can use your Wilcom EmbroideryStudio e4 inside your MacOS without rebooting and completely integrated with your other Mac native applications. Don’t forget to verify if there is any updates available for Windows, Apple software, Wilcom or Corel products before enjoying using ES on your Mac!
Note: If you don’t want to deal with the different keyboard shortcuts, the easiest way is by using an USB Windows keyboard when you using Parallels.
I need wilcom
I recommend Parallels Desktop Pro Edition.
I added embroidery to my business in 2013 with my 1st ZSK machine. I purchased GIS base pac (German software) along with it, not knowing anything about embroidery, based on the salesman recommendations. I have always been an Apple Macintosh based business / consumer. At the time I already had Parallels Desktop standard edition; I have FedEx Ship manager that needed Windows 7 to run.
I started taking online digitizing lessons from a GIS instructor to get “up to speed” with the software at $75/ 90 minutes. After 1 1/2 years I came across new software for the MAC called TRU Embroidery and was excited. It looked promising with video tutorial support and could do much more that the basis package I had purchased earlier with my ZSK. But the tutorials were far and few between and I still needed a better understanding of how to take a logo from scratch.
Attending a trade show I purchased a series of DVD’s that were going to solve my problem. The best thing about this series was that the instructor was using a software I wasn’t familiar with; it was Wilcom and it sure looked something to investigate.
Wilcom had a year end special, later that year, and I turned in my TRU embroidery software as a down payment, paid off the balance and have never looked back. It has the support I had been looking for, not to mention the software itself is 2nd to none. I love my Wilcom e4.
I believe it was at this point I upgraded to Parallels Pro edition. The pro edition allows for 128 GB of Virtual Ram and 32 Virtual CPU’s. You can run Wilcom in the Windows environment or as I do, in the “Coherence mode” meaning you can set up Windows much like the MAC, pretty cool! And many more features plus they have 24/7 phone and screen sharing support. This is especially important to me.
Yes, it cost more at $99/year vs. $79 but unless Wilcom and CorelDRAW develop Mac versions of their fabulous software, it is a small price to pay.
Eduardo,
I am running Windows Parallel on mac Sierra. Do you know of any known issues with installing the latest macOS Mojave and running Wilcom on windows Parallel?
Wilcon on a Linux Mint?
If you partition a Mac to run Windows and Wilcom, will the Mac be able to recognize the dongle and authenticate use of the program?
Is anyone aware of the deadline for the Akin Gump LLP Training Contract Application? Wishing you Happiness and Good Cheer this Christmas
My clique on GPLUS would love your blog. Please can I link it to them?|
Does anyone know the deadline for SmartSearch Training Contract Application? God Bless you this Christmas season