


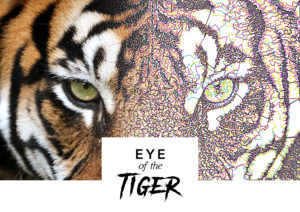
Eye of The Tiger Reef Photo Stitch
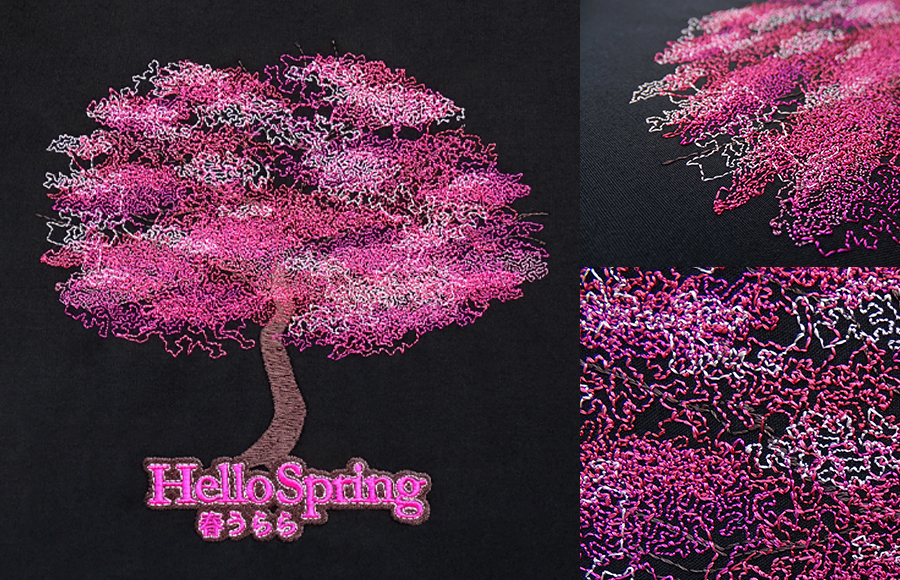
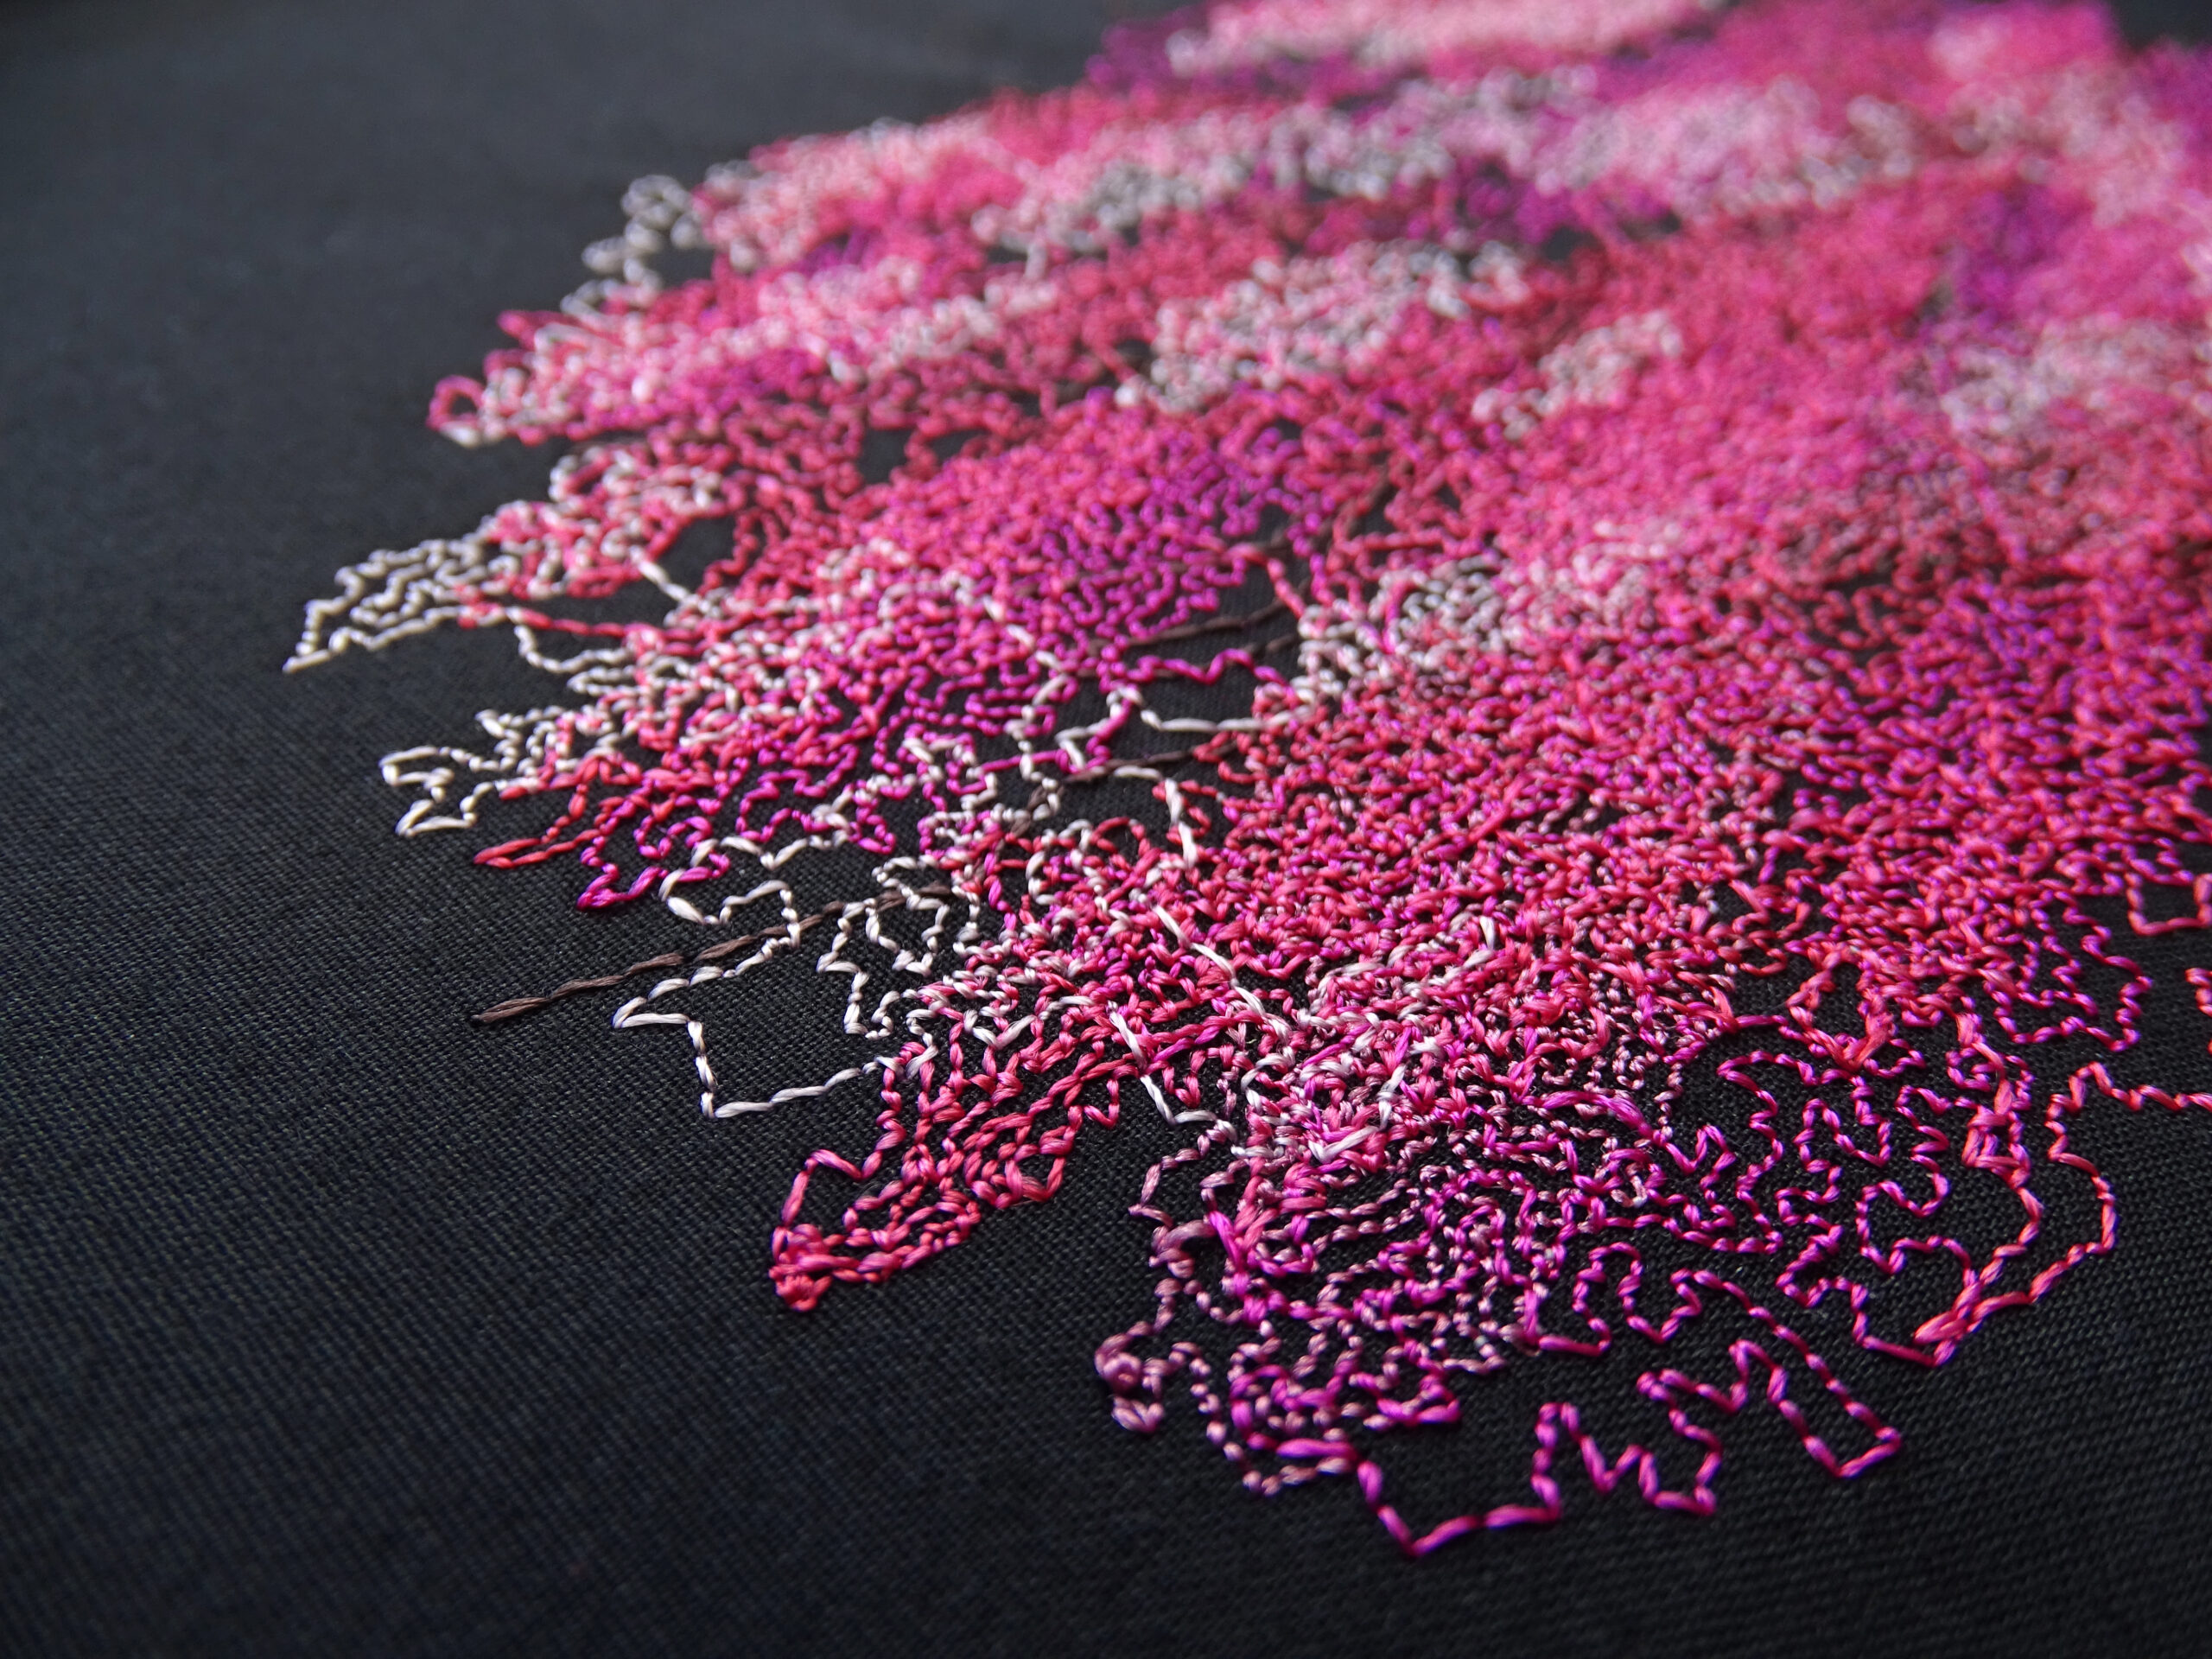
Reef Photo Stitch Element Today, Wilcom brings you their newest creative technique using the REEF PHOTO STITCH Element. All our Elements are specifically designed to

Reef Photo Stitch Element
Create intriguing designs and stay ahead of the competition with Reef Photo Stitch Element You may have thought that Wilcom’s photographic Elements are only used for

Get creative with EmbroideryStudio e4.5
EmbroideryConnect is a small, yet powerful assistant that enables embroiderers to wirelessly manage and transfer embroidery designs.