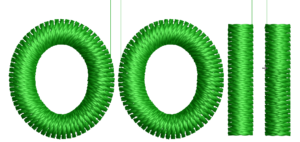
Kerning is the term used to describe the space between letters.
Even in print different letters have different kerning values.
Two O’s are usually spaced closer together than two I’s. This is particularly important in embroidery. Two I’s, if too close together will look like a single very wide letter while two O’s can be closer as they only meet at for a couple of stitches at the widest part of each letter.
The process of kerning letters is easy, the “potential pain” is that you must do it every time- well actually you only need to do it once! If you “teach” the software your preferred kerning values.
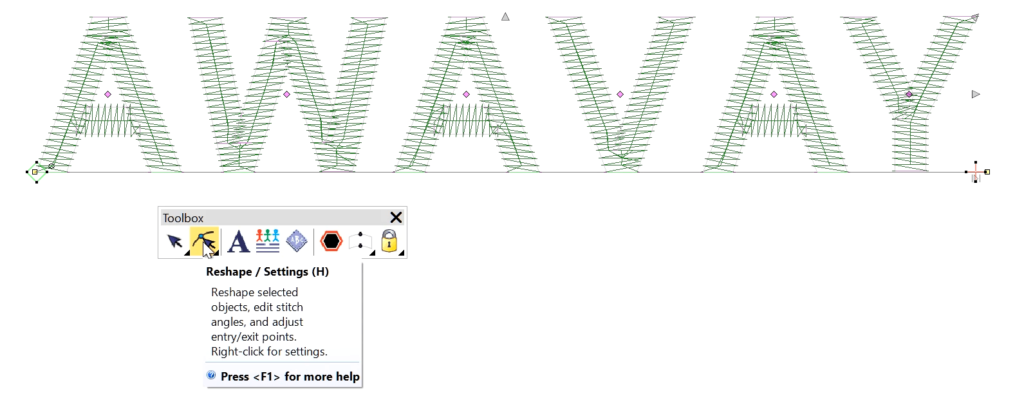
The video attached to this article will show you how. Basically the process is to use the reshape tool to move letters into place on the baseline.

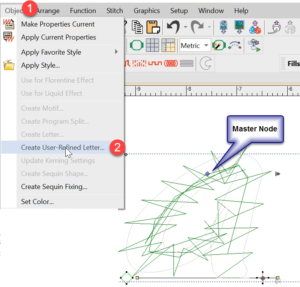
Use the Reshape tool shortcut “H”, select the master node of the letter to drag it to the desired location. Left clicking on a letter and holding and dragging alters that letter only.
Right clicking on a master node selects that letter and all to the right, now you can drag a group of letters. Notice the nodes turn blue when selected.
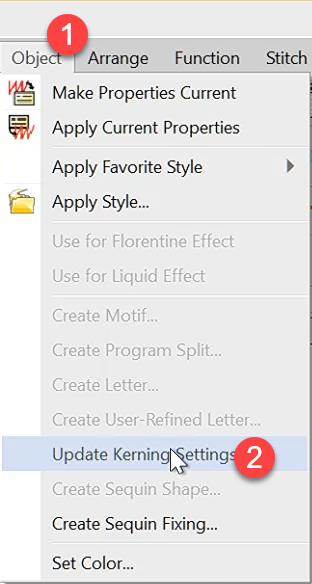
Now that the letters have been kerned, save the the font file to preserve the settings for re use.
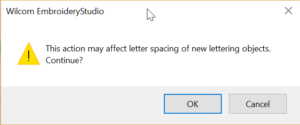
You will be presented with a warning. Click Ok to proceed. To test, copy the letters from the input box open a new work area paste the letters. You can see the new kerning values have been applied to the font.
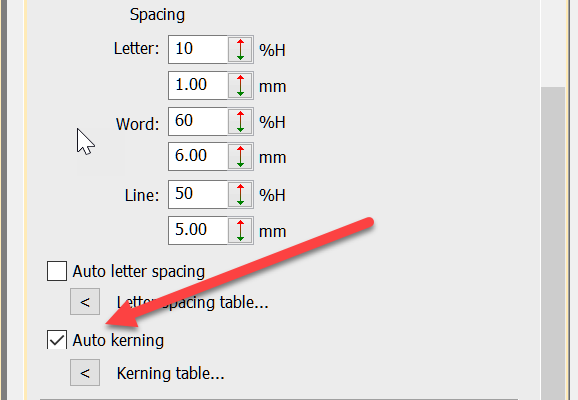
If you do not want the letters kerned move down in the properties and deselect the option, I recommend it is left turned on in your template.

This process only affects the font that you are working on and will have to be done each time you see the problem, in each of the fonts, as you are using them.
Once completed you will reduce your time kerning lettering dramatically.
These alterations are made to the .esa file in your Wilcom system.
It is crucial to backup those files just in the event you reload your software or wish to share the kerned fonts with another system in your workplace. Your fonts are stored in these folders C:\Program Files (x86)\Wilcom\EmbroideryStudio_e4.0\WLETTER and C:\Program Files (x86)\Wilcom\EmbroideryStudio_e4.0\USERLETW My recommendation is to copy these folders to a safe place and do it regularly, it would be a shame to waste the work in the event you need to reload your software.
In version 4.5.1 and later the folder is
C:\ProgramData\Wilcom\EmbroideryStudio\FONTS
This folder is not overwritten if you reinstall the software for any reason, so the changes to the font are preserved.
Other Links
Another case for the Font Creator Element
The Font Creator is one of my favorite Elements in EmbroideryStudio. When an unusual font or a special corporate font is required, Font Creator is
User Refined Letters
User Refined Letters You may have noticed some letters in some fonts do not perform well when stitched out if the letter size is too


One thought on “Auto Kerning”