Stars and other symmetrical designs occur in lots of embroidered files at many different sizes and a variety of styles, in the following article and video I will explore a few ideas for you to develop and add to your repertoire of embroidery skills and techniques.
Tiny stars for badges and flag designs created with outline and fill tools.
Larger stars with multiple offsets will require a sightly different treatment. I like to use the CorelDRAW interface to create the basic star.
Star Tool
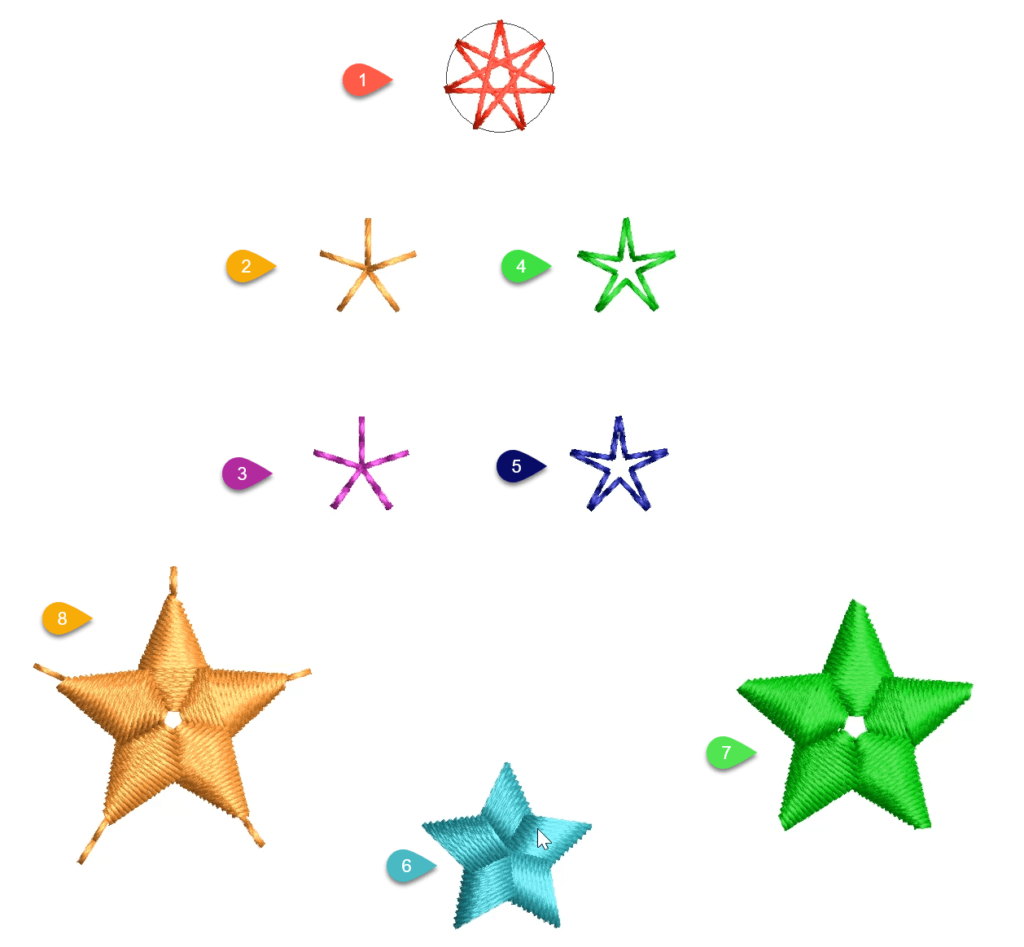
The red star in the top image is created with the Star Tool which defaults to a zig zag fill stitch. Two factors determine how many points appear on the star.
1. The size of the object. 2. The stitch spacing.
If the stitch spacing is set at say 2 then the larger the image the more room there is for the stitches and therefore more points on the star. To reduce the number of points increase the stitch spacing. Conversley if there are too few points then reduce the spacing.
Manual Tool
Asterisk Stars 2 and 4 are created with the manual tool. The advantage is that you plot the stitch points at the end of each line. As the star increases in size the stitches remain constant and the distance between stitches gets larger, up to a point this is effective, but tool large and the spacing will convert to jump stitches on the embroidery machine and the final design will not stitch nicely.
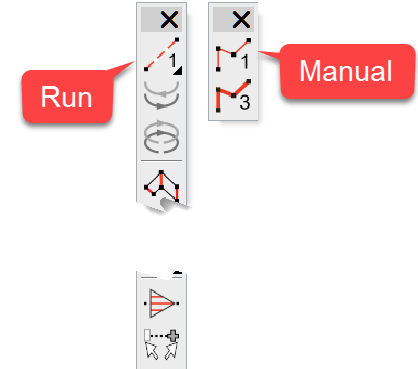
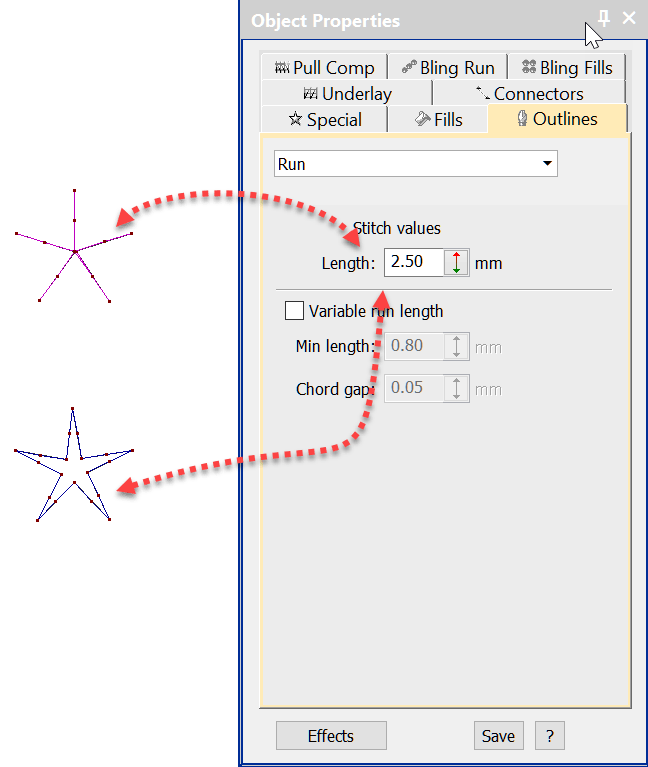
Run Tool
Stars 3 and 5 have been created with the Run Tool. The difference here is that you can determine the stitch spacing, increasing the size of the stars will add more stitches. For tiny stars you could increase the stitch spacing to make longer stitches or use teh manual sitch method. Input is the same as for the manual tool but notice in the video I created separate run stitches for the asterisk star beginning each at the center and used the branching too to tie them all together. Doing it this way I do not need to repeat the design as the branching tool will create a run out and back for each object.
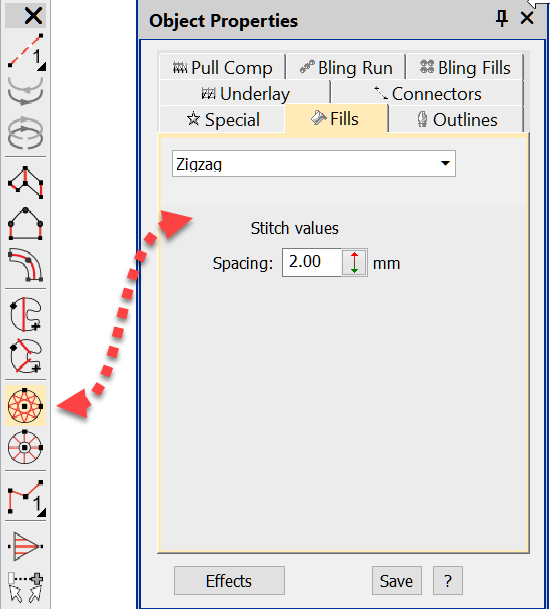
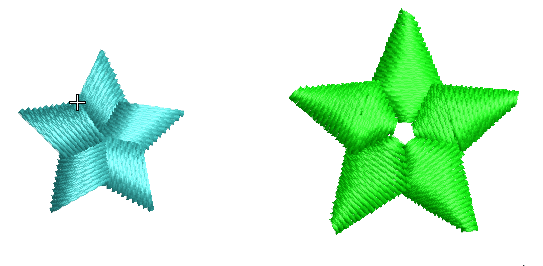
Satin Fill
Stars 6 and 7 have been created with column A and filled with satin stitches. Notice the change of direction in the stitches in each star. The column width in the star on the left is fairly constant allowing this star to stitch smaller than the star on the right. The star on the right will scale up larger until either the satin stitches are too wide and you choose to apply auto split or change teh stitch type to tatami.
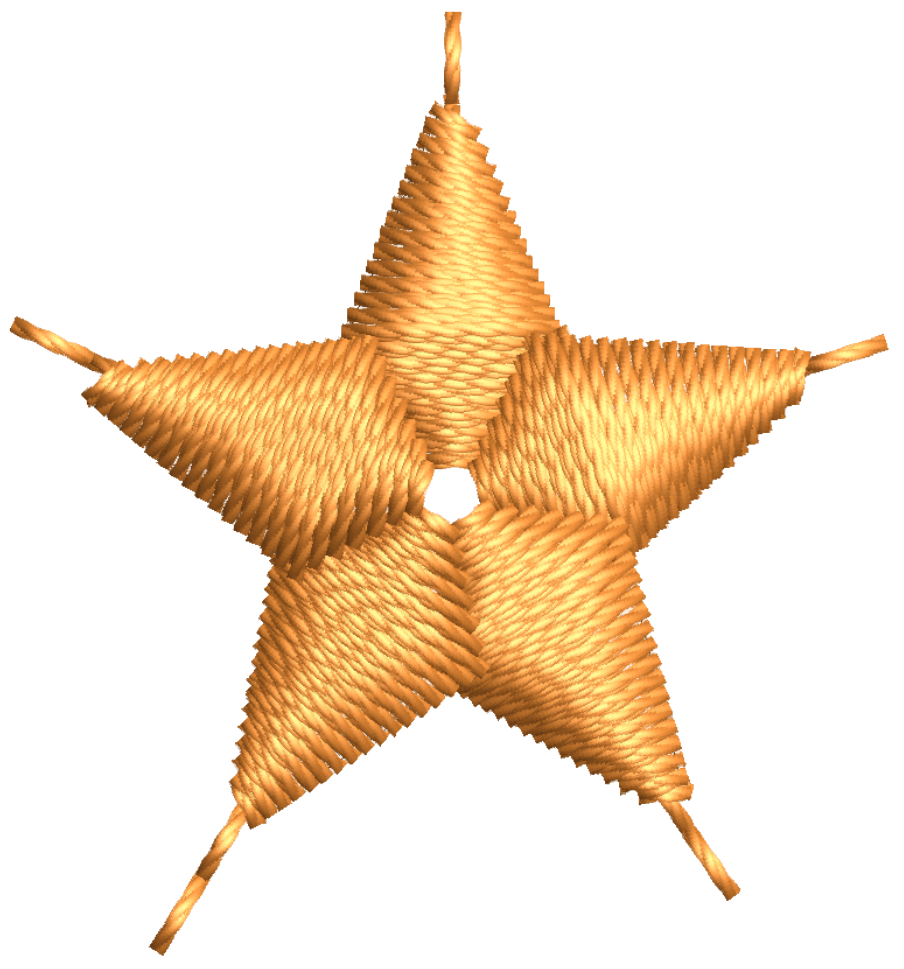
Star 8 is a combination of running and satin stitches, jsut make sure the end of the run stitches is close enoght to the first point in the satin that a thread trim does not occur. See the article on Connectors.
Tatami Filled
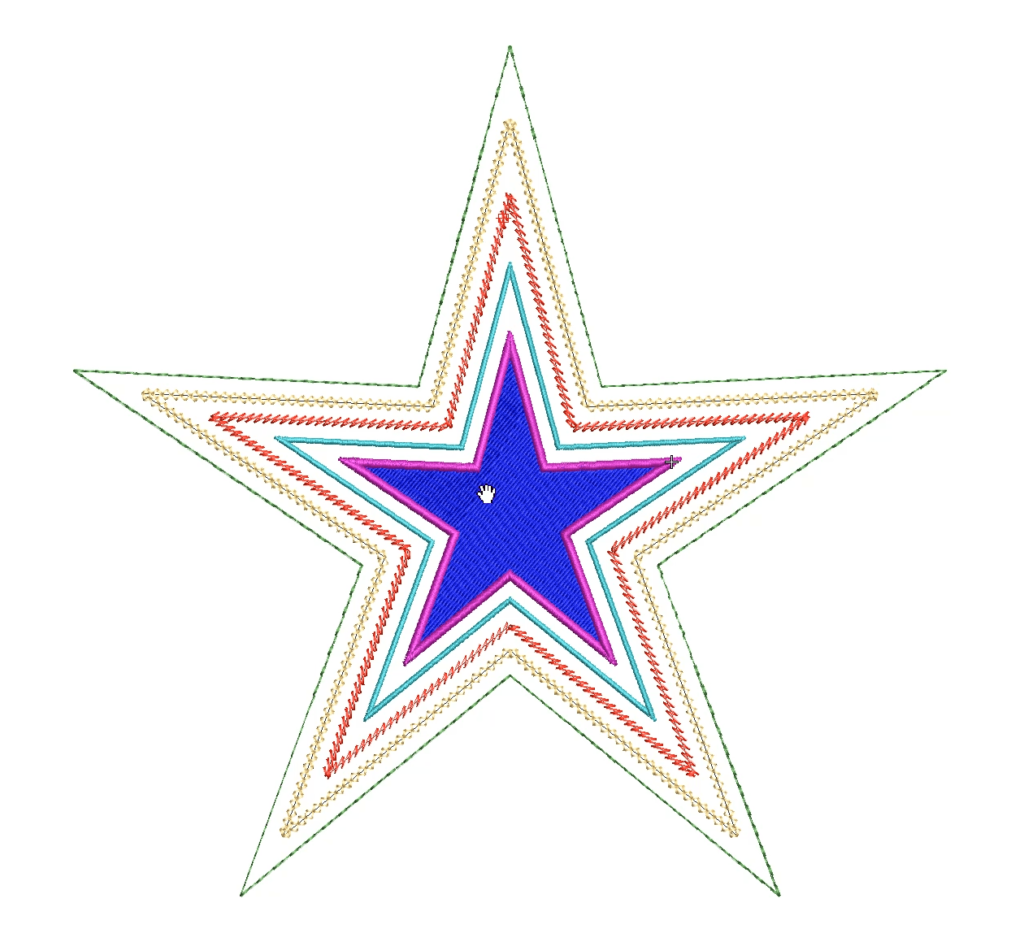
Larger stars, say for a Jacket Back will most likely be too large for satin stitch, another fill type would be more suitable e.g. tatami or motif perhaps. The most suitable tool woud be Complex Fill, you could use some art work and freehnad the star shape using the Complex Fill tool. Or to make a symetrical star I like to use CoreDRAW to create the shape. One of the properties of a star in Corel is how many points you wish to make and another is how “sharp” do you want to make each point, so it is quite versatile.
Complex Fill star created in CorelDRAW Star
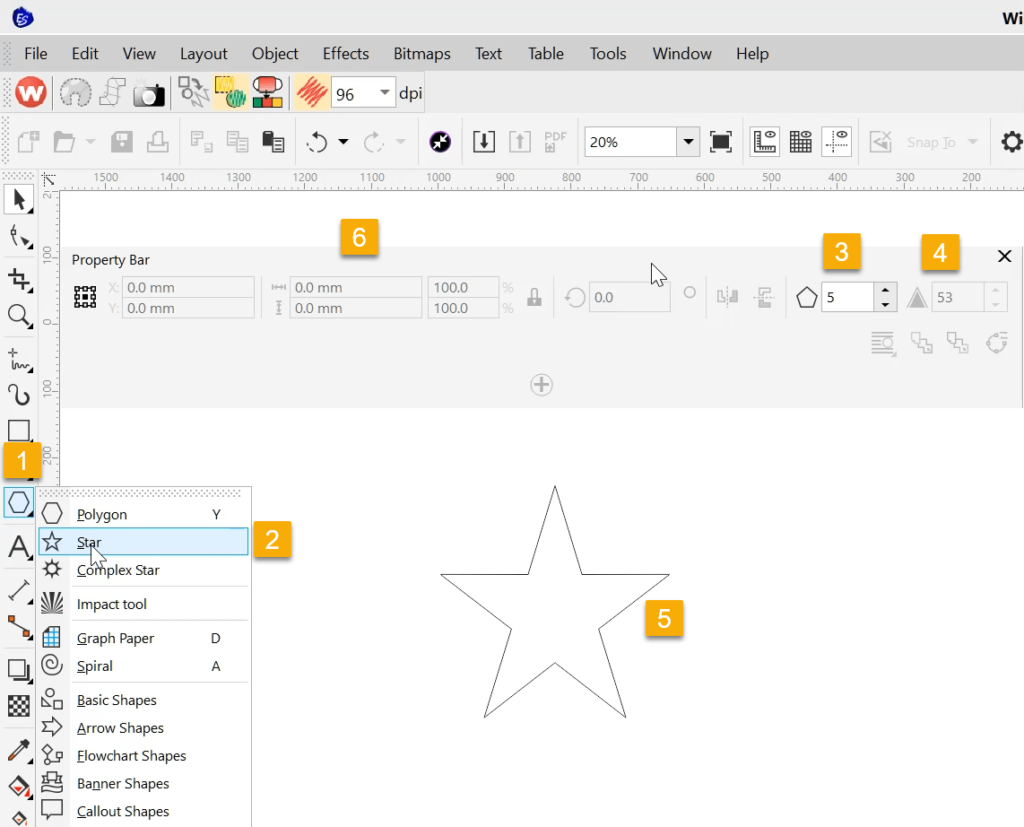
Open CorelDRAW from the mode toolbar.
1. The Star Tool is found in teh Polygon Tools 2. Select the tool 3. Select the number of points on the Star 4. Select the sharpness of each point 5. Left click and drag to create – holding the ctrl key will make the star proportional. 6. change the size of the star

Hallo John,
vielen Dank!
Leider kann ich kein Englisch, es wäre sinnvoll und auch Produktfördernd wenn man die Landessprache auswählen könnte!!!