We forget that we had to learn! We all have skills that we perform without having to think about it, we become so familiar with procedure we no longer need to think about the next step e.g. riding a bike, driving a car, playing our favourite sport or instrument, everyday things that at one time…
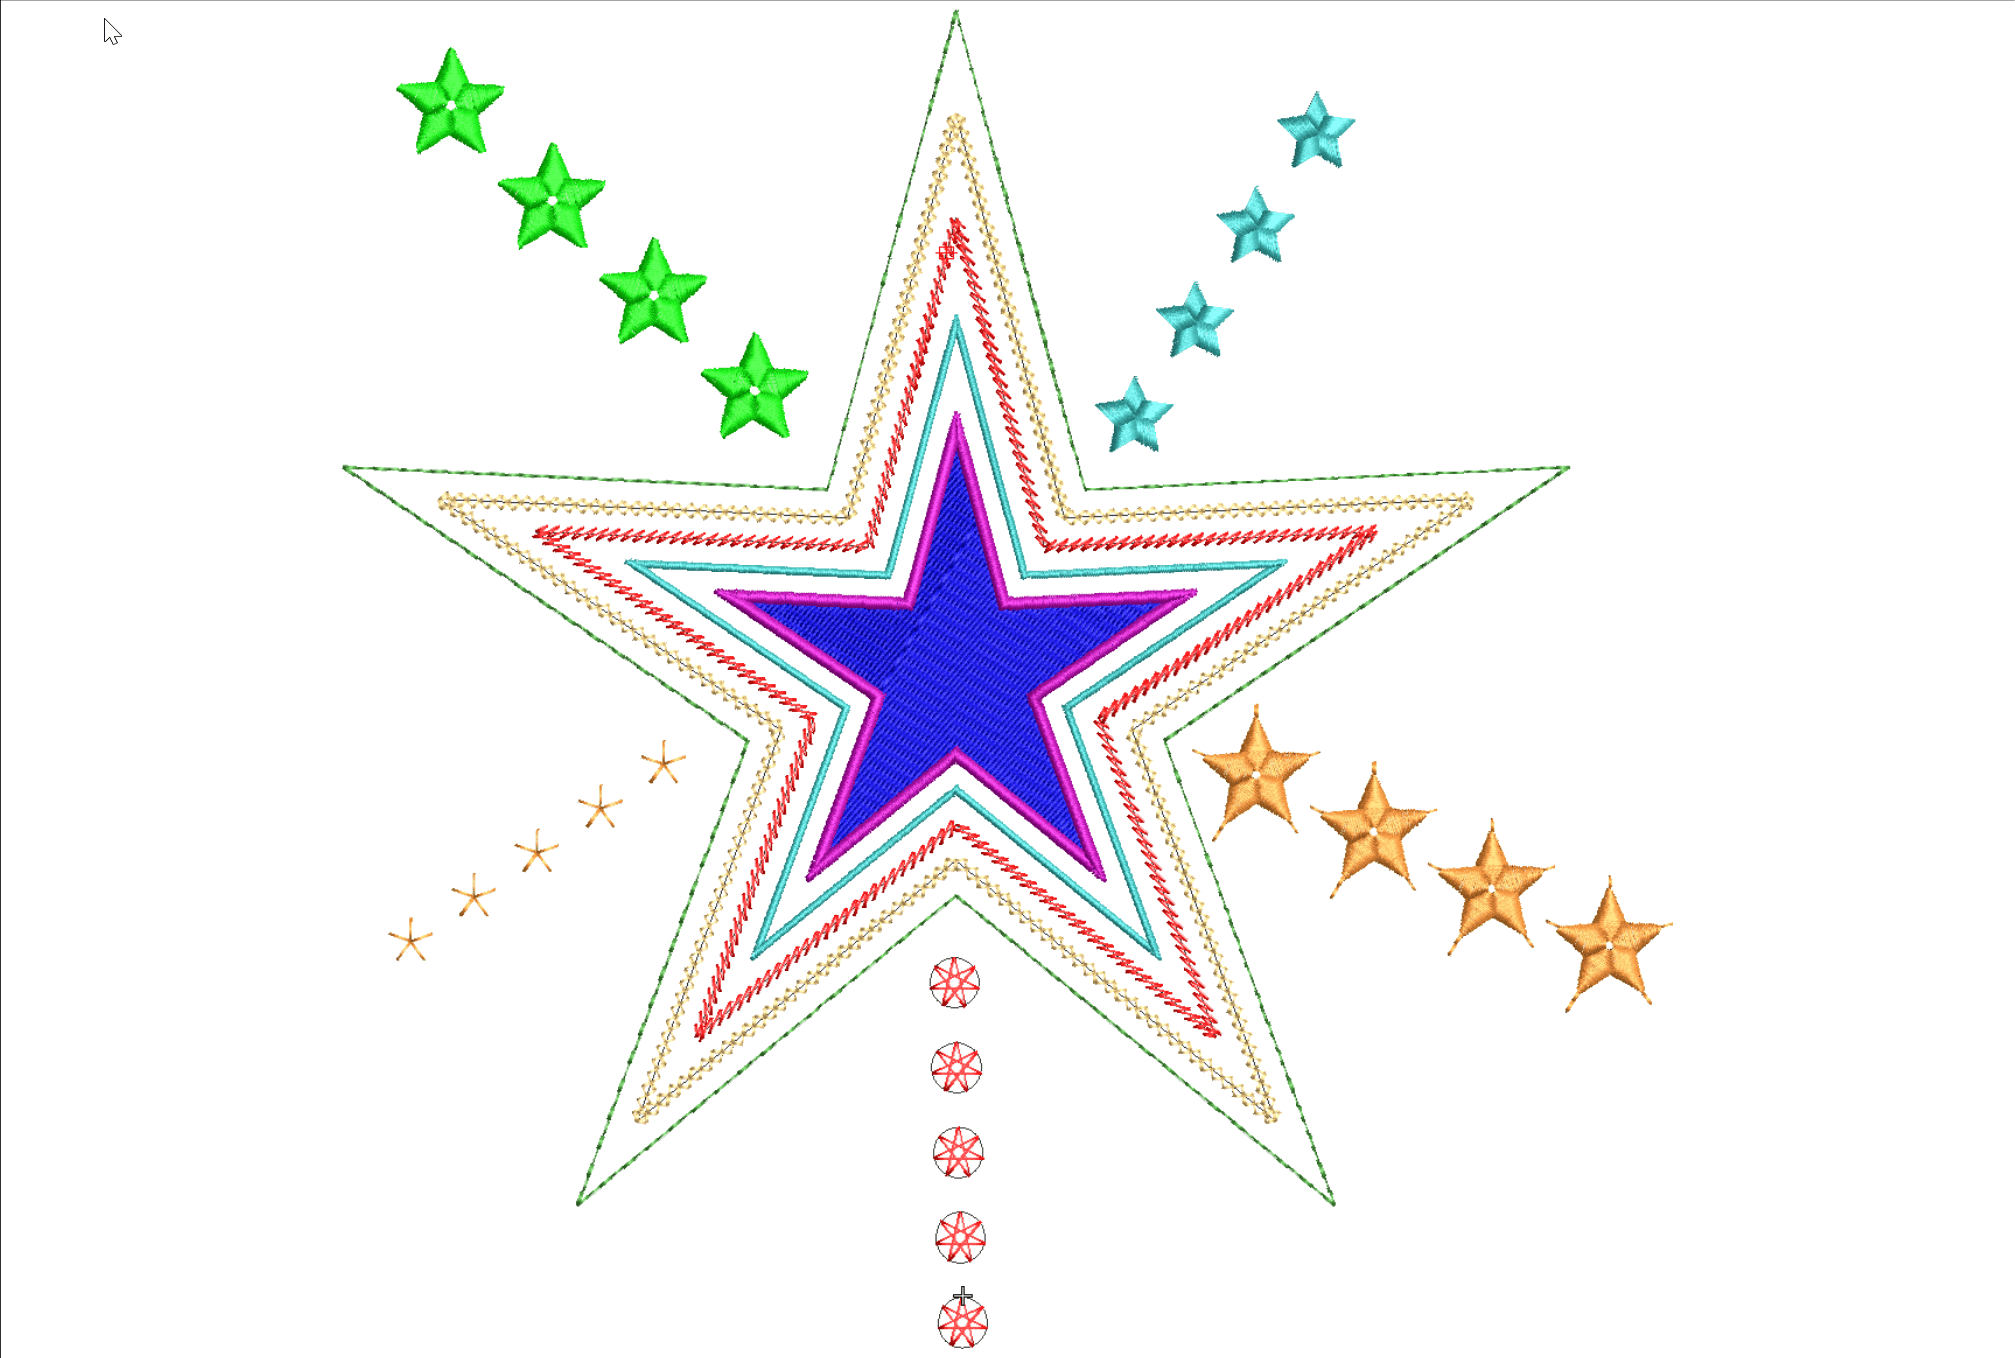
Various Stars Stars and other symmetrical designs occur in lots of embroidered files at many different sizes and a variety of styles, in the following article and video I will explore a few ideas for you to develop and add to your repertoire of embroidery skills and techniques. Tiny stars for badges and flag designs…
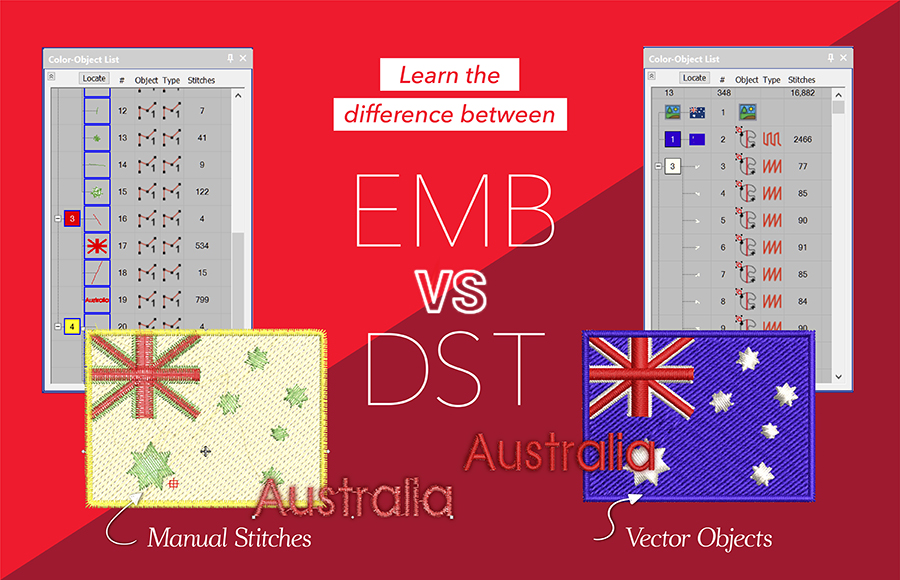
Compare .EMB and .DST files .EMB = Vector The embroidery objects created in EmbroideryStudio are vector based, which simply means if the object is resized then the stitch properties including stitch spacing, stitch length, and underlay are maintained. In fact, all the properties relating to the design are preserved and the stitch count is adjusted…
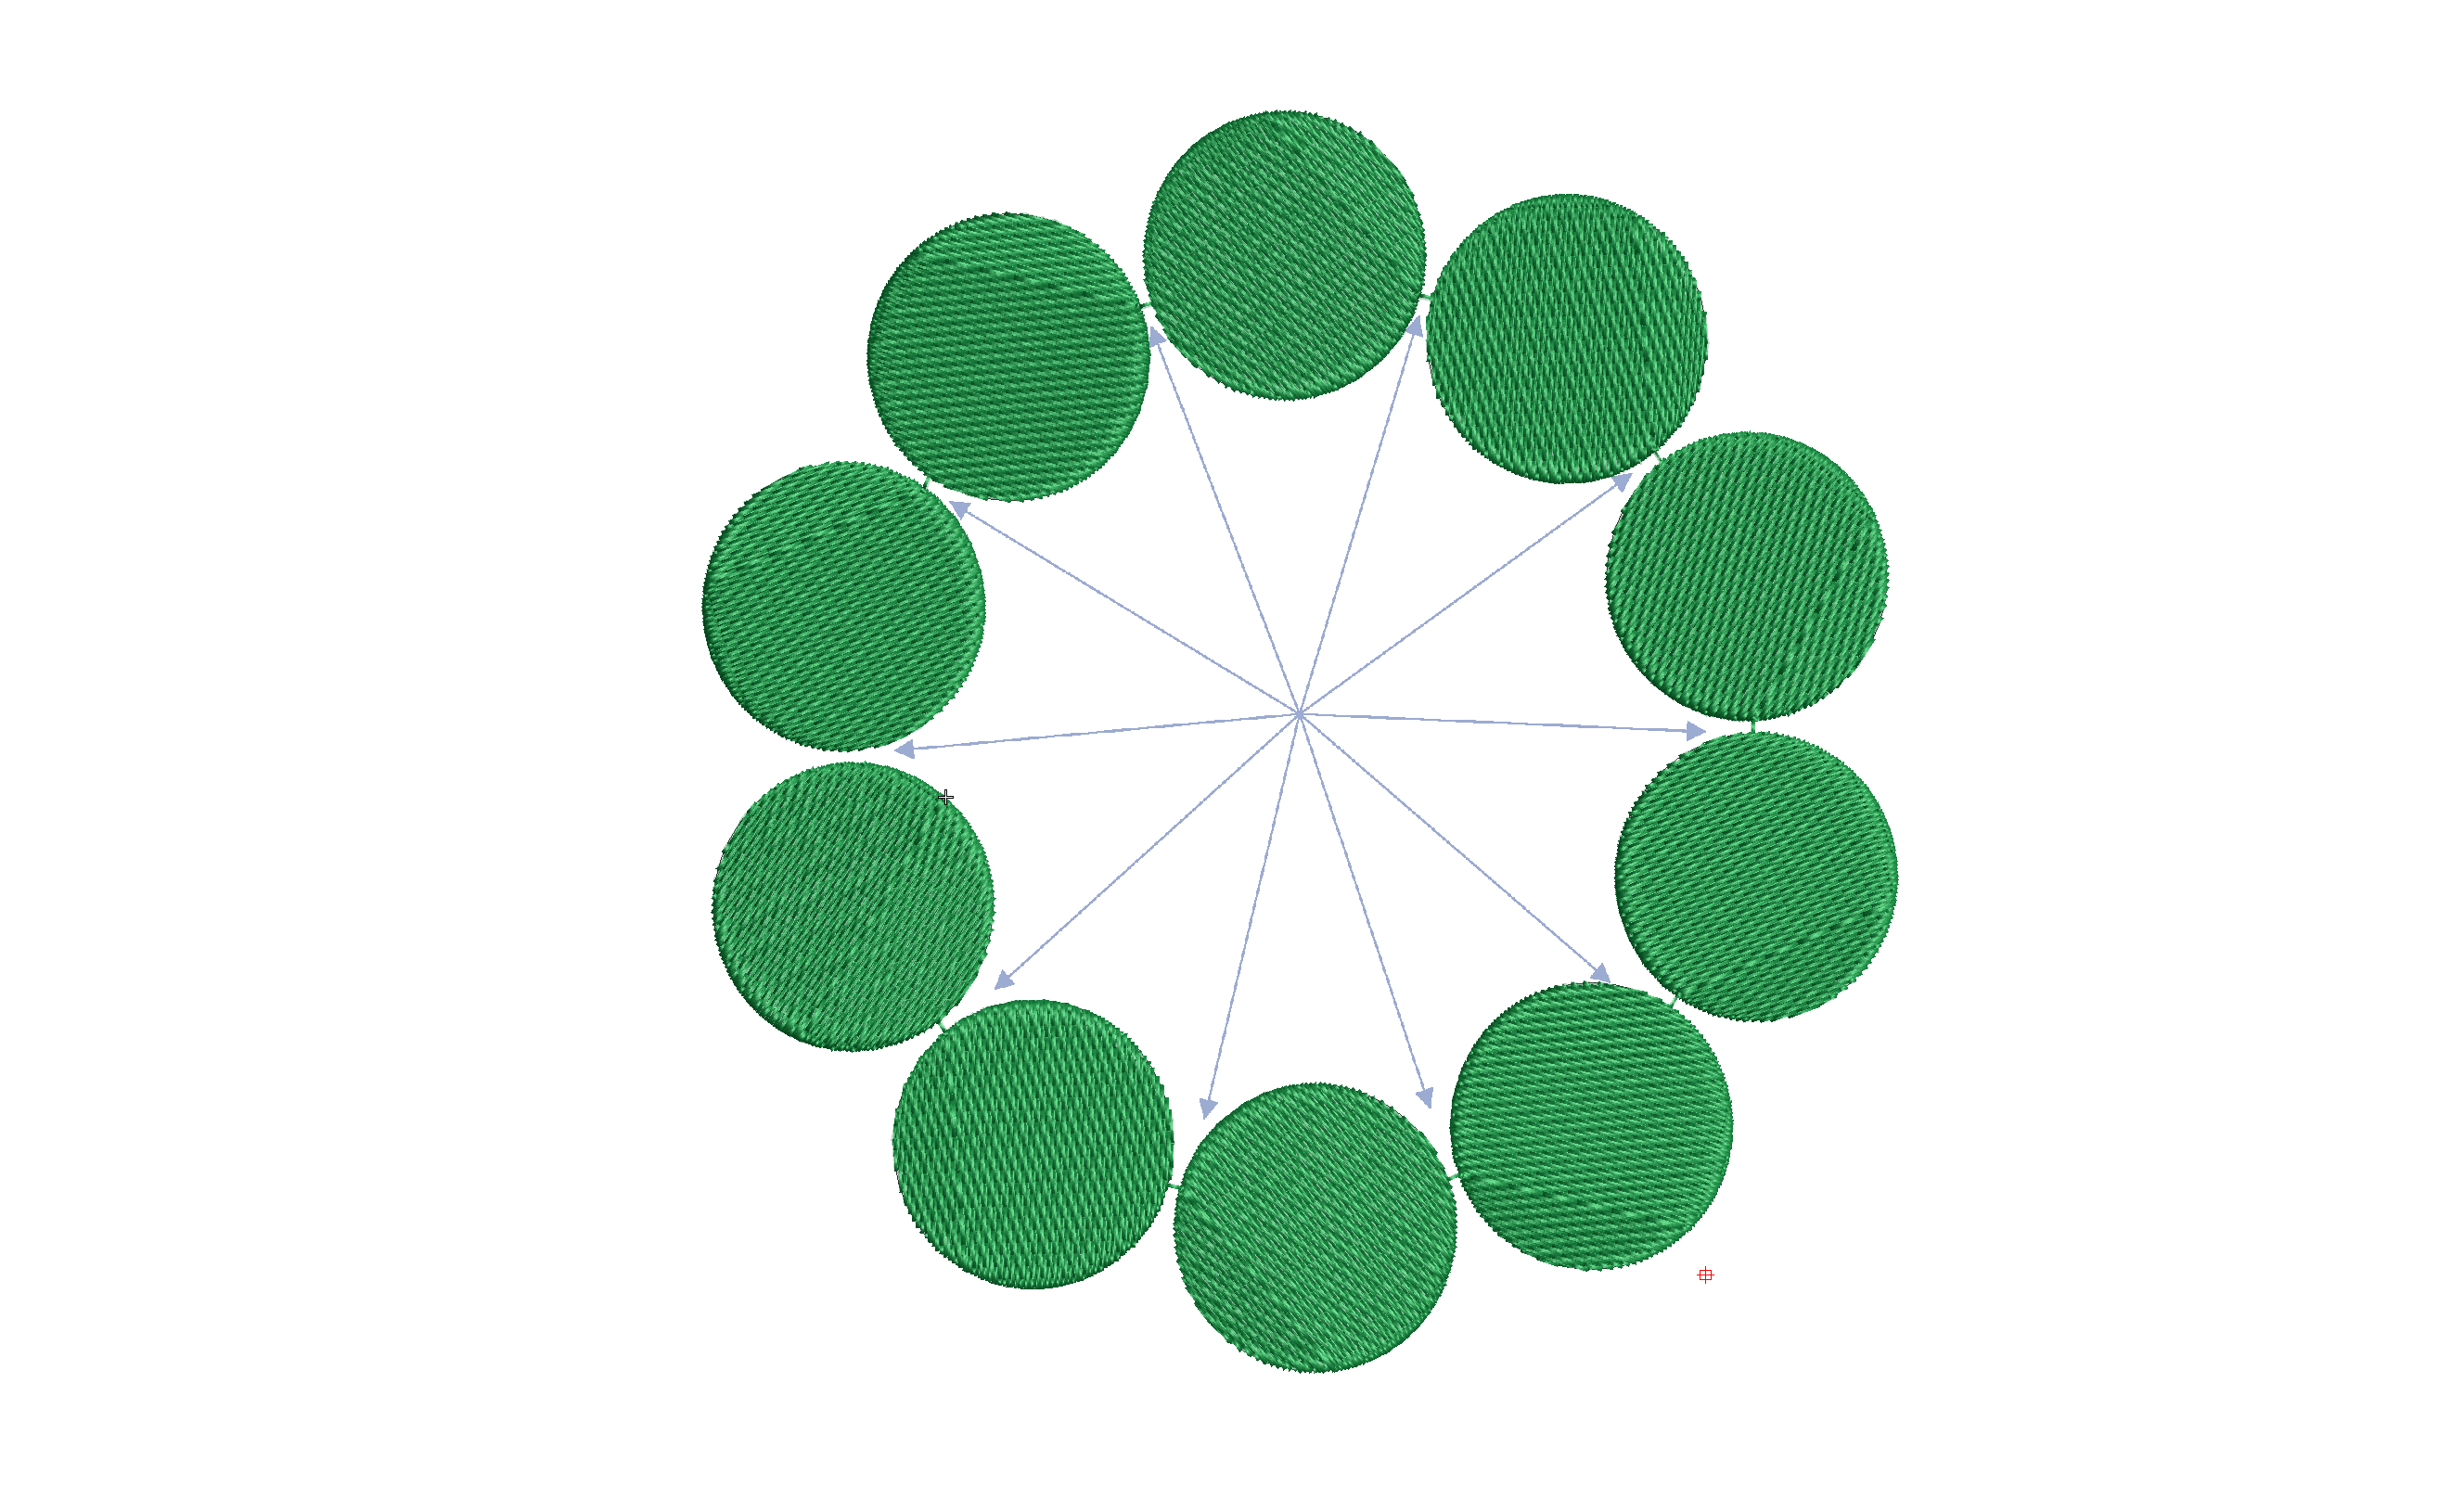
We should all be aware of the closest join feature in Wilcom lettering. Did you know there is an automatic setting to adjust the start and finish points of objects as you digitize. Why is Closest join so important? Without aligning the start and end points of consecutive objects you will be creating possible unnecessary…
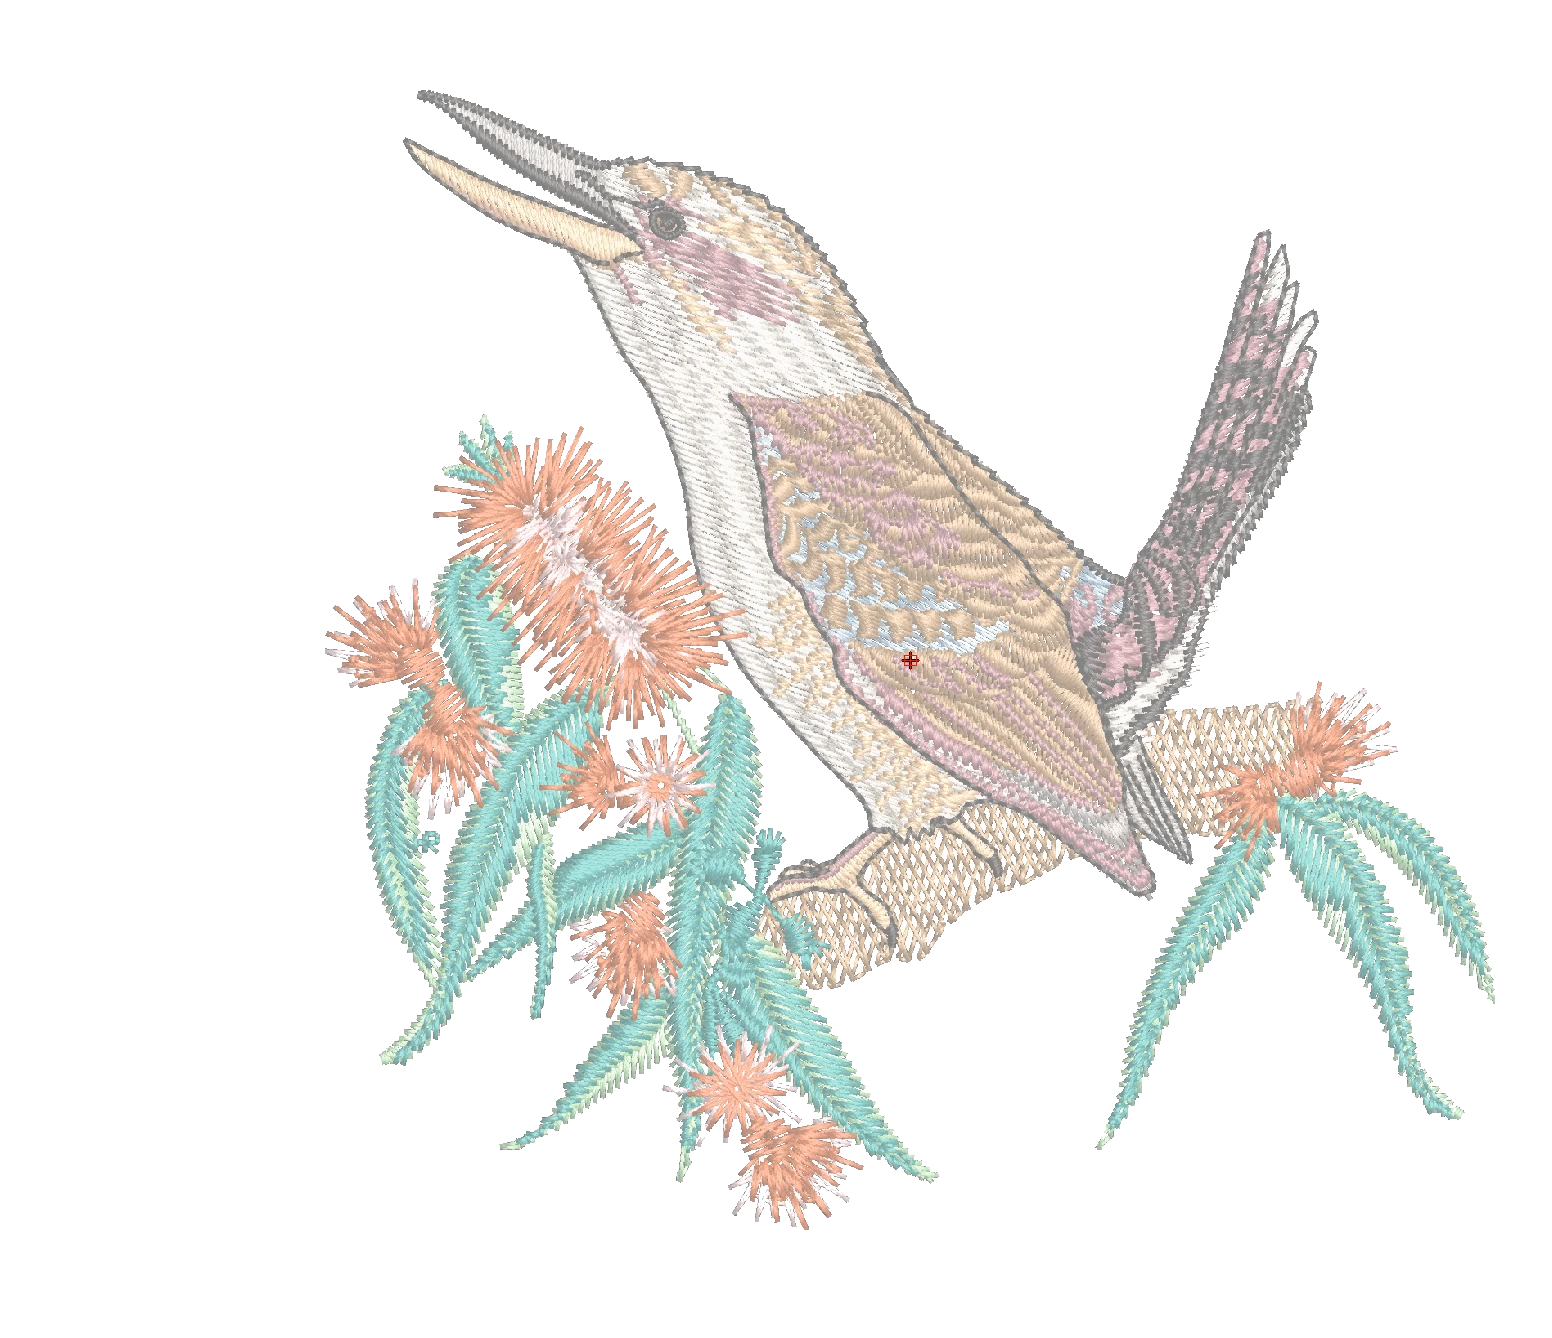
Analyzing completed embroidery files is an excellent method to learn from others. Knowing what to look for is key to the learning process and the best places to begin are the Color Object and the Object Properties Lists. Understanding the settings and sequence of objects in a will give you confidence and help you develop…
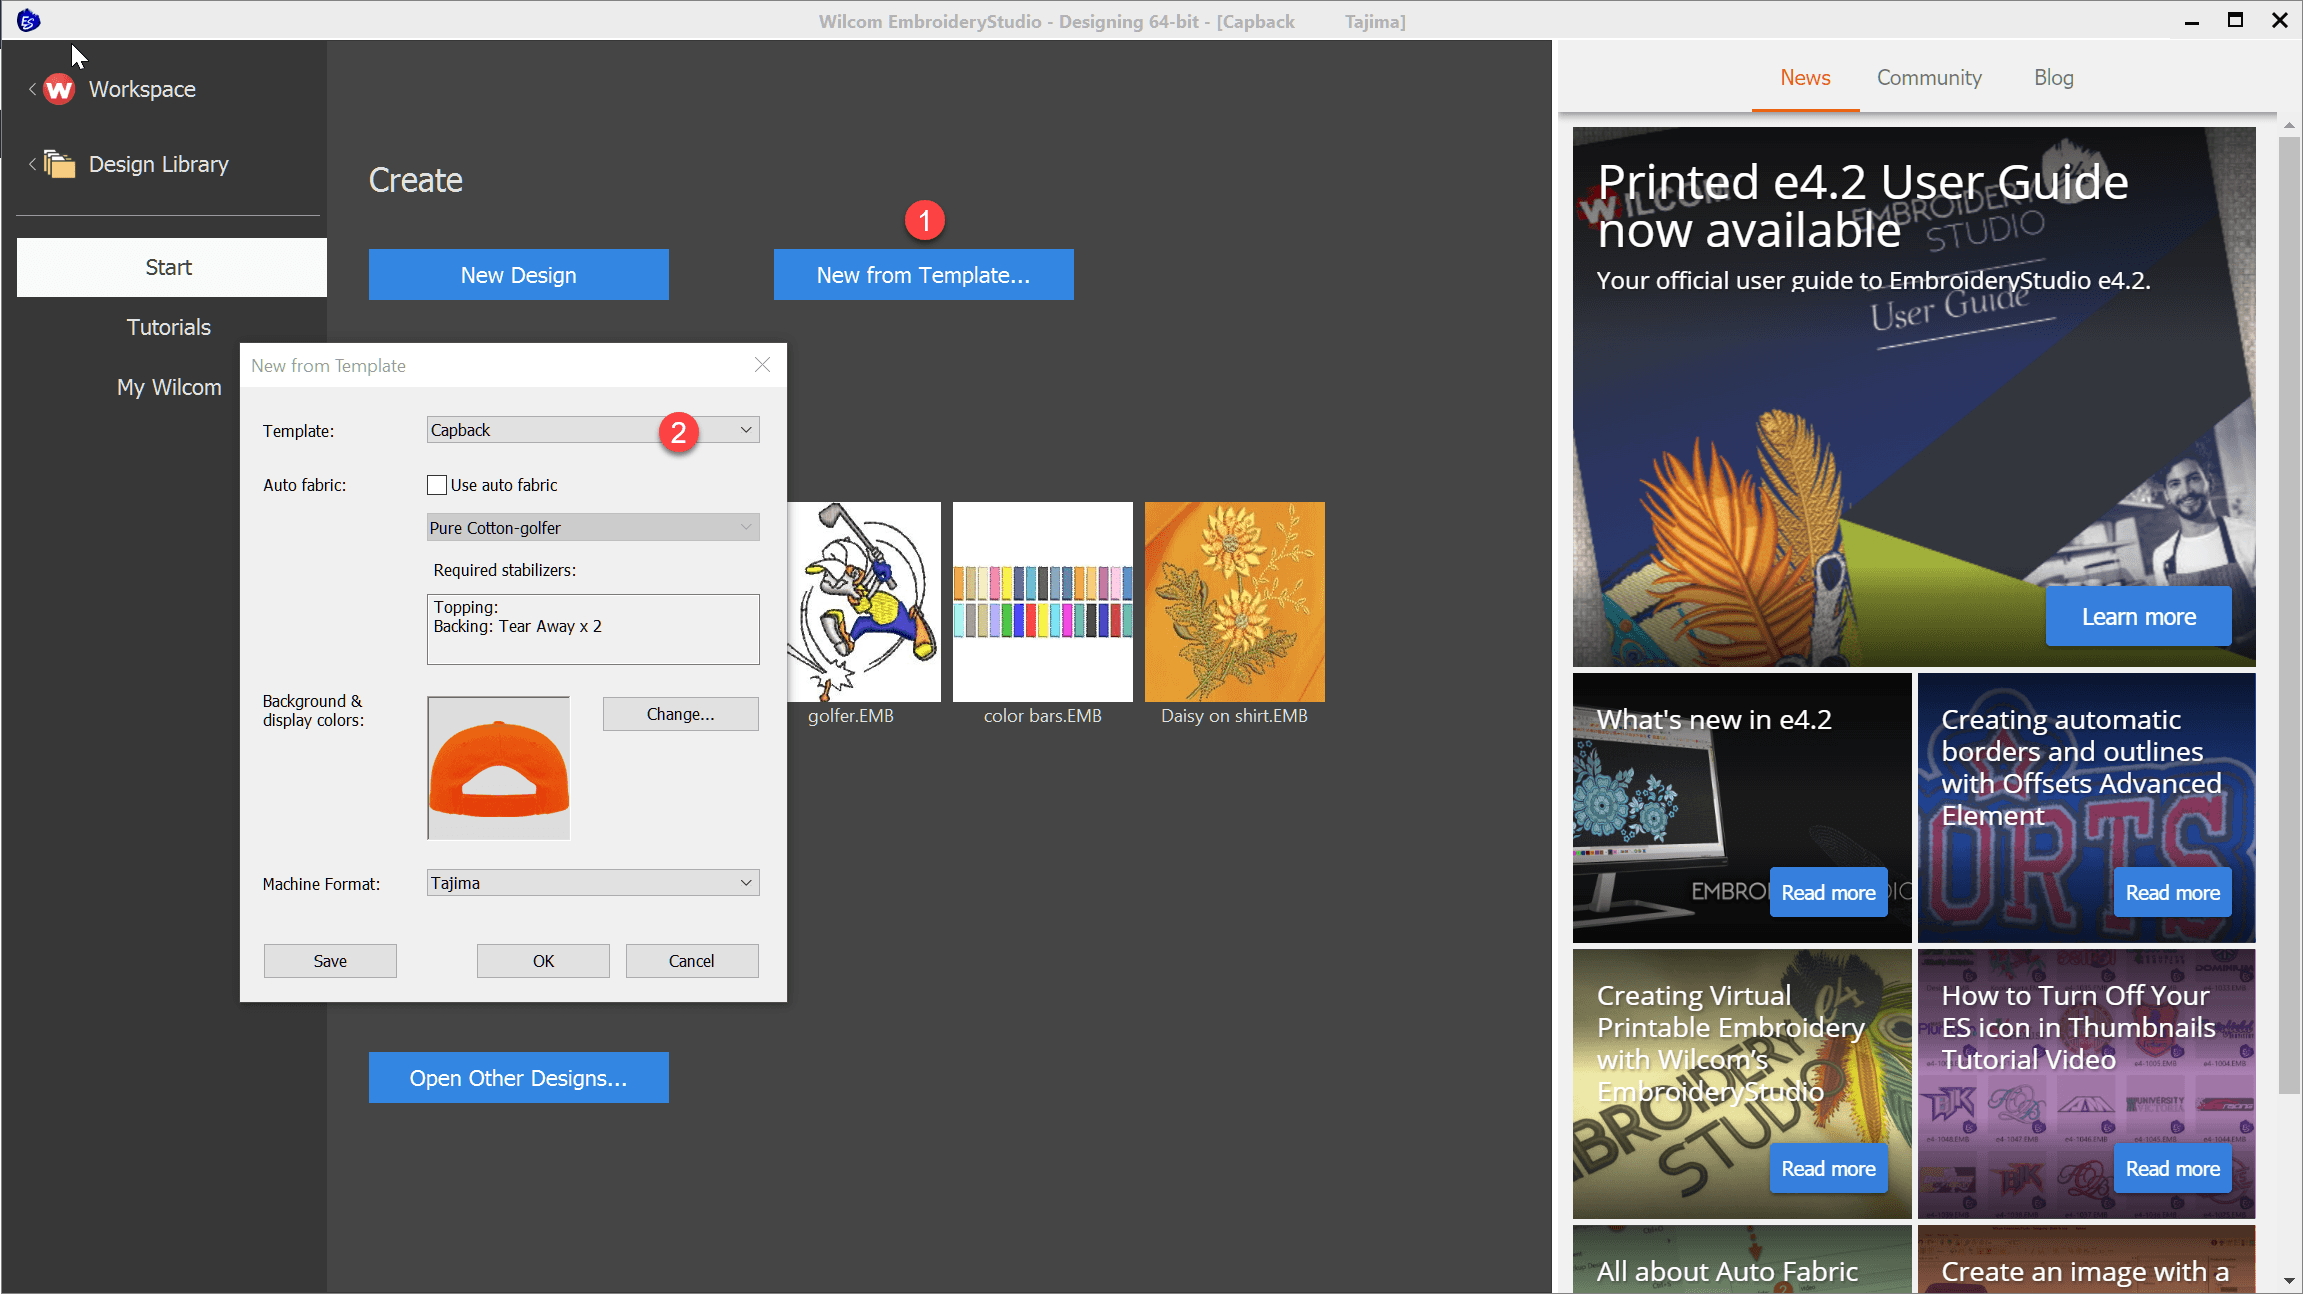
Templates save time and Money by presetting standard properties for particular jobs.In the example video below I demonstrate how to set up your thread brand and save to a NORMAL (standard) template.Your thread stock is going to be standard for all templates so I suggest you start here. From there you can create other specialty…
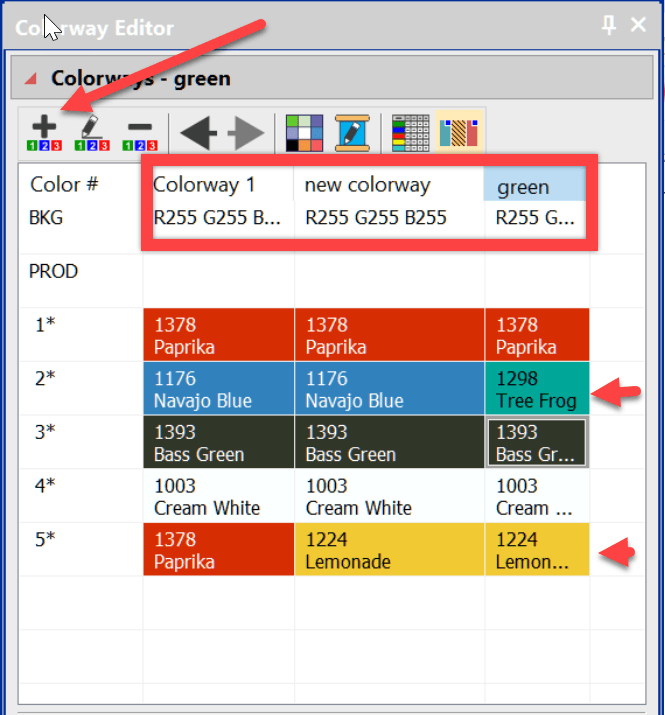
Creating a colorway Saving several versions of the same design simply because of a color change is unnecessary and poor practice. The danger is that you make an edit to one of the color combinations and forget to make it to the others. The best solution is to apply different colorways to the single design….
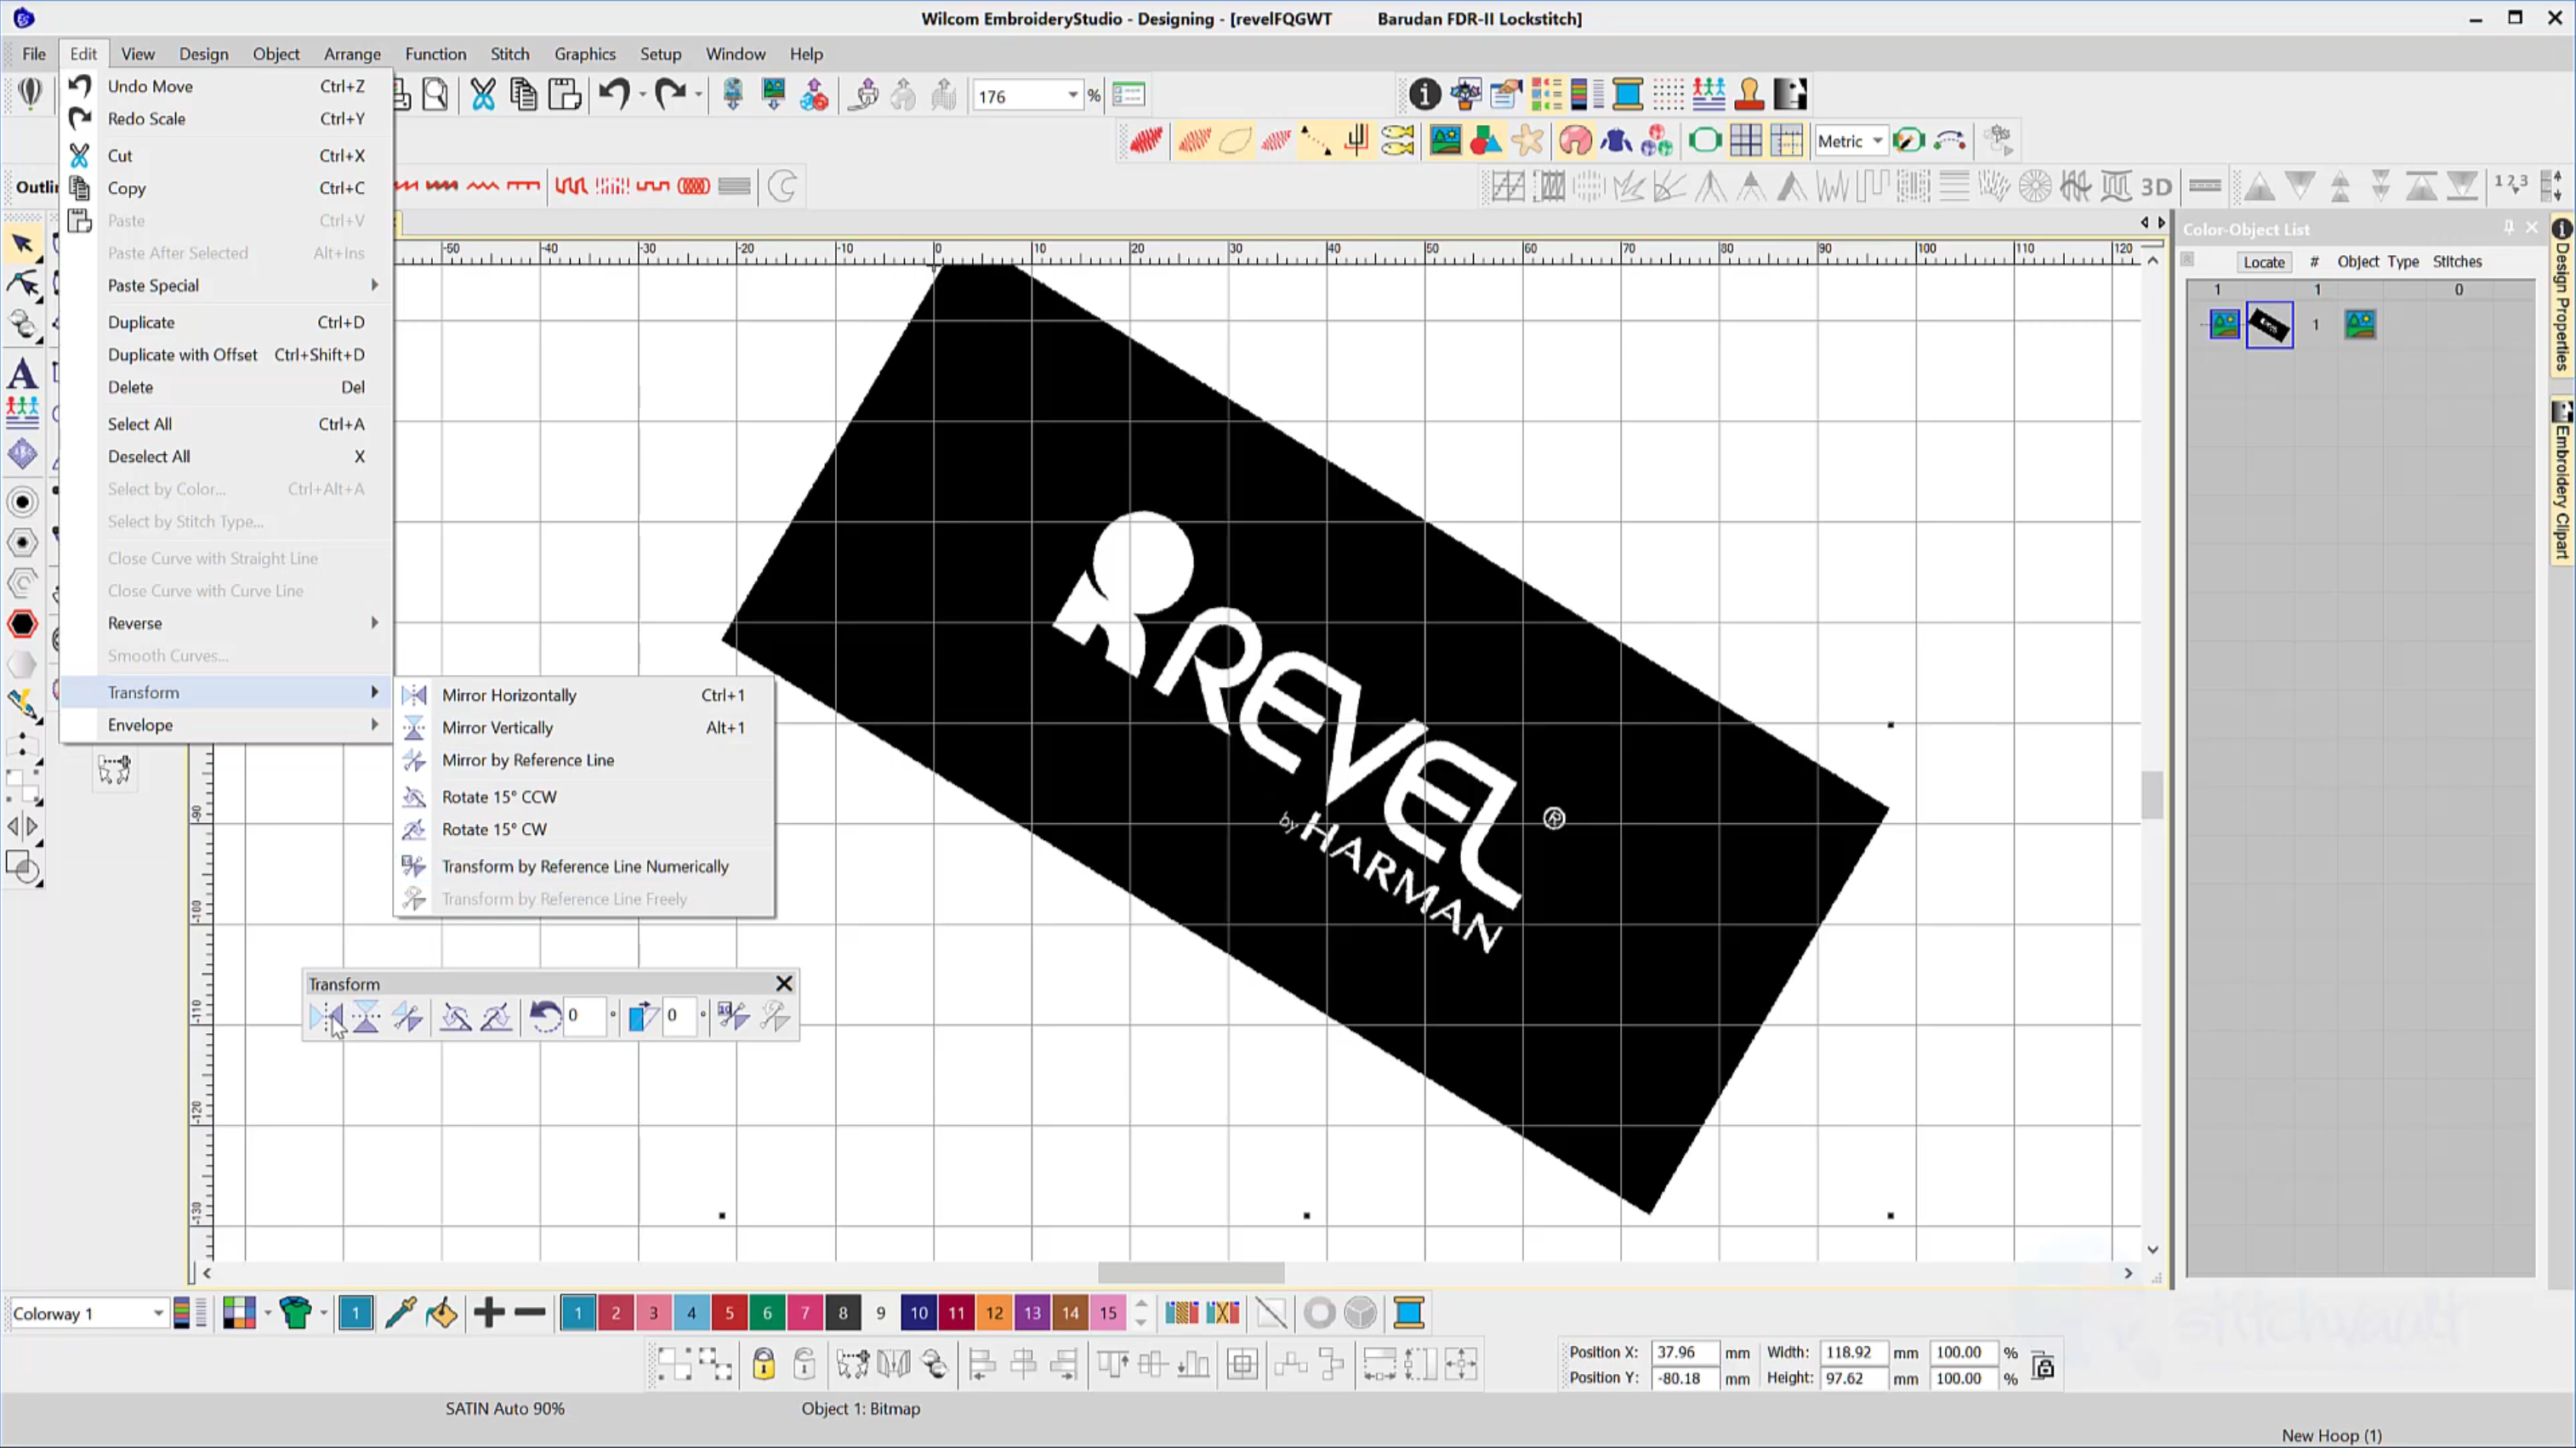
The Transform Toolbar contains icons (functions) to resize, reflect, rotate and slant images and or embroidery objects in a precise and accurate manner. The Transform by reference line function removes the guesswork from resizing and rotating a design image. Simply select the tool, plot a line with two points and make the setting to rotate…
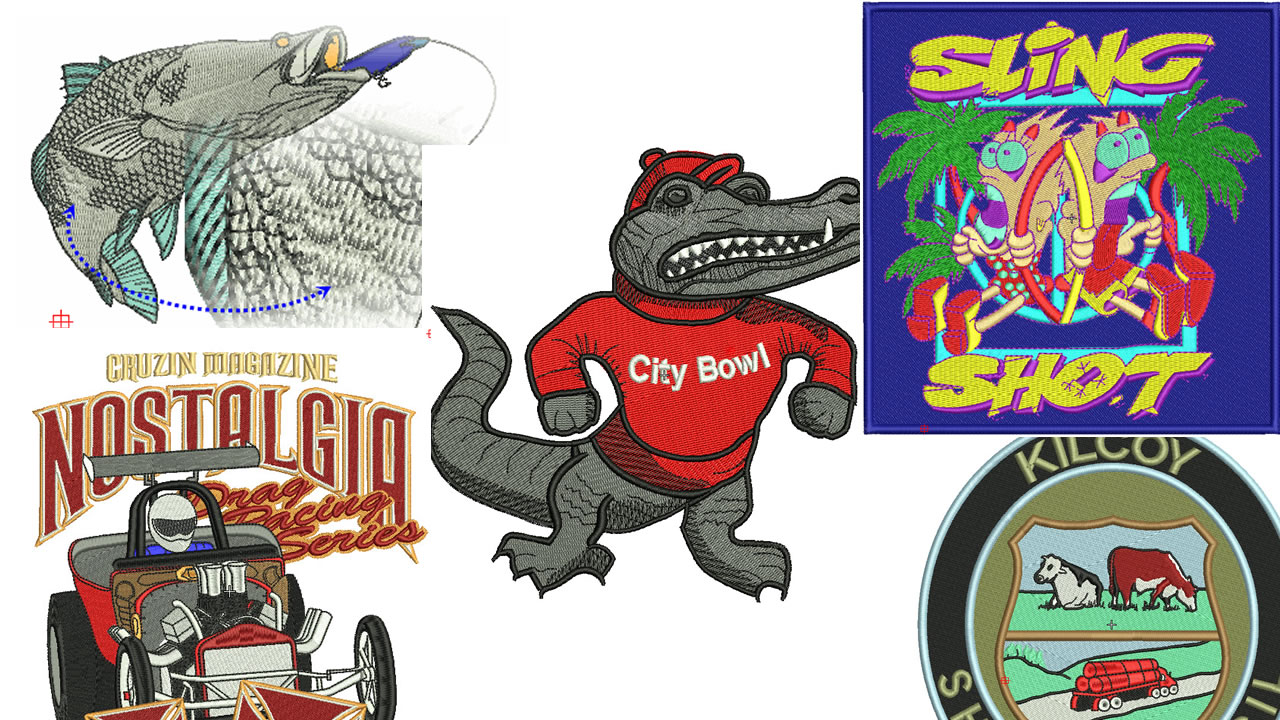
The complex fill tool is used to create larger shapes where a single stitch angle is required, the tool is generally associated with tatami stitching, of course the size of the object will also help determine the stitch type as well. Best described as a perimeter tool, shapes are made by clicking around the outline…
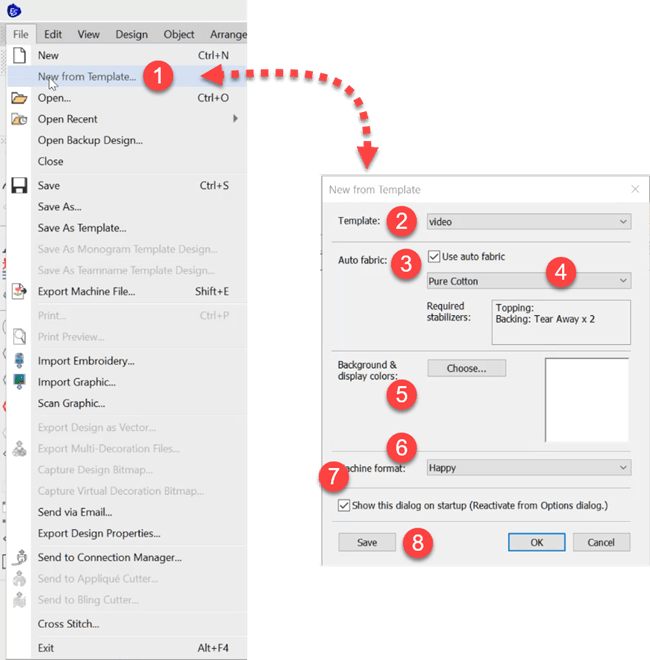
To do this The Auto Fabric Assistant controls three quality control properties in your designs. Pull compensation Underlay settings Stitch Spacing/Density These settings will change depending on the fabric you choose and the size of the object. To use the auto fabric assistant look in the Design Menu and then Auto Fabric. There are two…
| Powered by WordPress | Theme by TheBootstrapThemes