


EmbroideryStudio
Sequence Toolbar
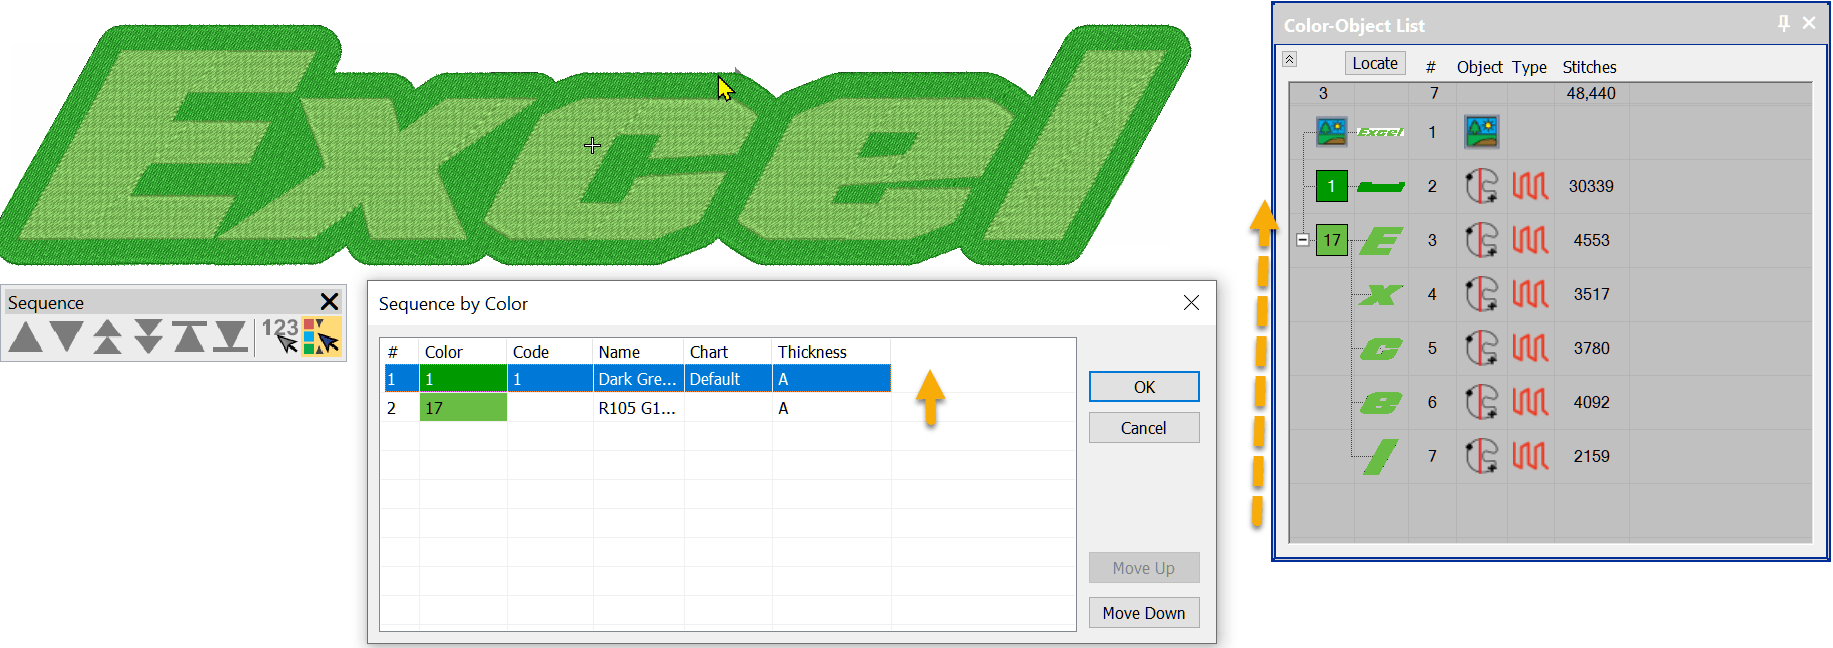
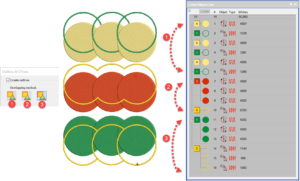
Resequence quickly with drag’n’drop EmbroideryStudio has many time-saving features that can greatly reduce the time to create or edit a design. Today, I will discuss
EmbroideryStudio
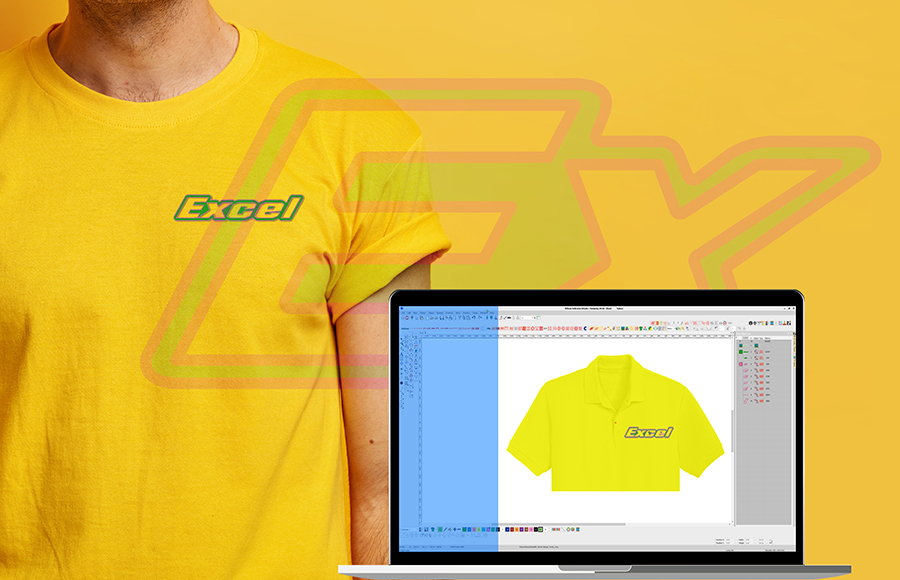
Auto Digitizing with Decorating
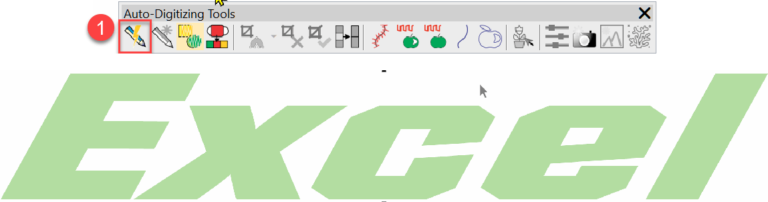
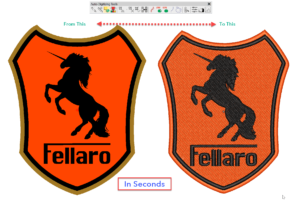
Instant Smart design If you have clean bitmaps with minor pixellation available then the Instant Smart design tool in the Auto digitizing toolbar can create
EmbroideryStudio
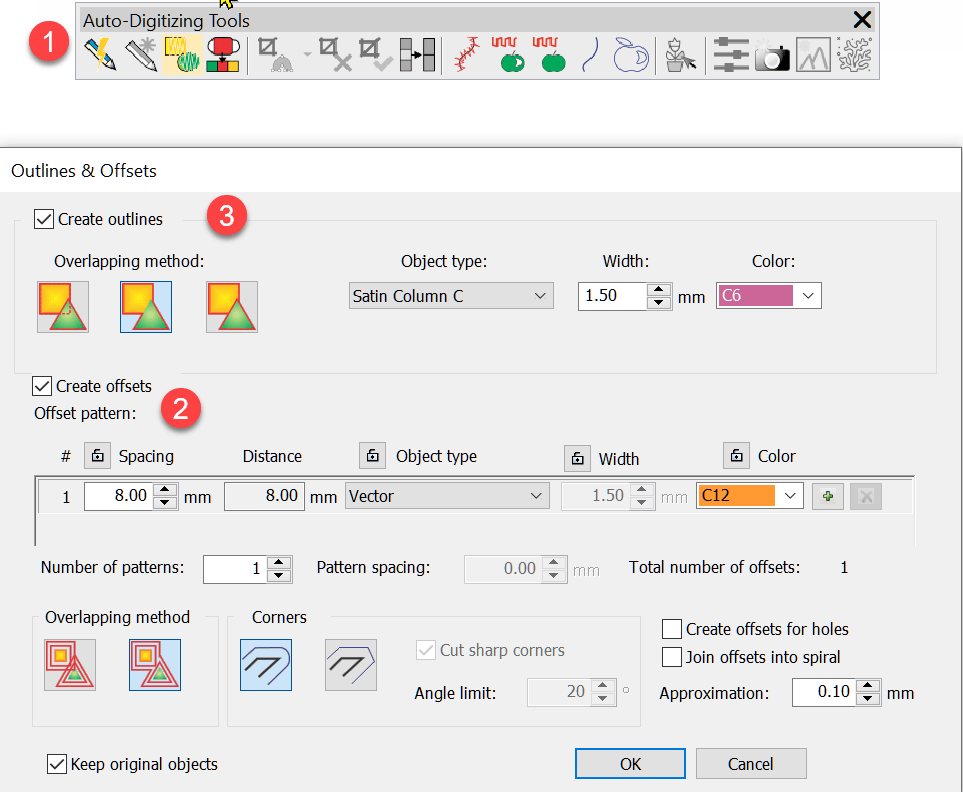
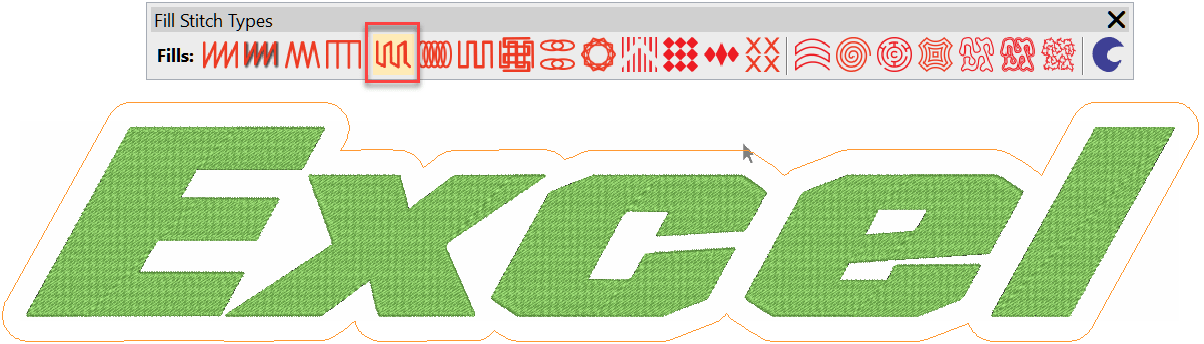
Outlines and Offsets
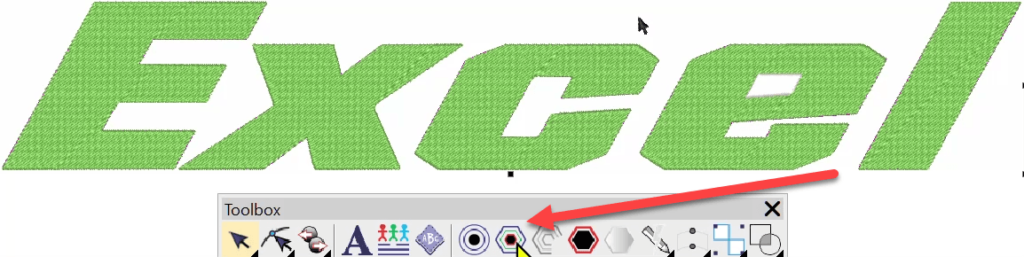
All of the digitising levels from Decorating up include the basic Outline Tool which is identified as around target icon in the Toolbox. The Advanced