
The complex fill tool is used to create larger shapes where a single stitch angle is required, the tool is generally associated with tatami stitching, of course the size of the object will also help determine the stitch type as well.
Best described as a perimeter tool, shapes are made by clicking around the outline of the shape.
Follow the convention of left clicking for angles and right clicking for curves. This tool is self-closing and best practice is to not make the last click on top of the first but allow the object to close itself by hitting the enter key.

The recommended procedure would be to select the tool , the stitch type (usually tatami but not exclusively) and the color of the thread.
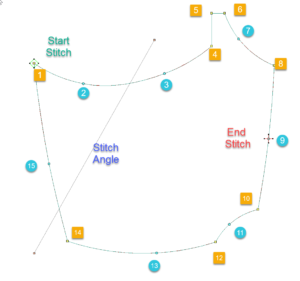
The square icons are left clicks and the round are right clicks.
The numbers are the order of clicking, you can begin the clicks at any location, this is just how I did it.
Notice the right clicks(aqua circles are curves) and the left clicks are angles (orange squares).
Click 15 is the last click and the shape is completed by hitting the enter key once.
At this point, you have the opportunity to make a hole in the shape, as it is not required in this shape hit ENTER for the second time.
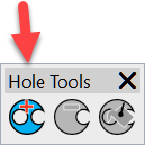
(It is easy to add holes to an object with the hole tool after the object has been completed.) Look for the Hole tool in version 4
After the second mouse click you have the opportunity to make two clicks on the work area to determine the stitch direction, the clicks can be anywhere on the work area and do not need to pass through the object you are creating.
At the second click the object will appear.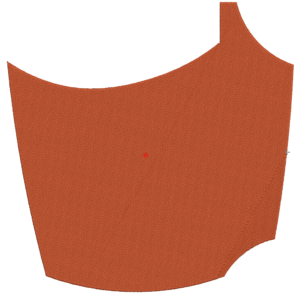
The start and end points are determined by the Auto Start End feature which I will discuss in a separate video.
Thank you John. Revision is good.
Another great video…love the back ground music!