If you have not already, then at some time in your embroidery career you will need to make a repair to a damaged garment. One way to do this is cover the old logo or damaged garment with a block of Tatami fill the same color as the garment, and then stitch the new lettering…
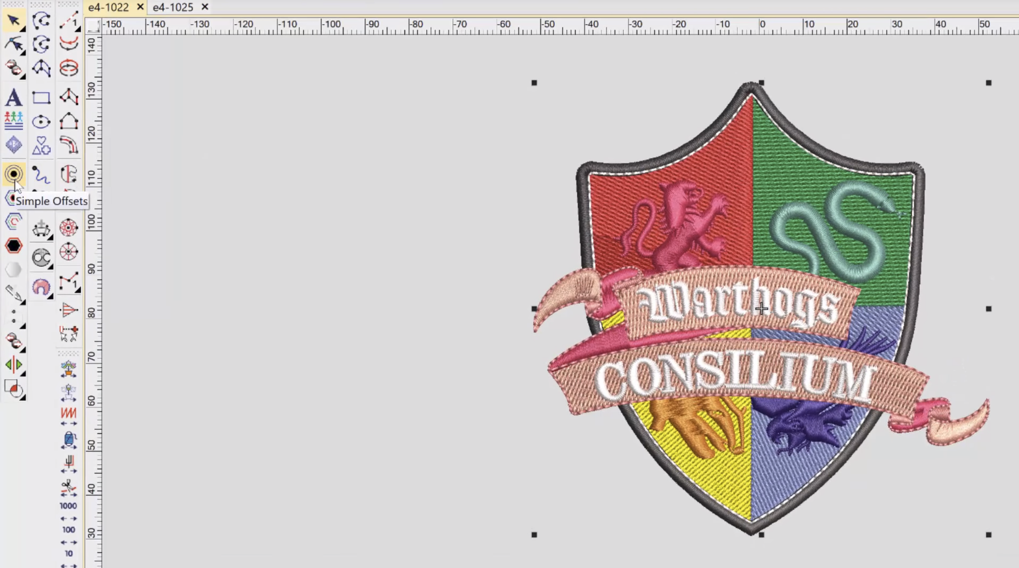
Creating a border or outline is something you probably do every day as an embroidery digitizer. But did you know there is a quicker way to create borders and outlines with the Offsets Advanced Element in EmbroideryStudio? In this short video, I outline what the Offsets Advanced Element is, and give a quick overview of…

There are many compelling reasons to update from DecoStudio to e4 Decorating. Here are a few Instant smart Design Tabs Product Visualiser Library Instant Smart Design Instant smart Design will create an .emb embroidery file from a raster image within seconds, but what I like about it most is that you get an instant…
Image Handling Importing an image to the work area is the first step in creating a design. DecoStudio relies on CorelDRAW to import and edit images, while this is adequate, the process is time consuming and has limitations that are not present in Decorating e4 which handles the import, resize, orientation, cropping and other editing…
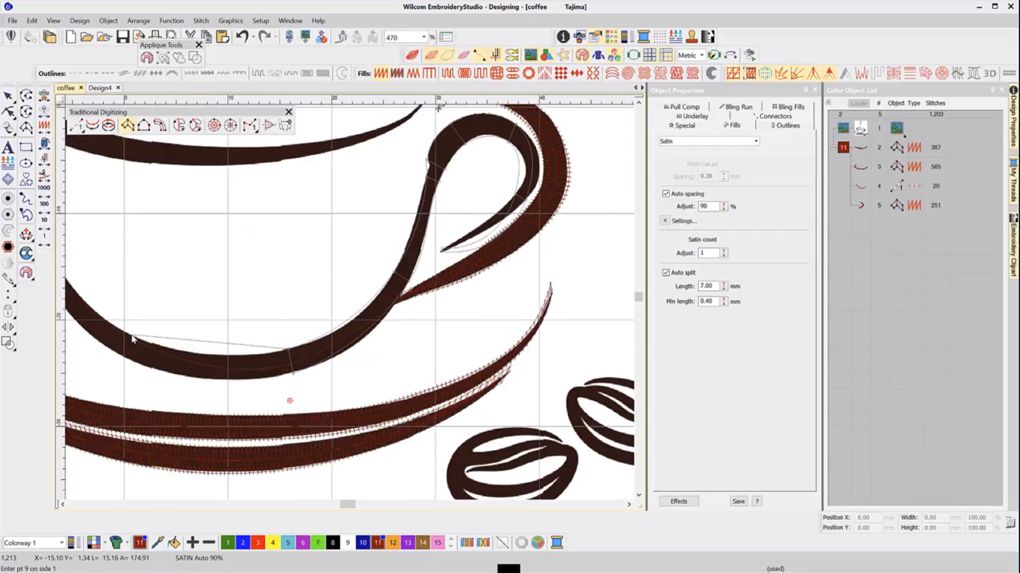
In this embroidery digitizing tutorial, I focus on using the Single Run outline tool and Column A digitizing tool, as a result giving you an overview of digitizing a design in Wilcom EmbroideryStudio. Step by step I’ll walk you through creating this simple coffee cup design explaining the use of each tool. Most importantly, I’ll…
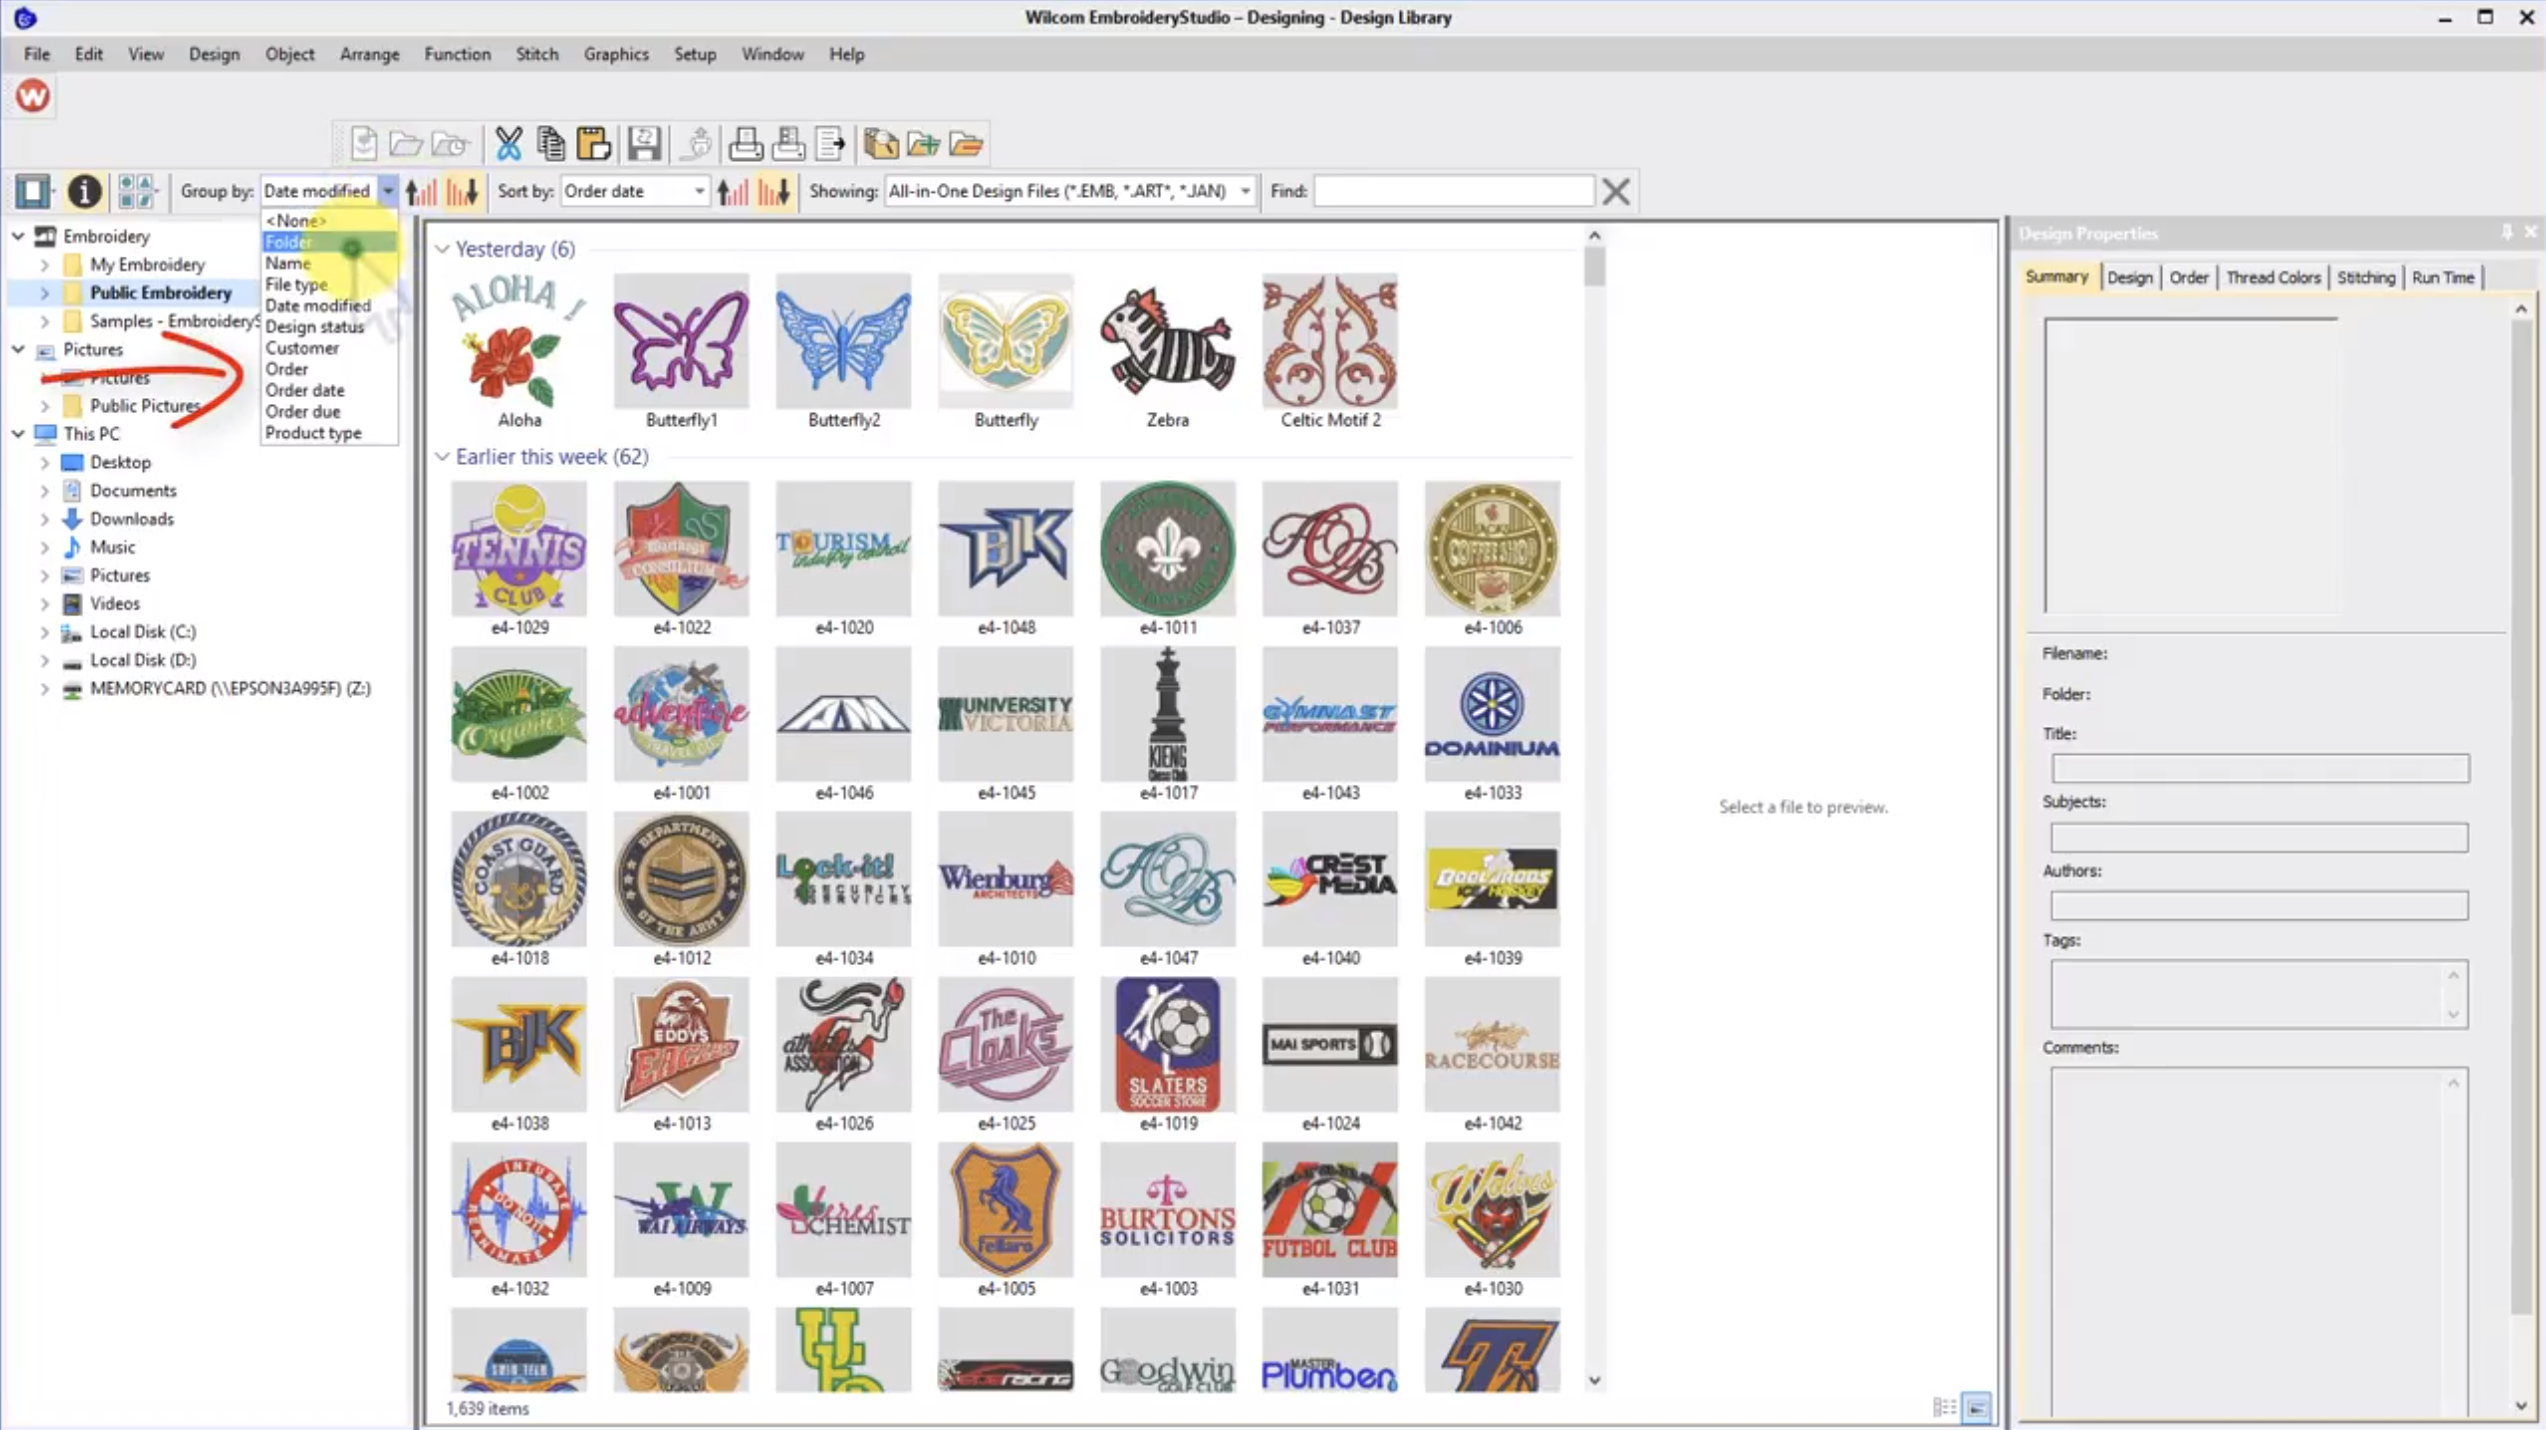
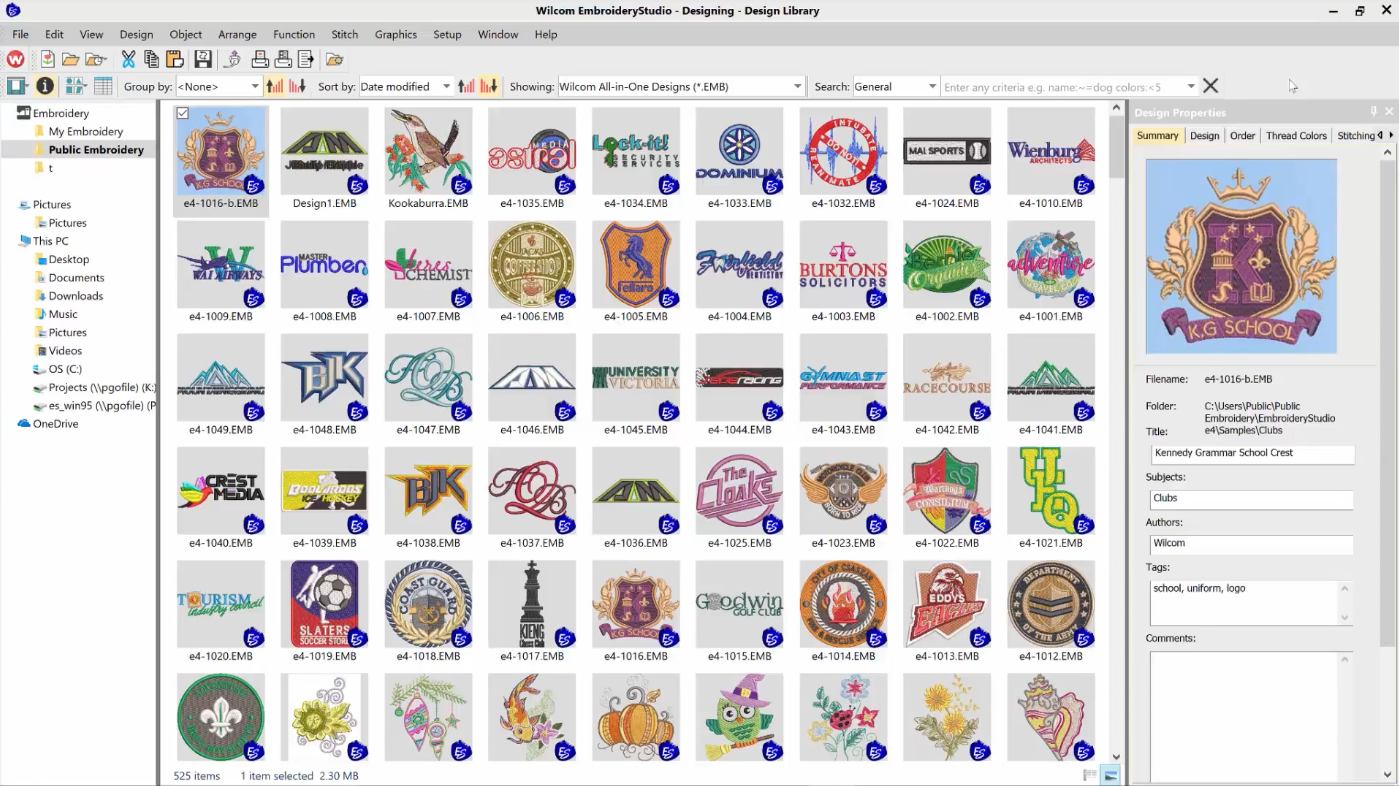
When I teach Wilcom I always start my students in Design Library. Why? Because Design Library is the heart of Wilcom’s EmbroideryStudio and gives you instant access to your embroidery designs. I remember receiving a phone call from a client who had just installed EmbroideryStudio e4. They were so excited because Design Library had automatically…
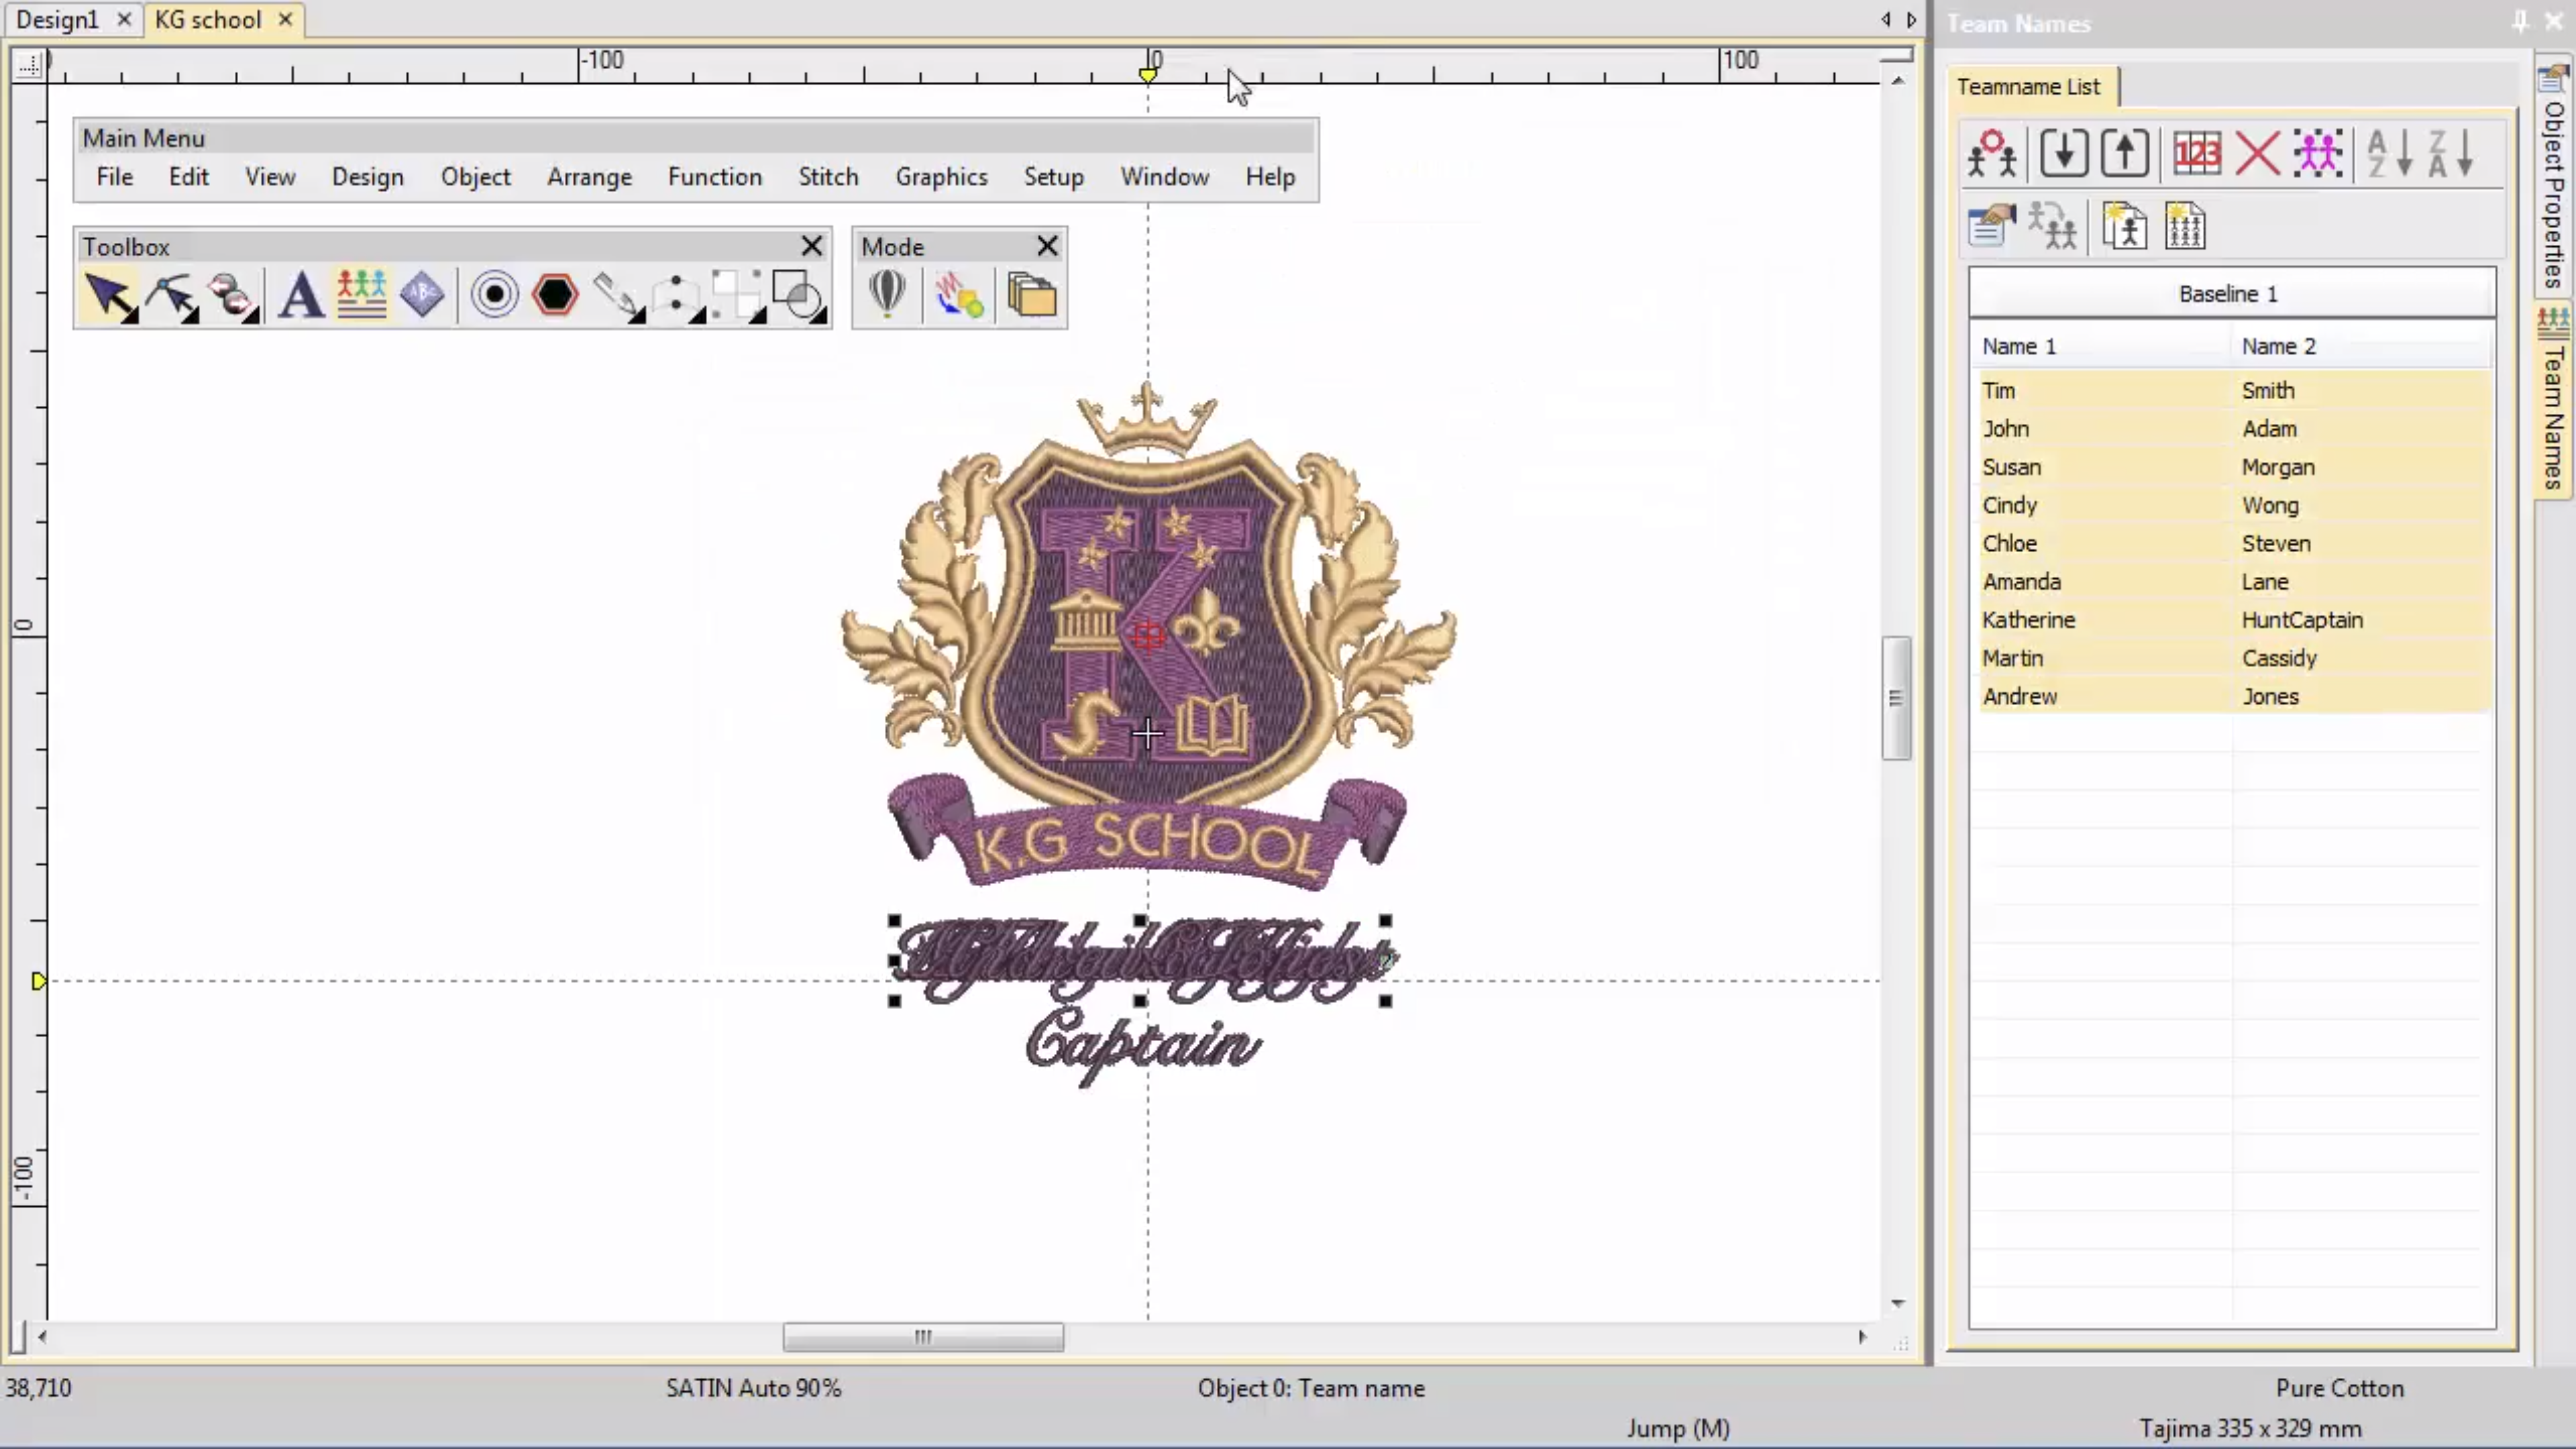
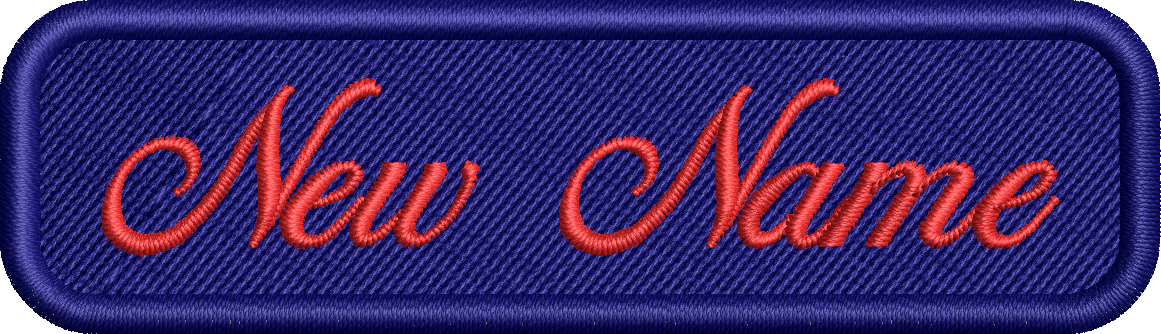
Ideal for uniforms and sportswear, Teamnames is a great feature to help you save time and eliminate errors with unique names on multiple garments. In this video, Ben from our Documentation team walk us through an introduction to Teamnames. Watch the video now Happy Stitching! Brenden
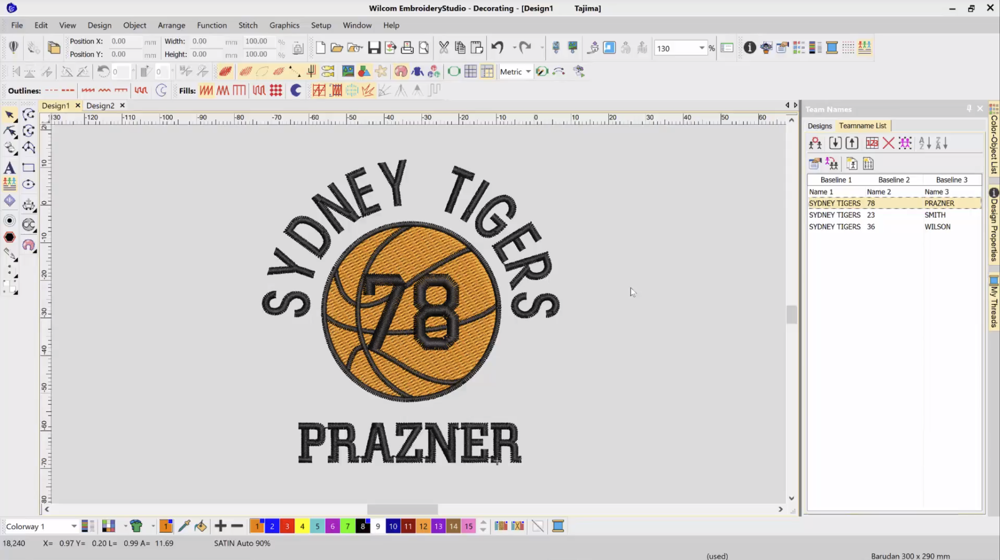
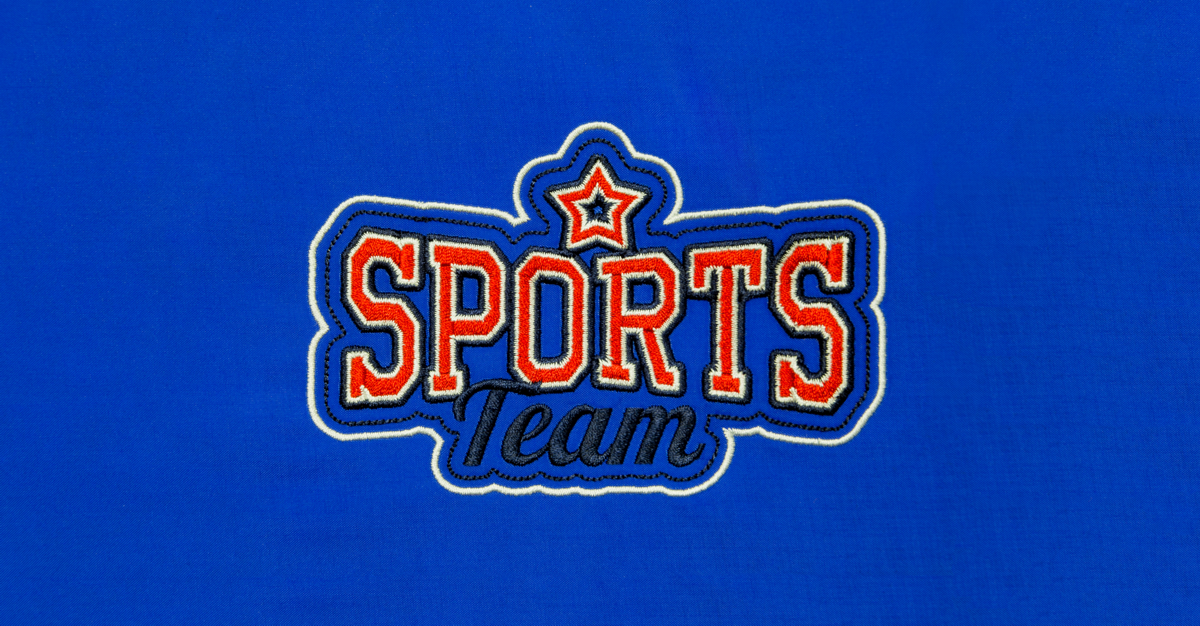
Teamname Design Templates are a great way to be creative and save time, by using predefined design templates. They are perfect for that quick sports or staff uniform design, and, with a few clicks, gives you a professional and ready-to-sew design. Check out this video tutorial on how you can create a Teamname Design Template….
When you browse your design files in the Wilcom EmbroideryStudio Design Library or in Windows File Explorer, the design contains a small blue ‘ES’ icon. Sometimes this icon can be distracting from the design thumbnail. In this quick tip I show you how you can turn off the ES icon on your design thumbnails. Turn…
A vector cut line from your embroidery design can be required to create an applique cut line, or when creating a dye cut or laser cut outline. In this short video I show you how you can take an embroidery design file in Wilcom EmbroideryStudio and create a vector cut line. Check out the video: https://www.youtube.com/watch?v=WDr7mekerI0
| Powered by WordPress | Theme by TheBootstrapThemes