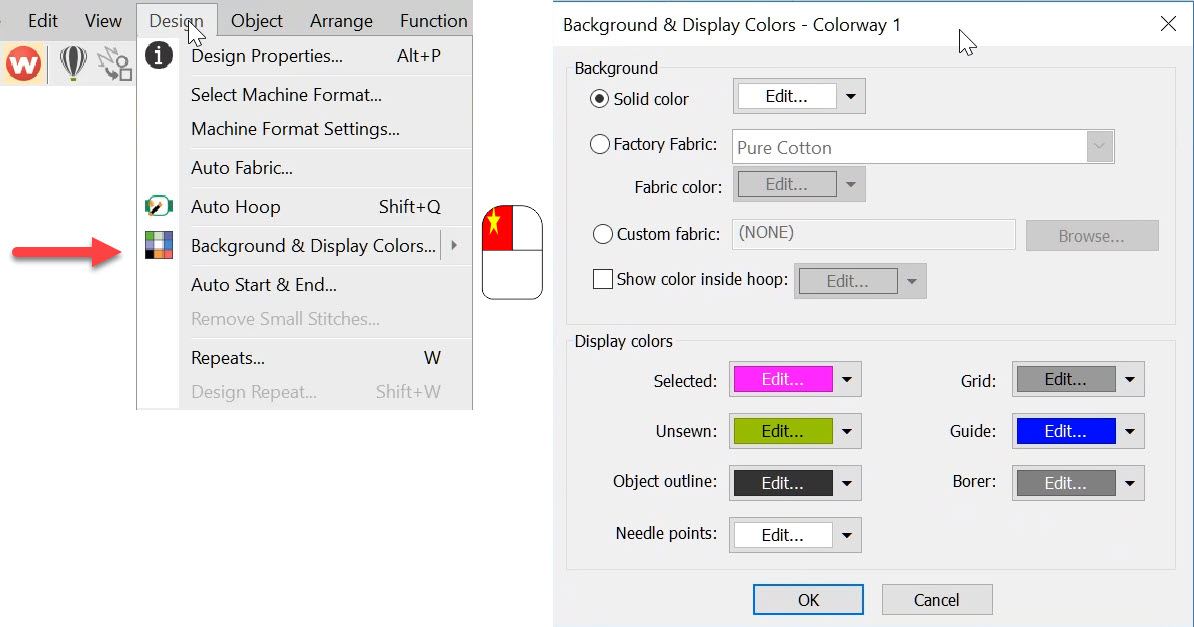
The Background and Display dialog can be accessed from the Design menu. Or the colored cubes and the left end of the color palette. The top half of the dialog box deals with the background on your work area which can be a solid color or a fabric image. It is the bottom of the…
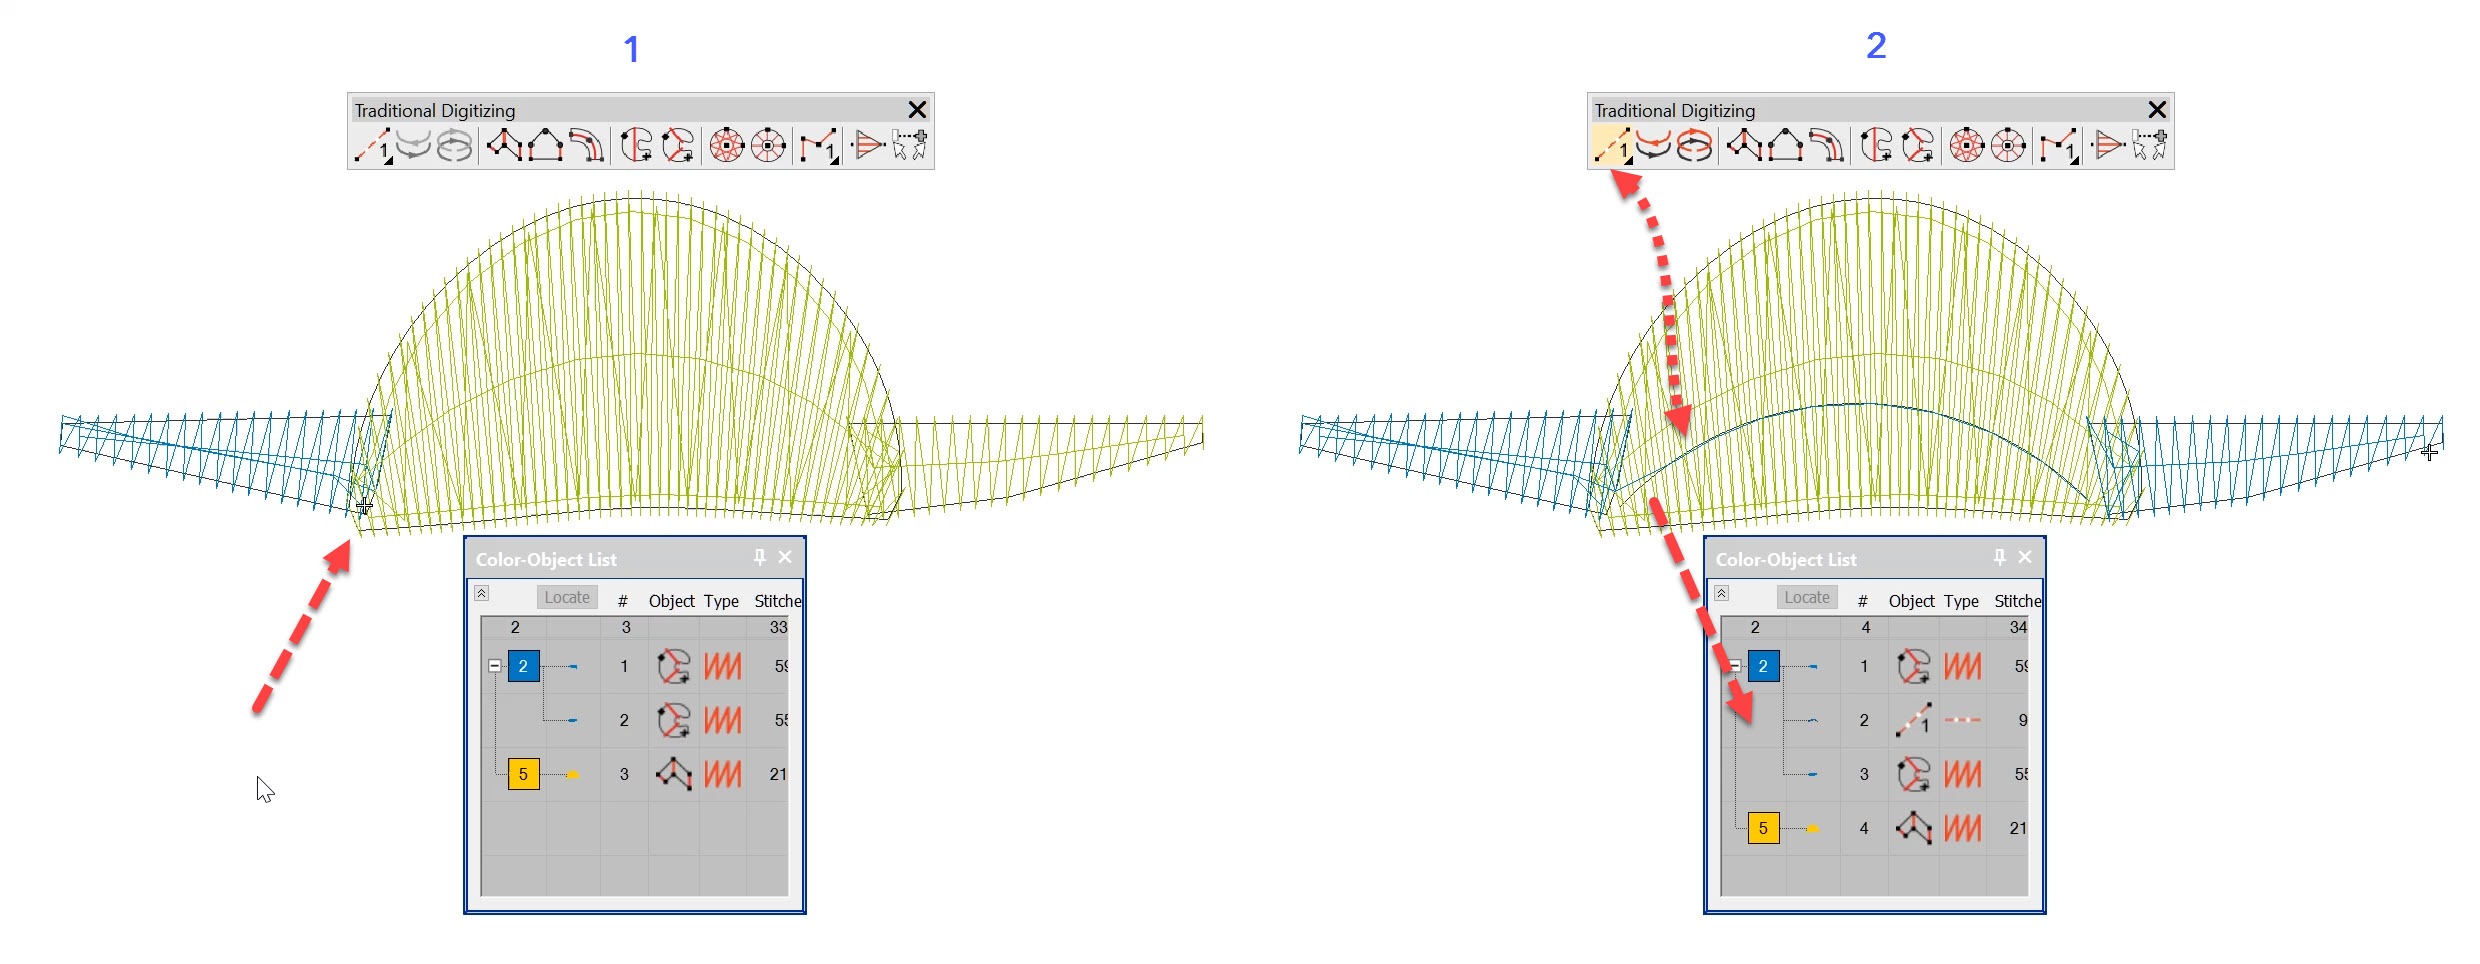
Nesting Objects using the Travel Toolbar Traveling through a design is useful to understand the order of objects in a design but more importantly to identify where thread trims are and if necessary “nest” an object in the sequence. To open the Travel toolbar go the Window Menu>Toolbars and select the Travel Menu from the…
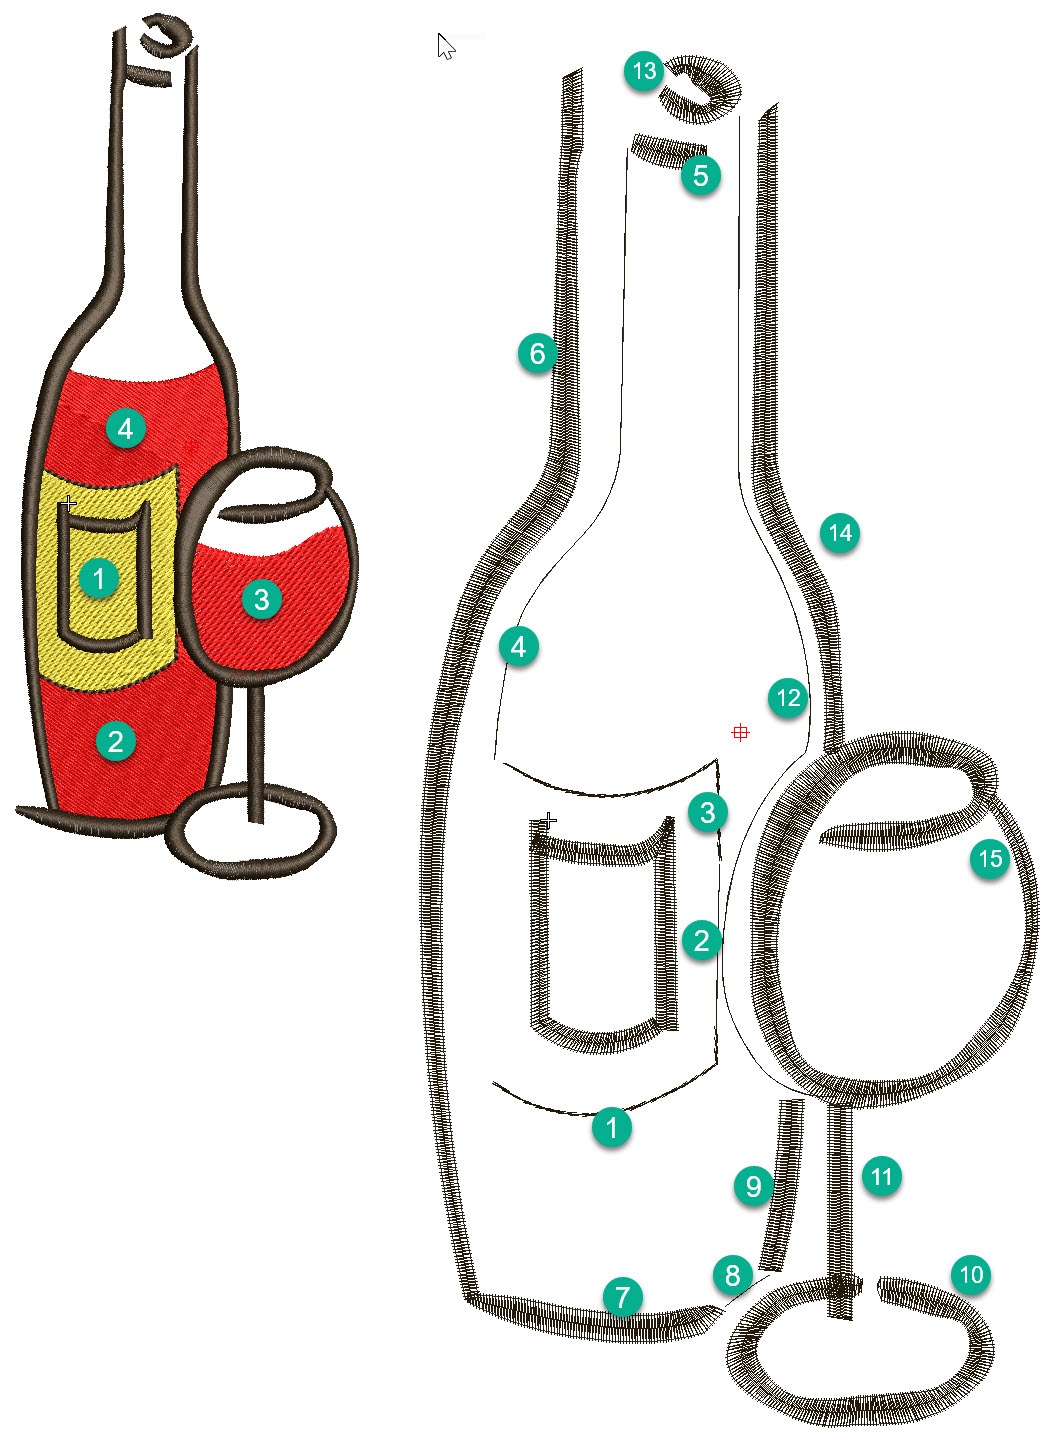
In this article and video I would like to discuss some ideas about sequencing objects in a design and choosing the tools and stitch types I think are most suited to create the vector shapes. When planning the design I take into account, the garment and fabric the design is to be stitches on to,…
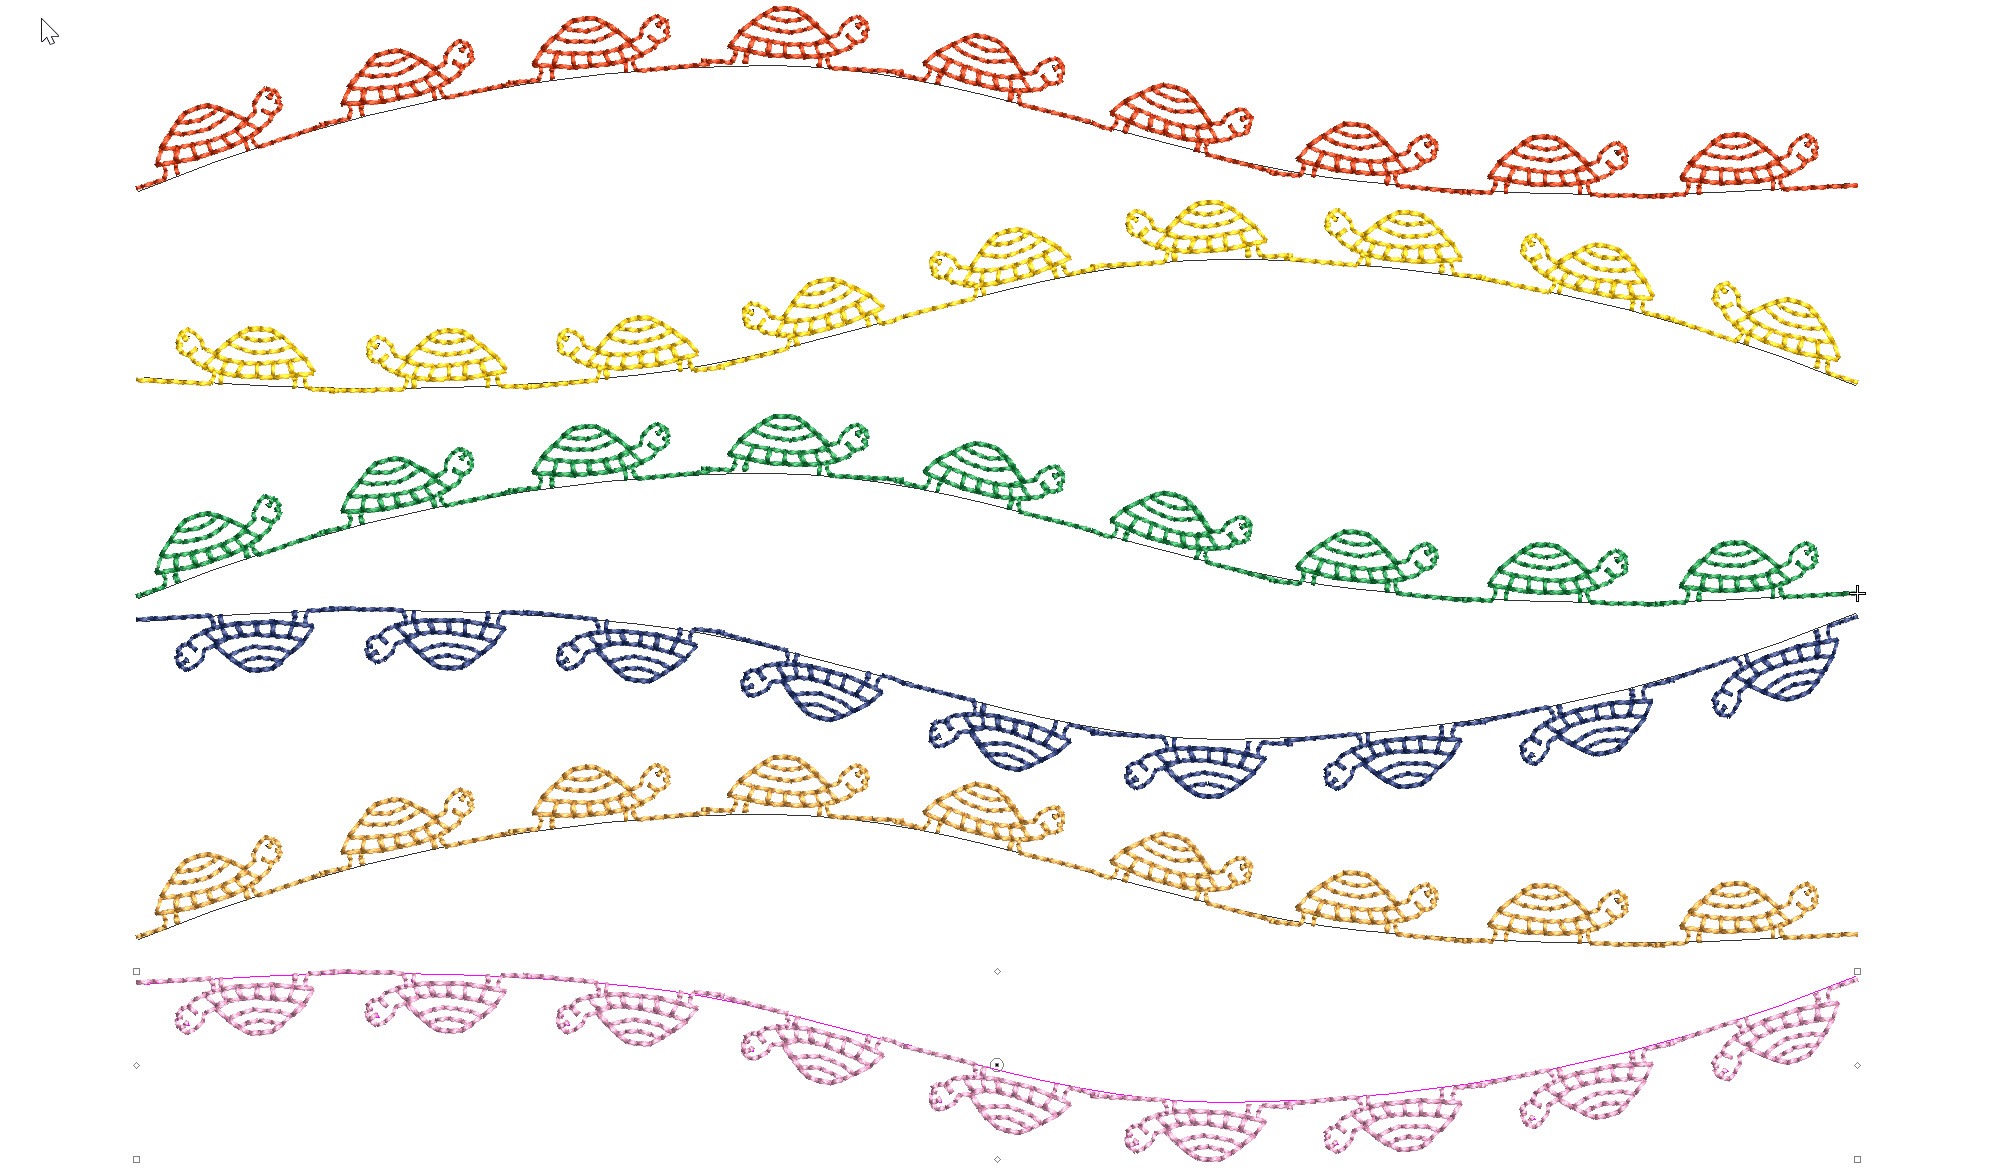
Reversing the direction and or orientation of an open ended motif run can be changed with the Transform Tools.The Transform tools can also be found in the Edit Menu.Or if you are a Shortcut person CTRL 1 for mirror horizontally and ALT 1 for Mirror vertically. For closed objects to change the orientation use the…
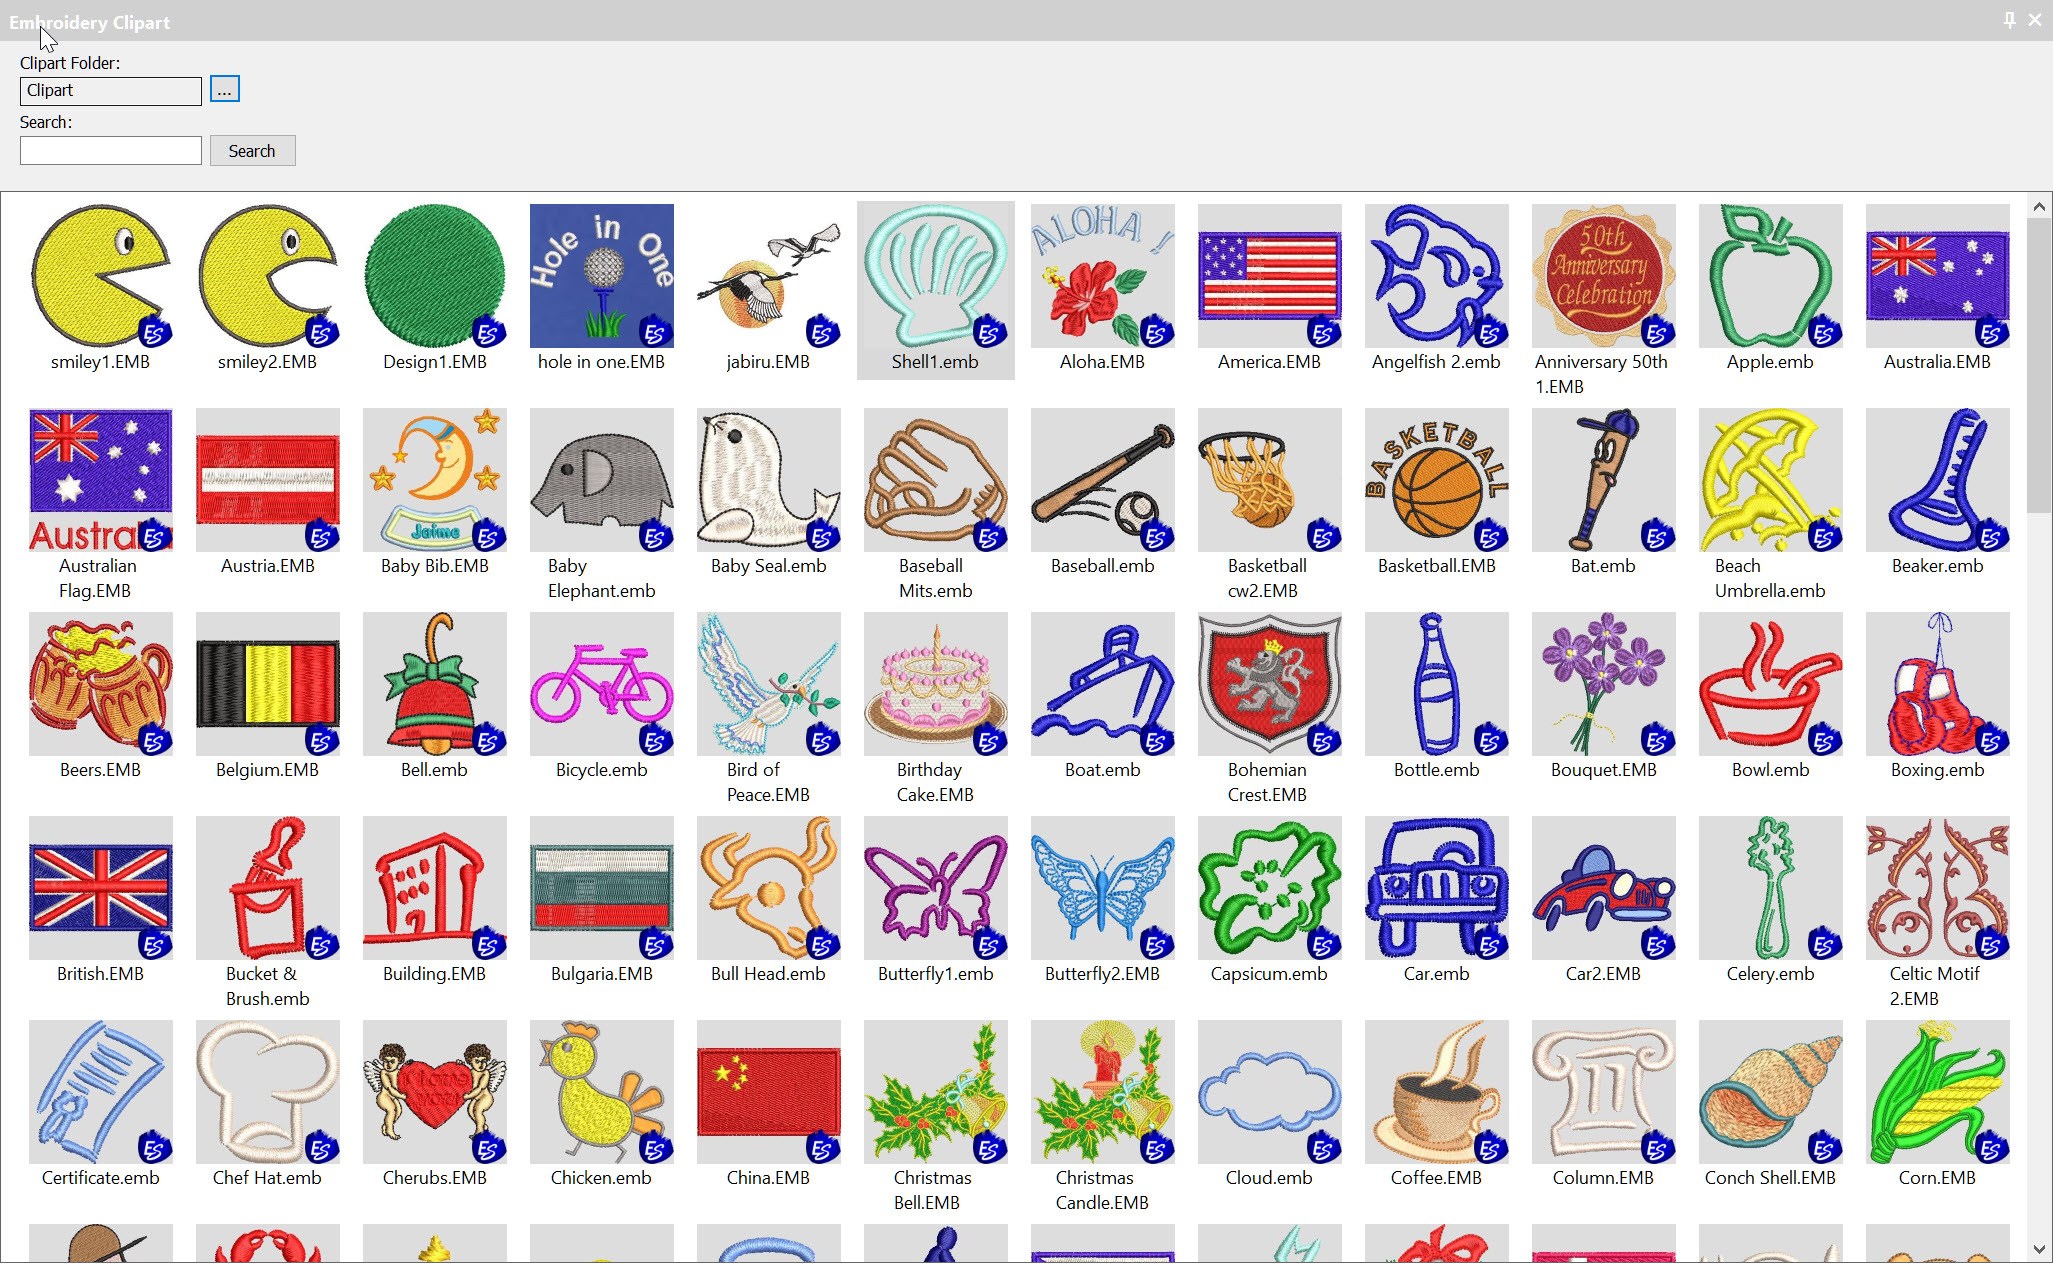
Clipart is a convenient way to store and add embroidery files to your designs.Clipart is usually used for generic type files that can be re used in more than one design.But you can add any file or part of a file that you create yourself to Clipart.The Clipart icon is found in the Docker Toolbar.Once…
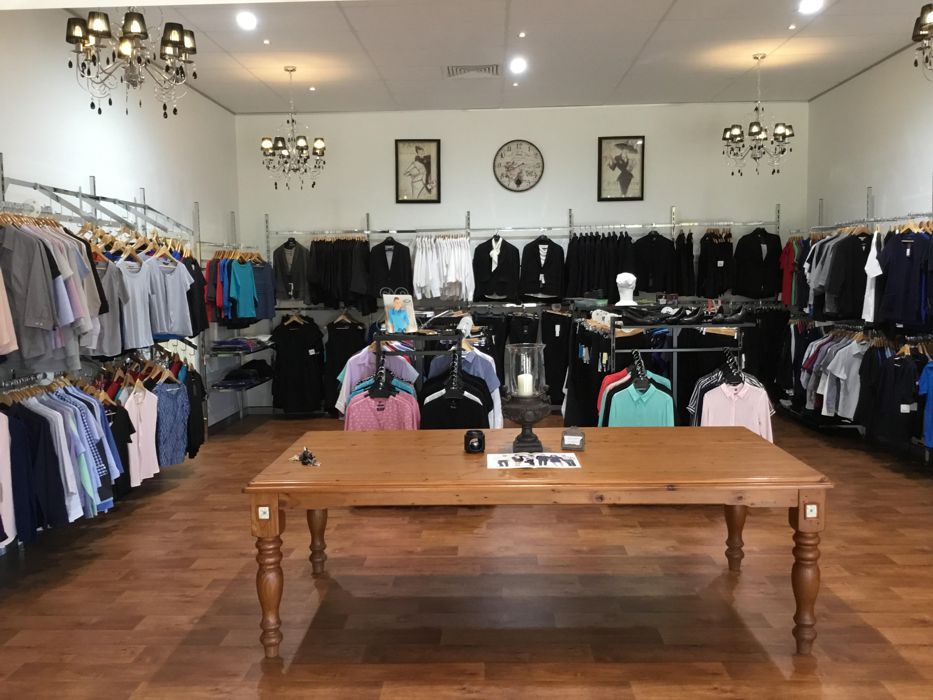
We all have an embroidery story. This is Arn’s from Signature Clothing. We started in a spare bedroom in 1989, with a single Toyota 820 and Wilcom ES 21, running on DOS on a lightning fast 386 PC with 256kb RAM. Funny now I think about it. We started after going to a trade show…

Bling refers to decorative objects placed on garments or templates, either on their own or in combination with other design elements. Bling is supplied in varying sizes, shapes, colors and materials. Wilcom EmbroideryStudio provides a dedicated Bling toolset to add bling to multi-decoration designs. This allows you to create and visualize bling embellishments in combination…
The Freehand feature provides functionality similar to CorelDRAW® Graphics Suite Freehand and Polyline tools. Freehand has many benefits. It lets you create designs with a hand-drawn appearance, something which is difficult to achieve through conventional digitizing methods. The aim is to mimic the fluid and free-flowing effects formed by means of freehand stitching techniques. Watch…
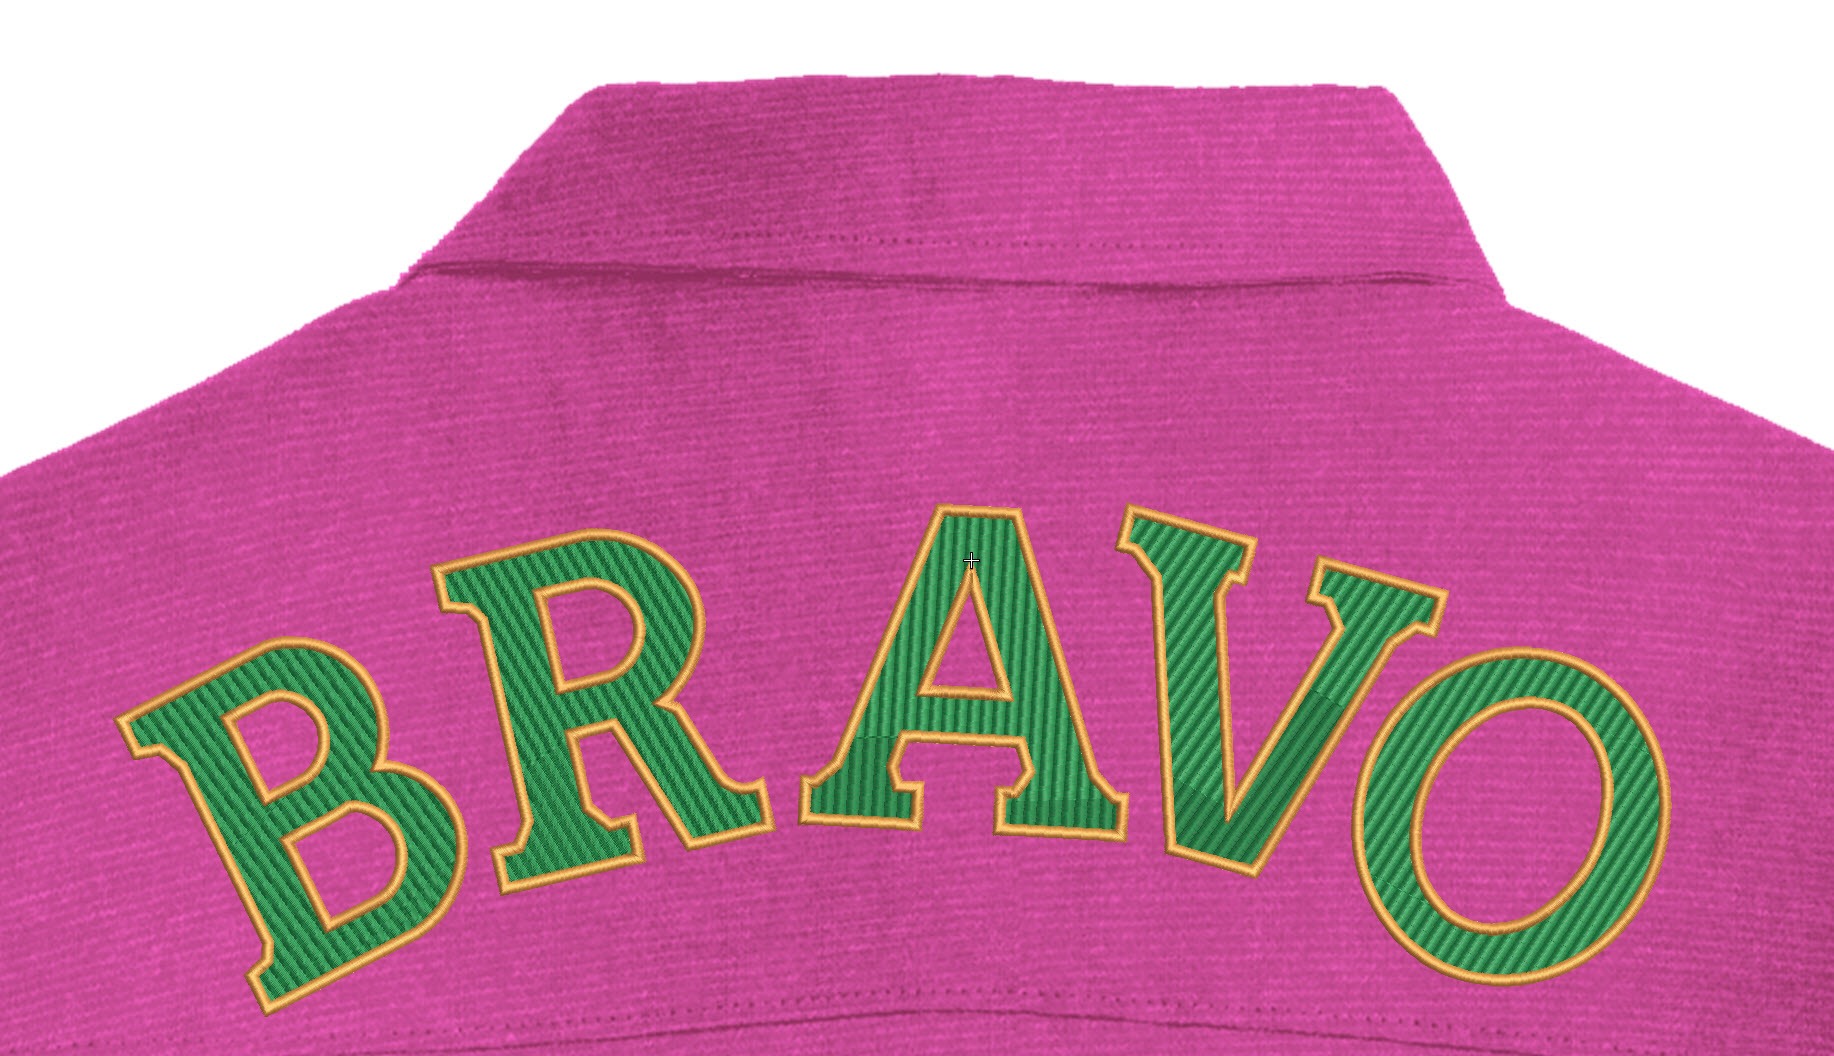
All lettering has maximum and minimum recommended sizes, to find these recommendations go to the HELP MENU and ONLINE MANUAL. In the Navigation Bar Look for Appendices and Embroidery Fonts. CTRL F will open the Find dialogue to locate the particular font you are looking for.Notice Adelle font has a recommended minimum of 10…
| Powered by WordPress | Theme by TheBootstrapThemes