
Knowing your keyboard shortcuts will save you lots of time when digitizing. I recommend taking the time to learn a few new keyboards each day, and in a no time at all you’ll see massive productivity gains as you punch more designs even faster. In this video I walk you through my favorite keyboard shortcuts…
A new thread chart Embroidery Service Polyfil is available to download for Wilcom EmbroideryStudio. The polyester thread chart comes from Embroidery Services, an Italian manufacturer, and is available in both 40 and 60 weight yarn. To find out more click here. Using the new thread chart Download the 40 weight or download the 60 weight zip…
EmbroideryStudio e4 Update 4 is released! Click here to download the full EmbroideryStudio e4 Update 4 Release Notes. Summary of update New or improved: It is now possible to allow sequins patterns to overlap greater than 50%. The shortcut command CTRL-D has been reinstated to allow an object to duplicate with a user-defined offset. The shortcut command…
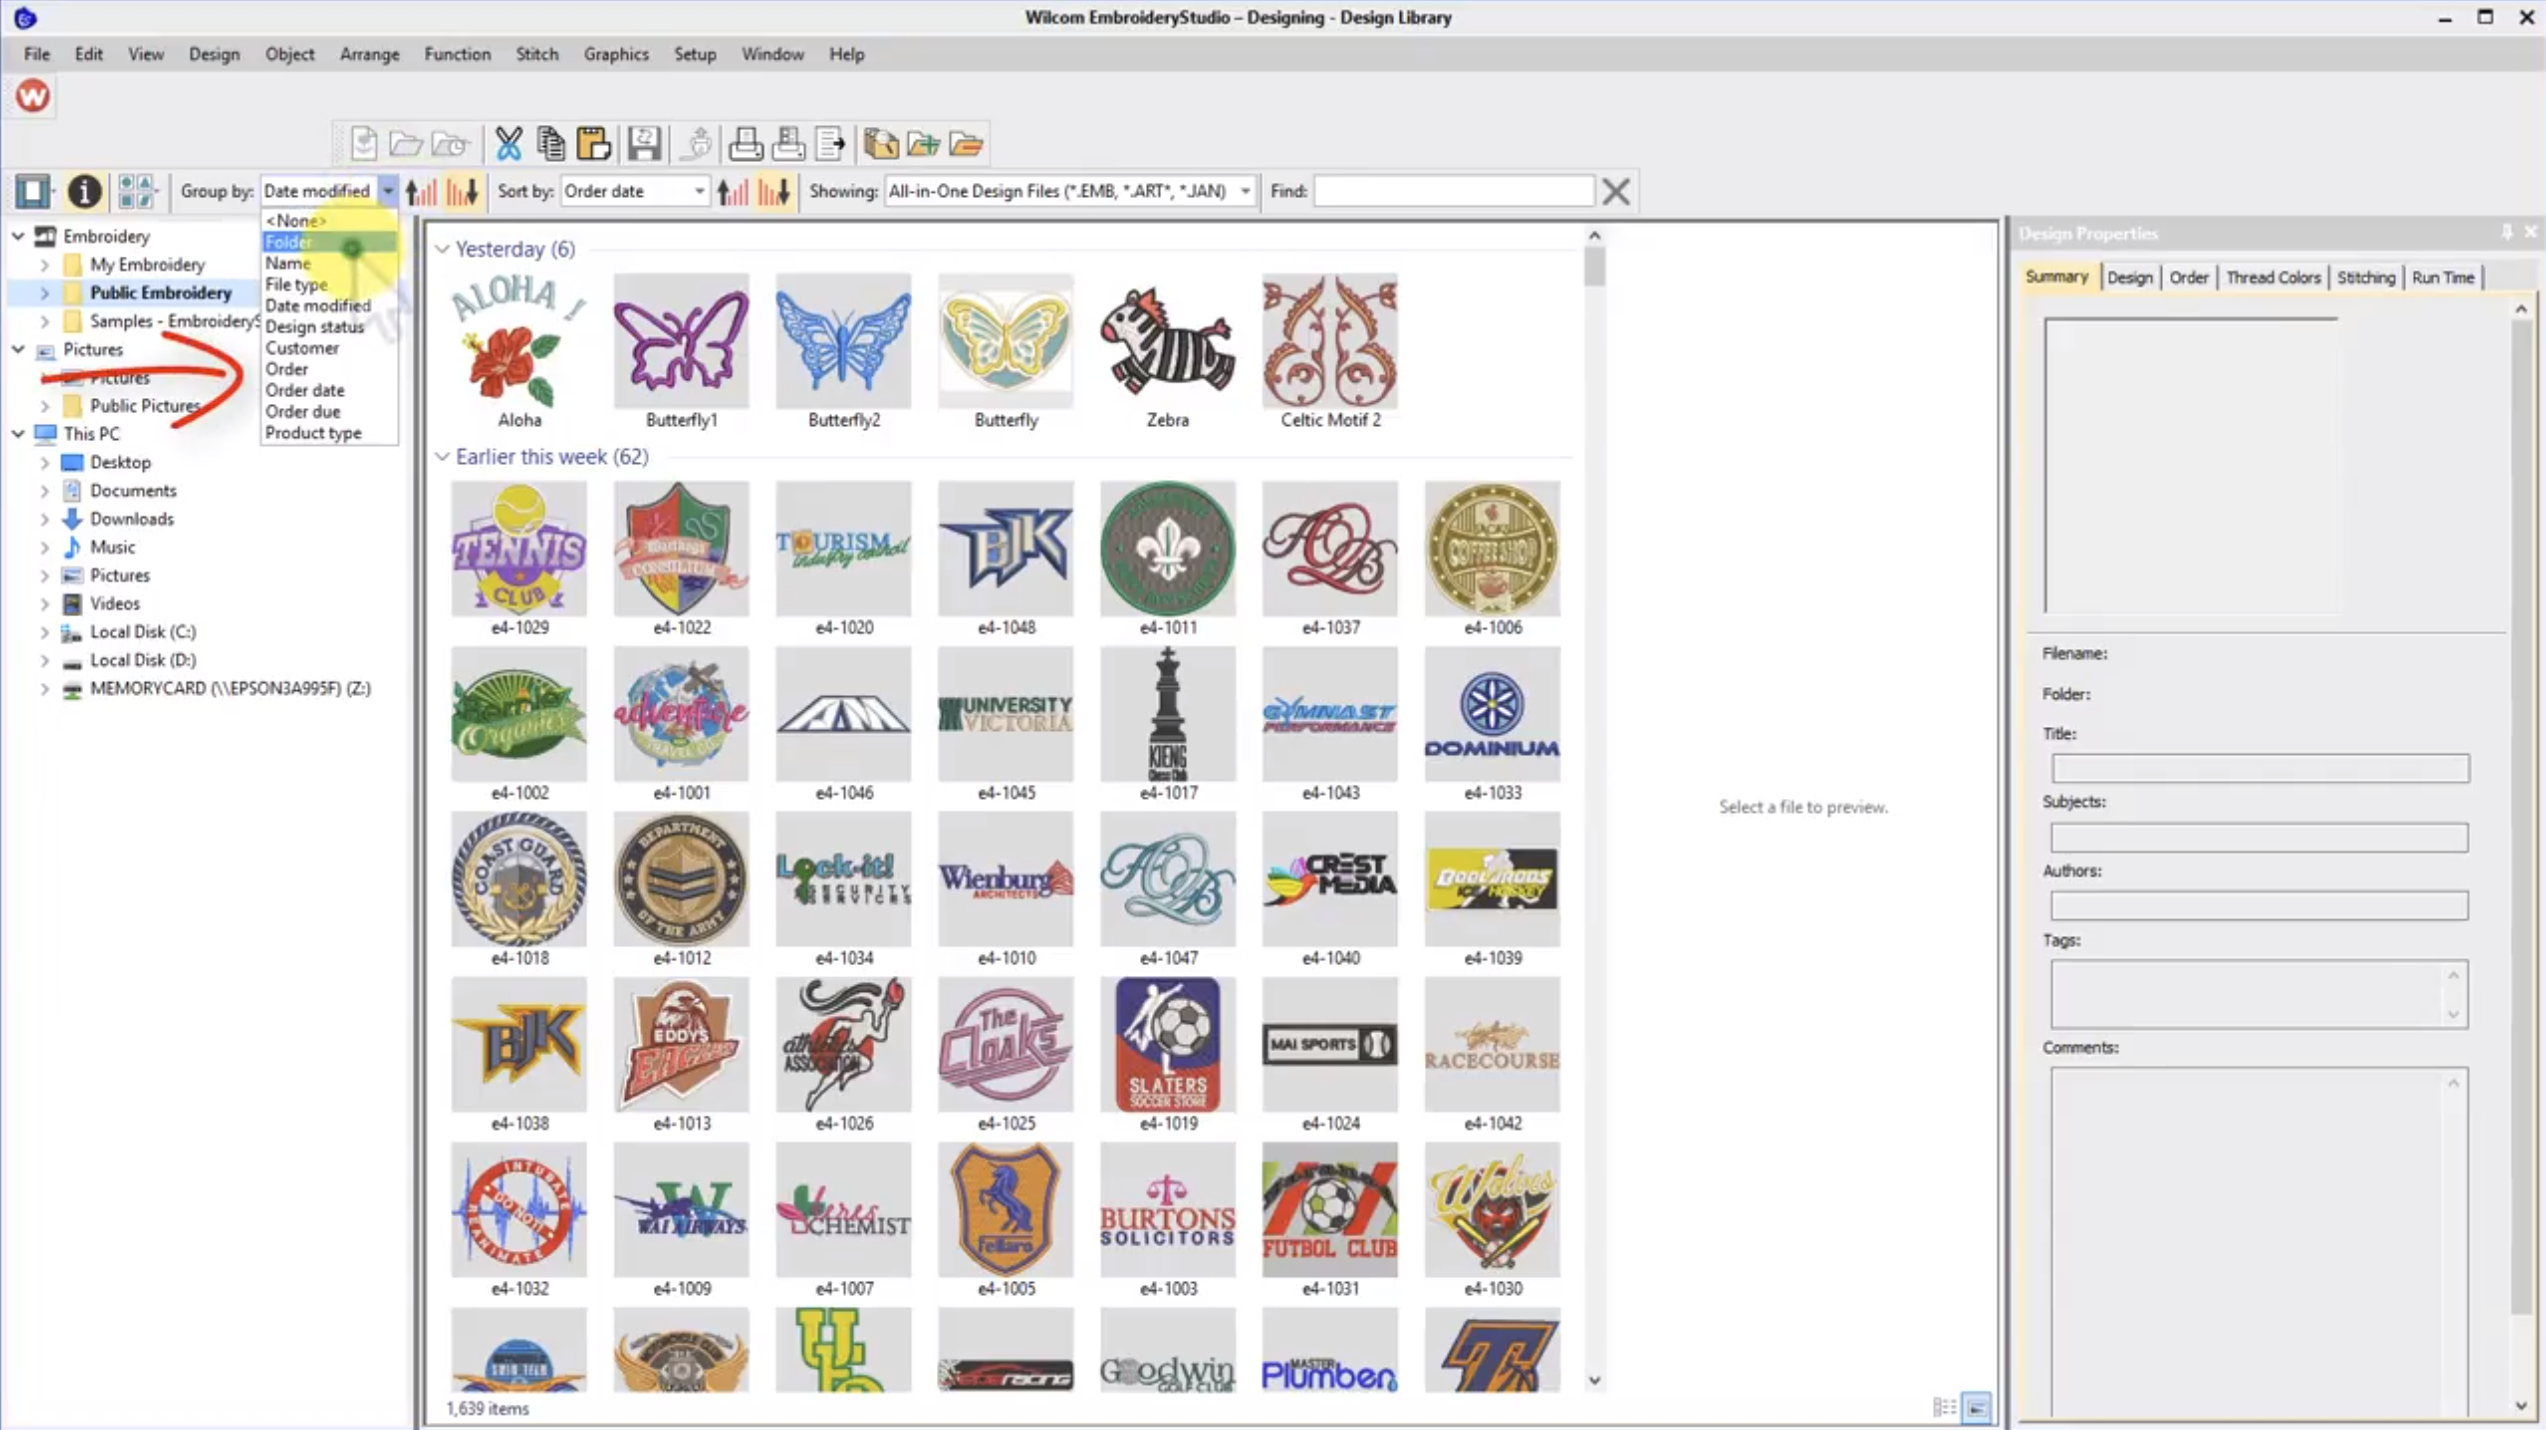
When I teach Wilcom I always start my students in Design Library. Why? Because Design Library is the heart of Wilcom’s EmbroideryStudio and gives you instant access to your embroidery designs. I remember receiving a phone call from a client who had just installed EmbroideryStudio e4. They were so excited because Design Library had automatically…
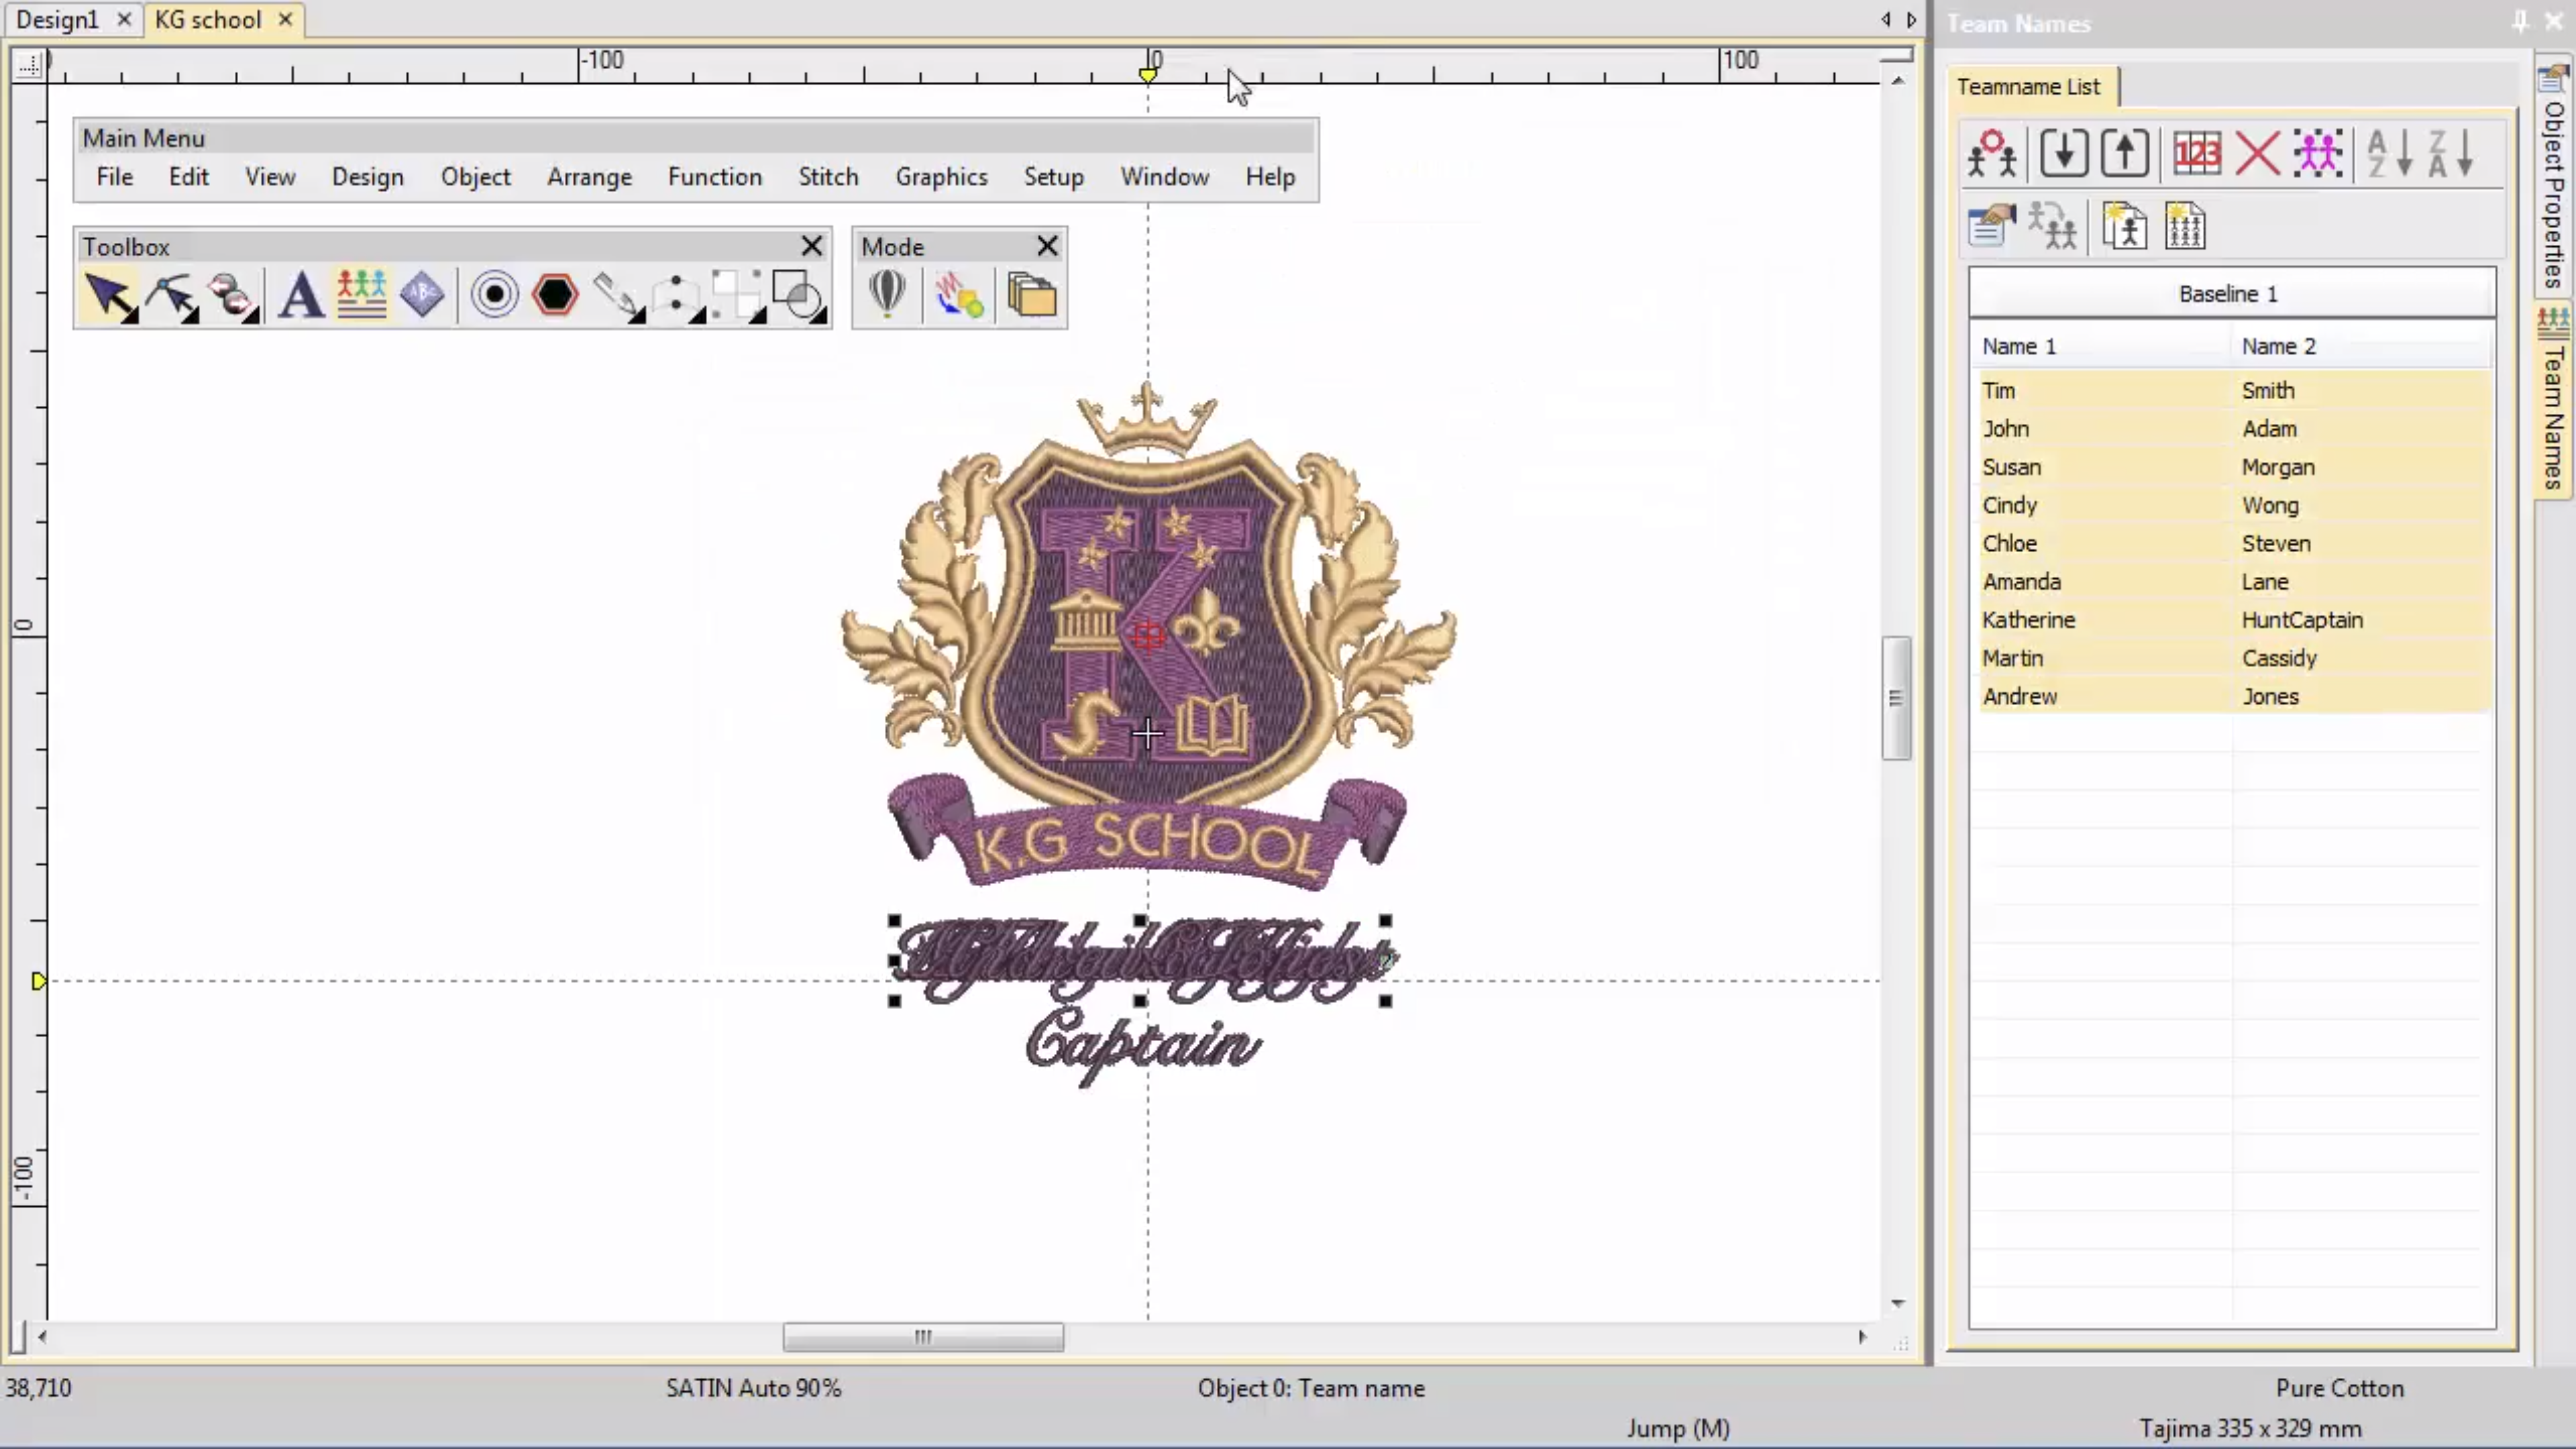
Ideal for uniforms and sportswear, Teamnames is a great feature to help you save time and eliminate errors with unique names on multiple garments. In this video, Ben from our Documentation team walk us through an introduction to Teamnames. Watch the video now Happy Stitching! Brenden
EmbroideryStudio e4 Update 3 is released! Click here to download the full EmbroideryStudio e4 Update 3 Release Notes. Summary of update New or improved: The Help menu > Wilcom Support link has been updated to the new Wilcom help website http://help.wilcom.com. Fixes: Problems have been reported when attempting to re-assign colors after optimizing color changes. This problem…
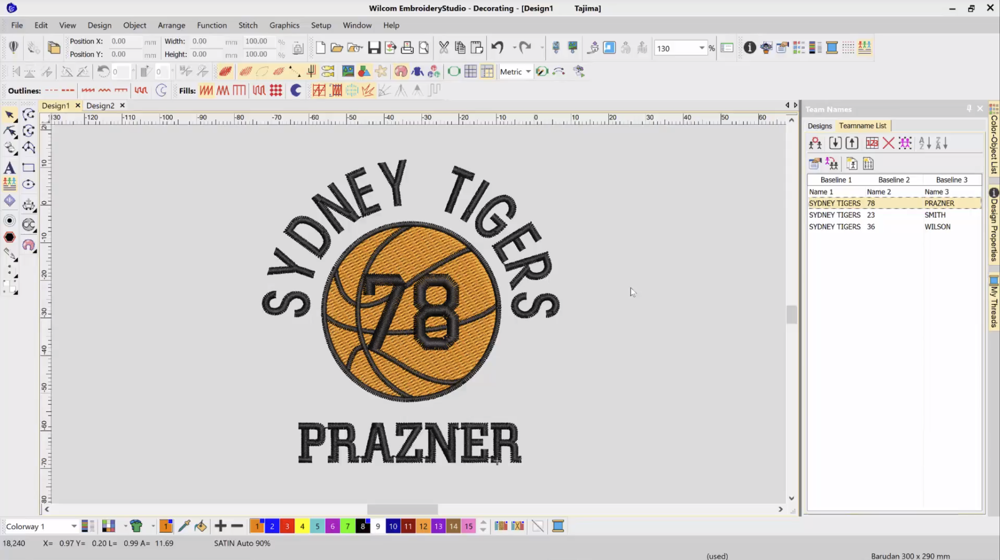
Teamname Design Templates are a great way to be creative and save time, by using predefined design templates. They are perfect for that quick sports or staff uniform design, and, with a few clicks, gives you a professional and ready-to-sew design. Check out this video tutorial on how you can create a Teamname Design Template….
EmbroideryStudio e4 Update 2 is released! Click here to download the full EmbroideryStudio e4 Update 2 Release Notes. Summary of update New or improved: Color PhotoStitch image size now supports up to 400mm in size. Exporting Team Names now only exports names currently showing in the Team Name list. New EmbroideryConnect supplement document is now available in…
When you browse your design files in the Wilcom EmbroideryStudio Design Library or in Windows File Explorer, the design contains a small blue ‘ES’ icon. Sometimes this icon can be distracting from the design thumbnail. In this quick tip I show you how you can turn off the ES icon on your design thumbnails. Turn…
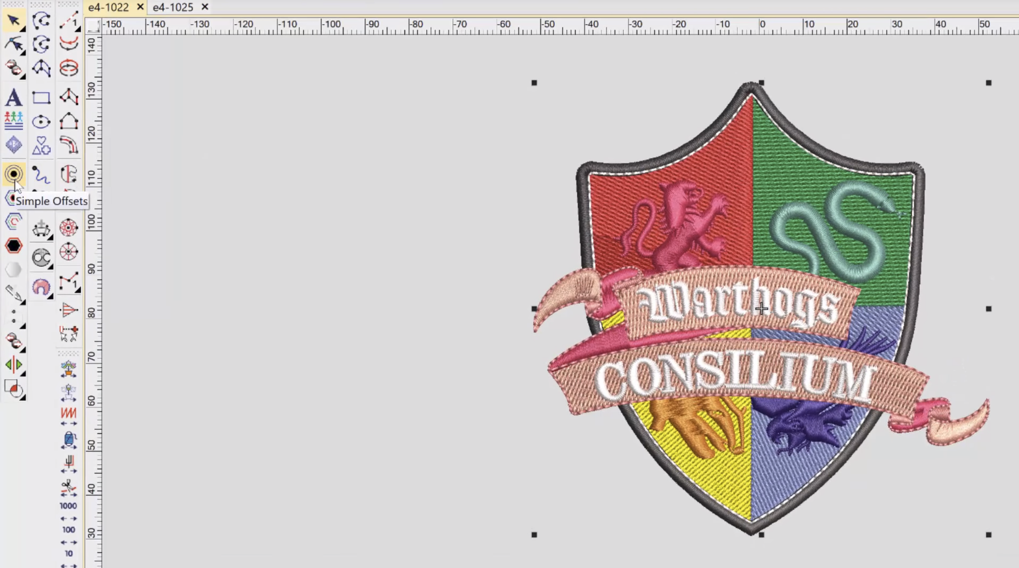
A vector cut line from your embroidery design can be required to create an applique cut line, or when creating a dye cut or laser cut outline. In this short video I show you how you can take an embroidery design file in Wilcom EmbroideryStudio and create a vector cut line. Check out the video: https://www.youtube.com/watch?v=WDr7mekerI0
| Powered by WordPress | Theme by TheBootstrapThemes