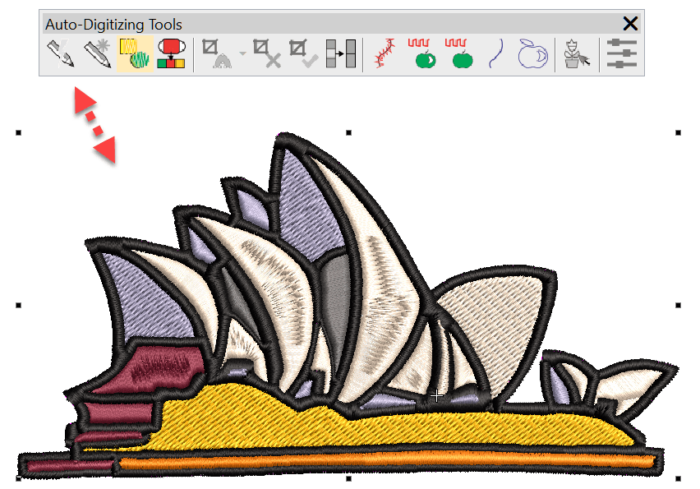
There are many compelling reasons to update from DecoStudio to e4 Decorating. Here are a few Instant smart Design Tabs Product Visualiser Library Instant Smart Design Instant smart Design will create an .emb embroidery file from a raster image within seconds, but what I like about it most is that you get an instant…
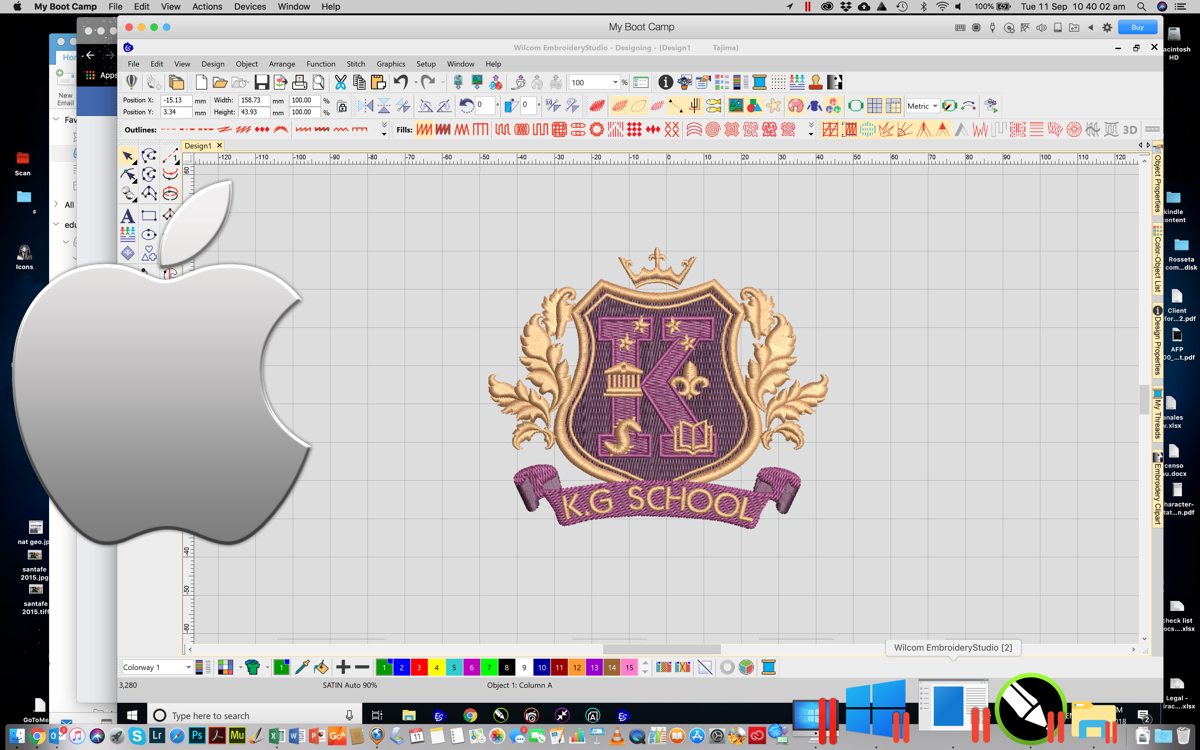
UPDATE: At present, EmbroideryStudio does not support Windows on Mac with Apple M1 chip using Parallels Desktop. Click here for future updates. Can I Install Wilcom EmbroideryStudio on my Mac? What options do I have? Yes you can! There are basically two options, Boot Camp and Virtualization Boot Camp is a technology that allows booting…
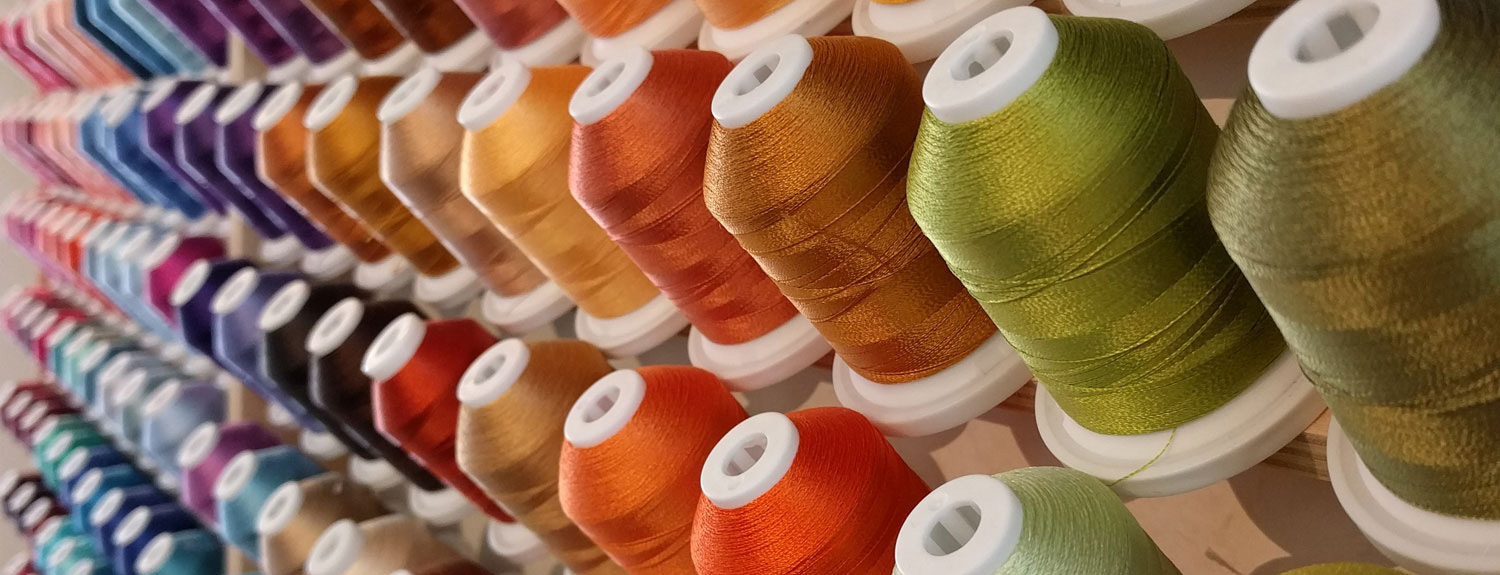
A new thread chart Robinson-Anton SBP-9 Poly is available to download for Wilcom’s EmbroideryStudio. Using the new thread chart Download the Robinson-Anton-Card-SBP-9-Poly zip file and extra the .TCH file from the zip file. Once extracted, copy the .TCH thread chart file to the RES folder in your Wilcom installation. i.e. C:\Program Files (x86)\Wilcom\EmbroideryStudio_e4.0\RES Restart Wilcom EmbroideryStudio Within EmbroideryStudio,…

The rise of Direct to Garment (DTG) printing has opened up lots of new opportunities for decorators, making printing quantity one affordable. Wilcom’s EmbroideryStudio has a feature called Capture Virtual Decoration Bitmap which allows you to create a high-resolution printable file of the embroidery design, which is perfect to print on a Direct to Garment printing…
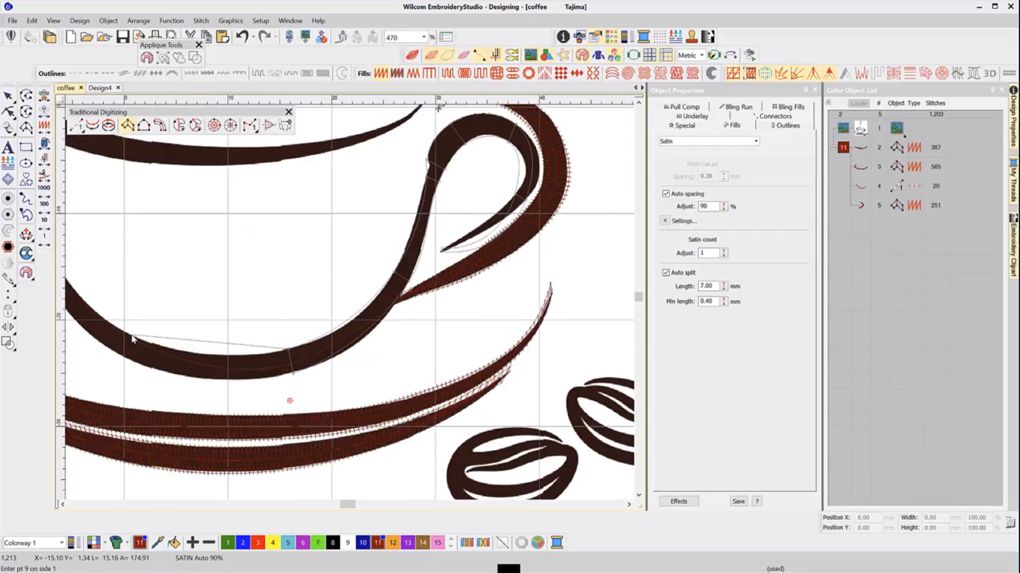
In this embroidery digitizing tutorial, I focus on using the Single Run outline tool and Column A digitizing tool, as a result giving you an overview of digitizing a design in Wilcom EmbroideryStudio. Step by step I’ll walk you through creating this simple coffee cup design explaining the use of each tool. Most importantly, I’ll…

Knowing your keyboard shortcuts will save you lots of time when digitizing. I recommend taking the time to learn a few new keyboards each day, and in a no time at all you’ll see massive productivity gains as you punch more designs even faster. In this video I walk you through my favorite keyboard shortcuts…

A new thread chart Embroidery Service Polyfil is available to download for Wilcom EmbroideryStudio. The polyester thread chart comes from Embroidery Services, an Italian manufacturer, and is available in both 40 and 60 weight yarn. To find out more click here. Using the new thread chart Download the 40 weight or download the 60 weight zip…
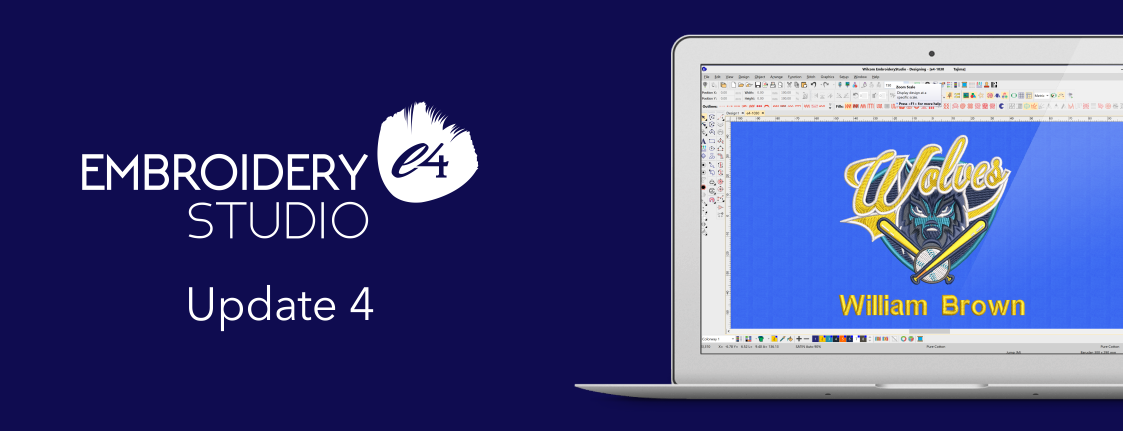
EmbroideryStudio e4 Update 4 is released! Click here to download the full EmbroideryStudio e4 Update 4 Release Notes. Summary of update New or improved: It is now possible to allow sequins patterns to overlap greater than 50%. The shortcut command CTRL-D has been reinstated to allow an object to duplicate with a user-defined offset. The shortcut command…
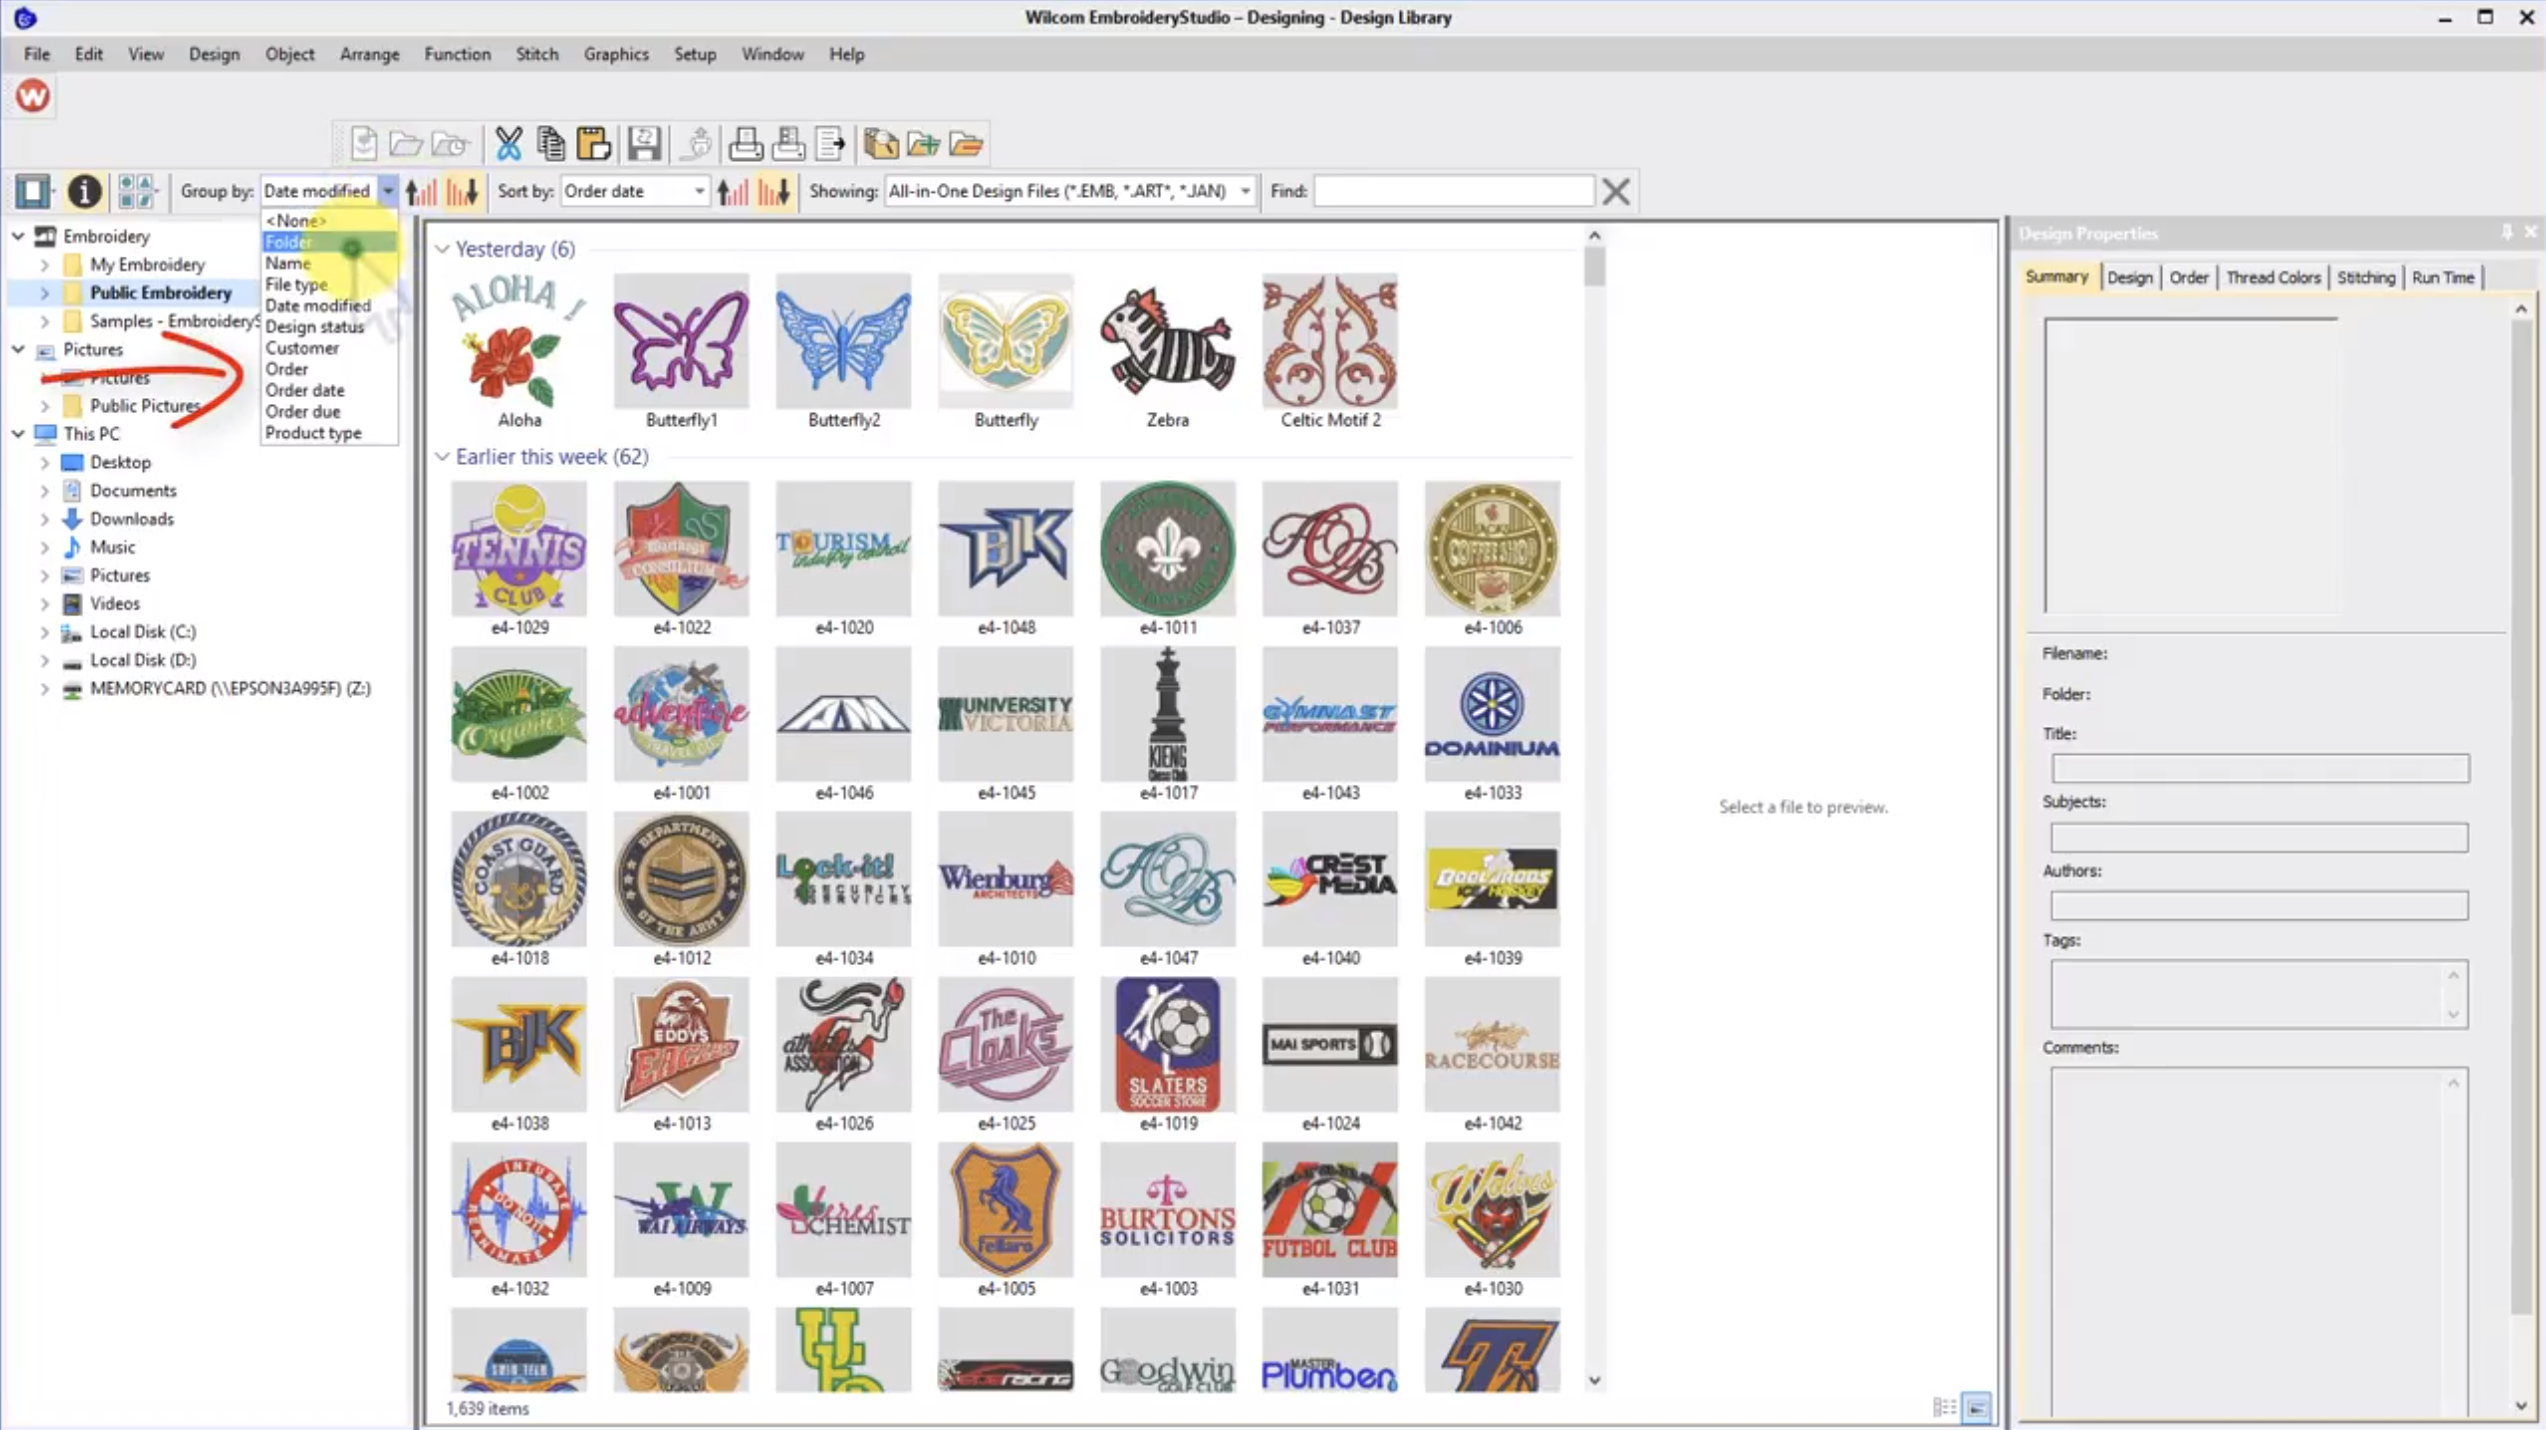
When I teach Wilcom I always start my students in Design Library. Why? Because Design Library is the heart of Wilcom’s EmbroideryStudio and gives you instant access to your embroidery designs. I remember receiving a phone call from a client who had just installed EmbroideryStudio e4. They were so excited because Design Library had automatically…
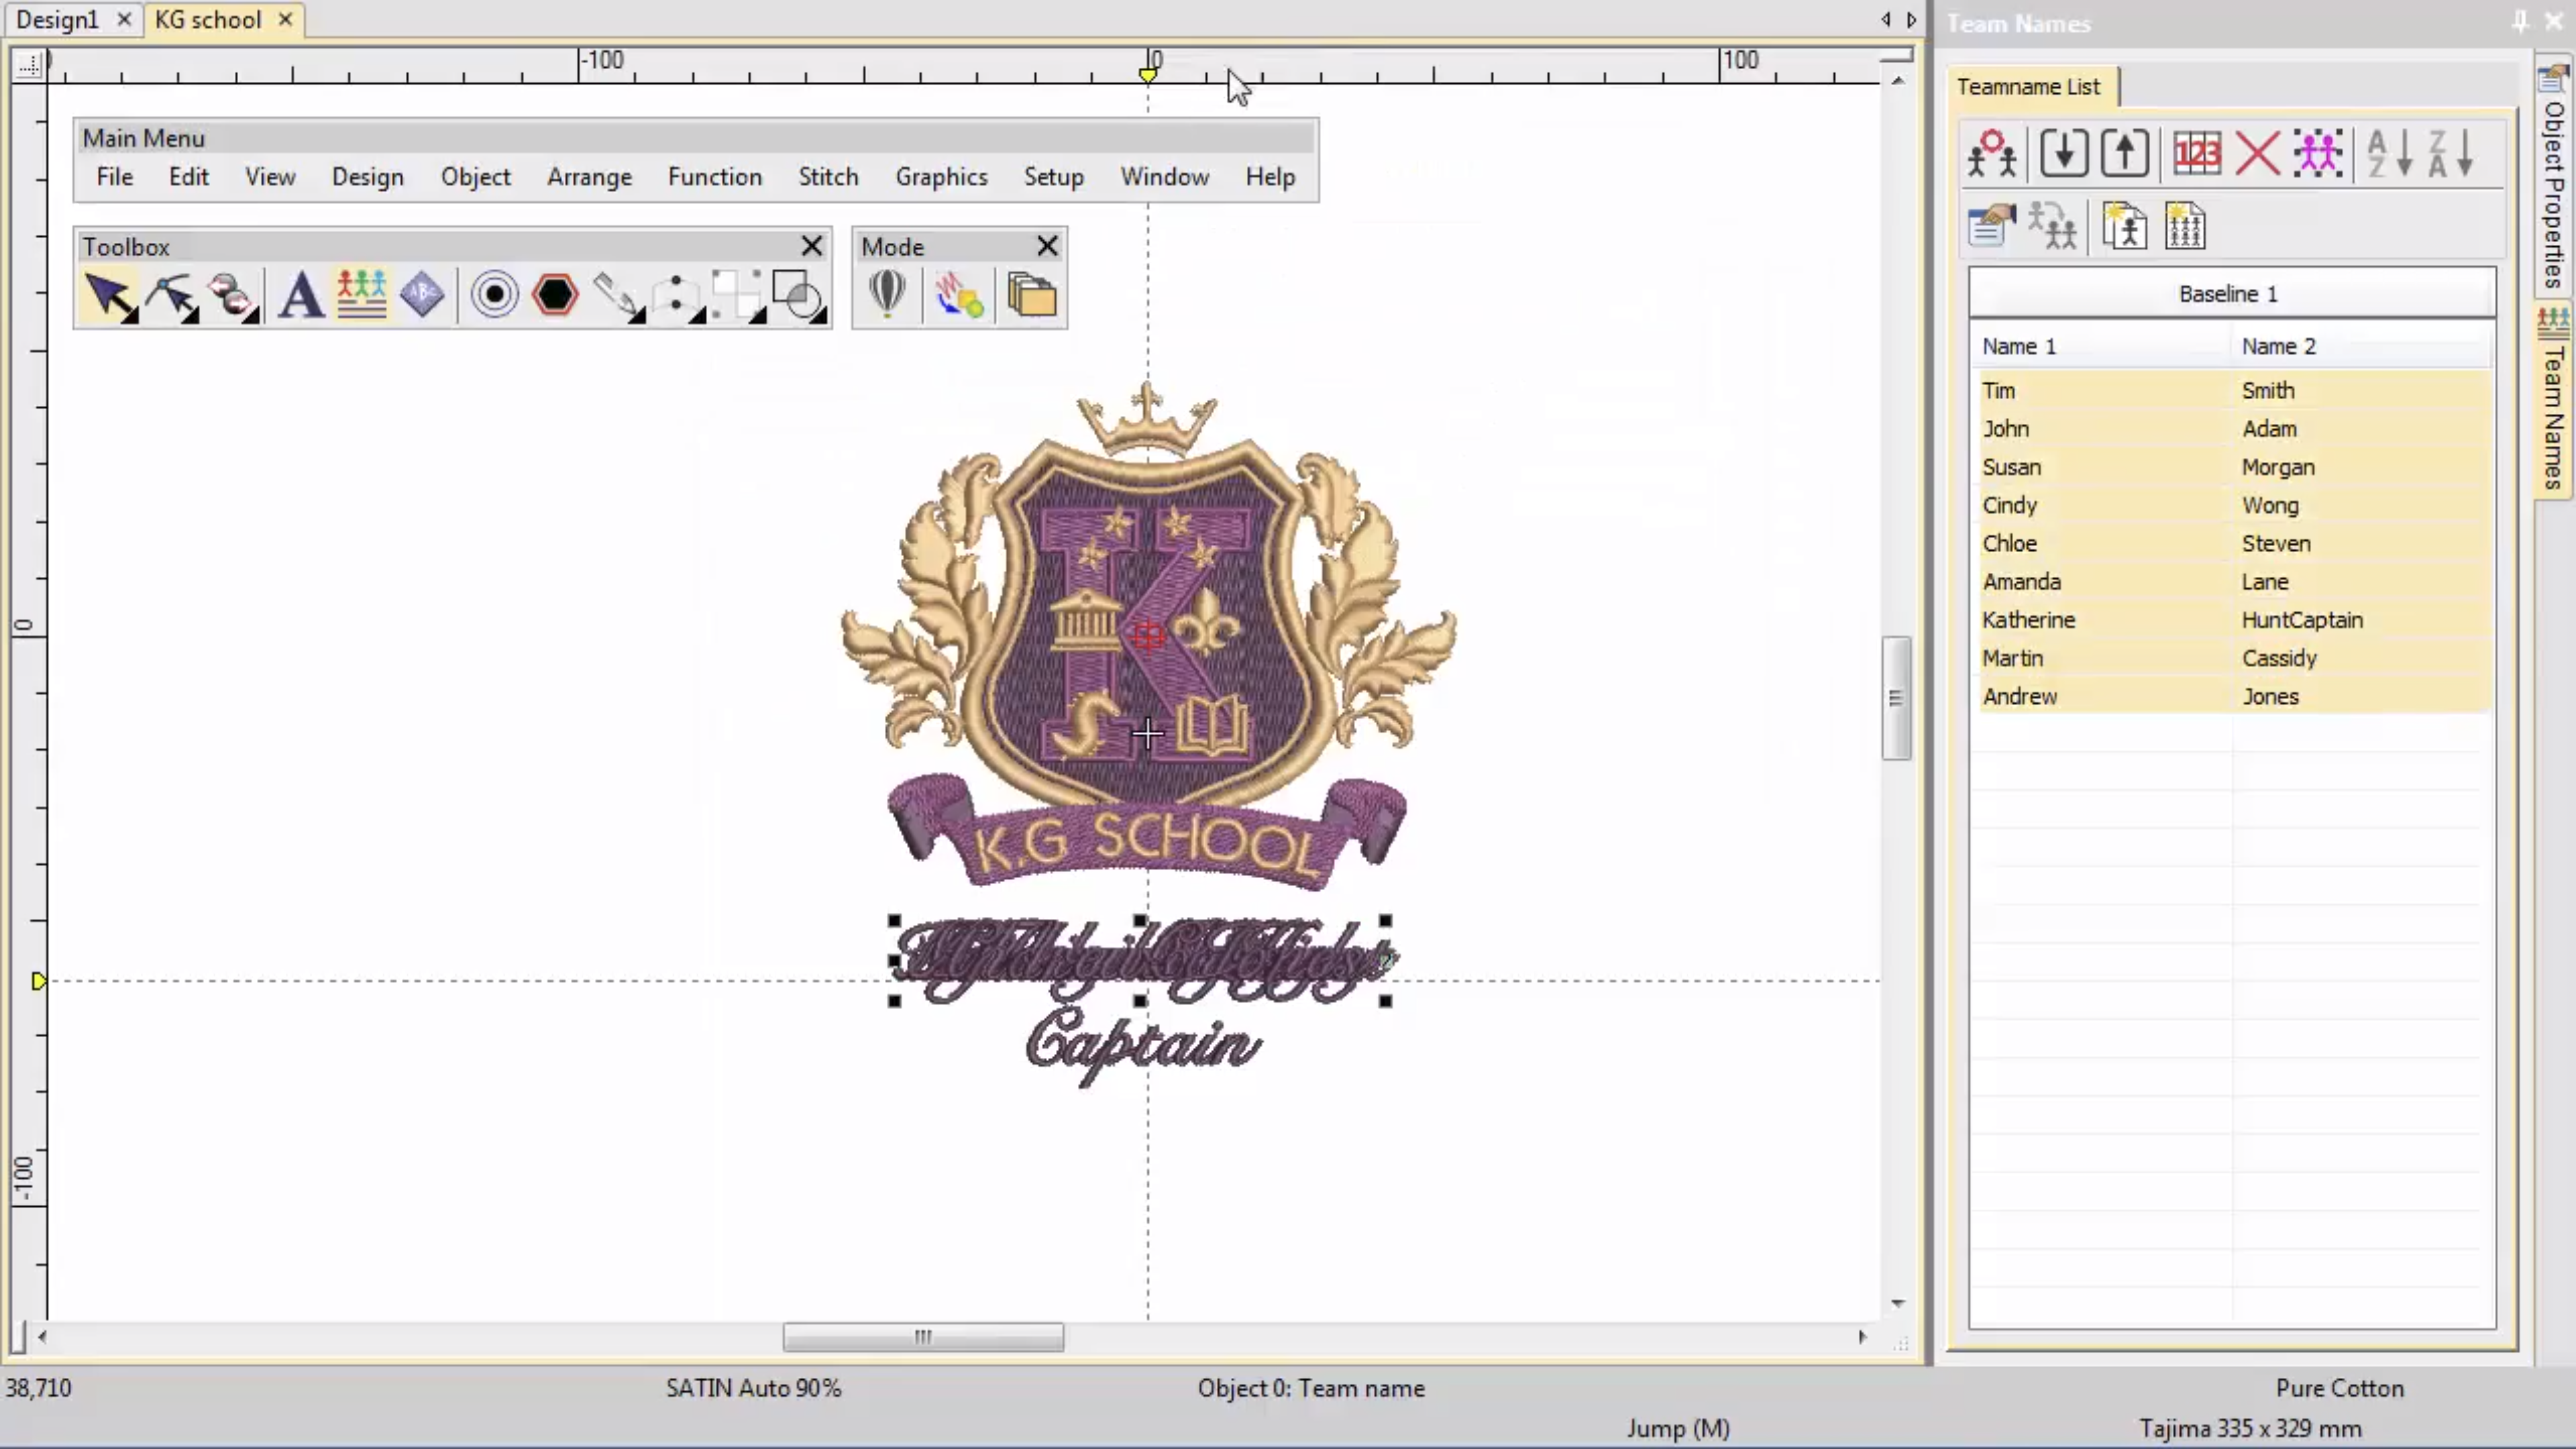
Ideal for uniforms and sportswear, Teamnames is a great feature to help you save time and eliminate errors with unique names on multiple garments. In this video, Ben from our Documentation team walk us through an introduction to Teamnames. Watch the video now Happy Stitching! Brenden
| Powered by WordPress | Theme by TheBootstrapThemes