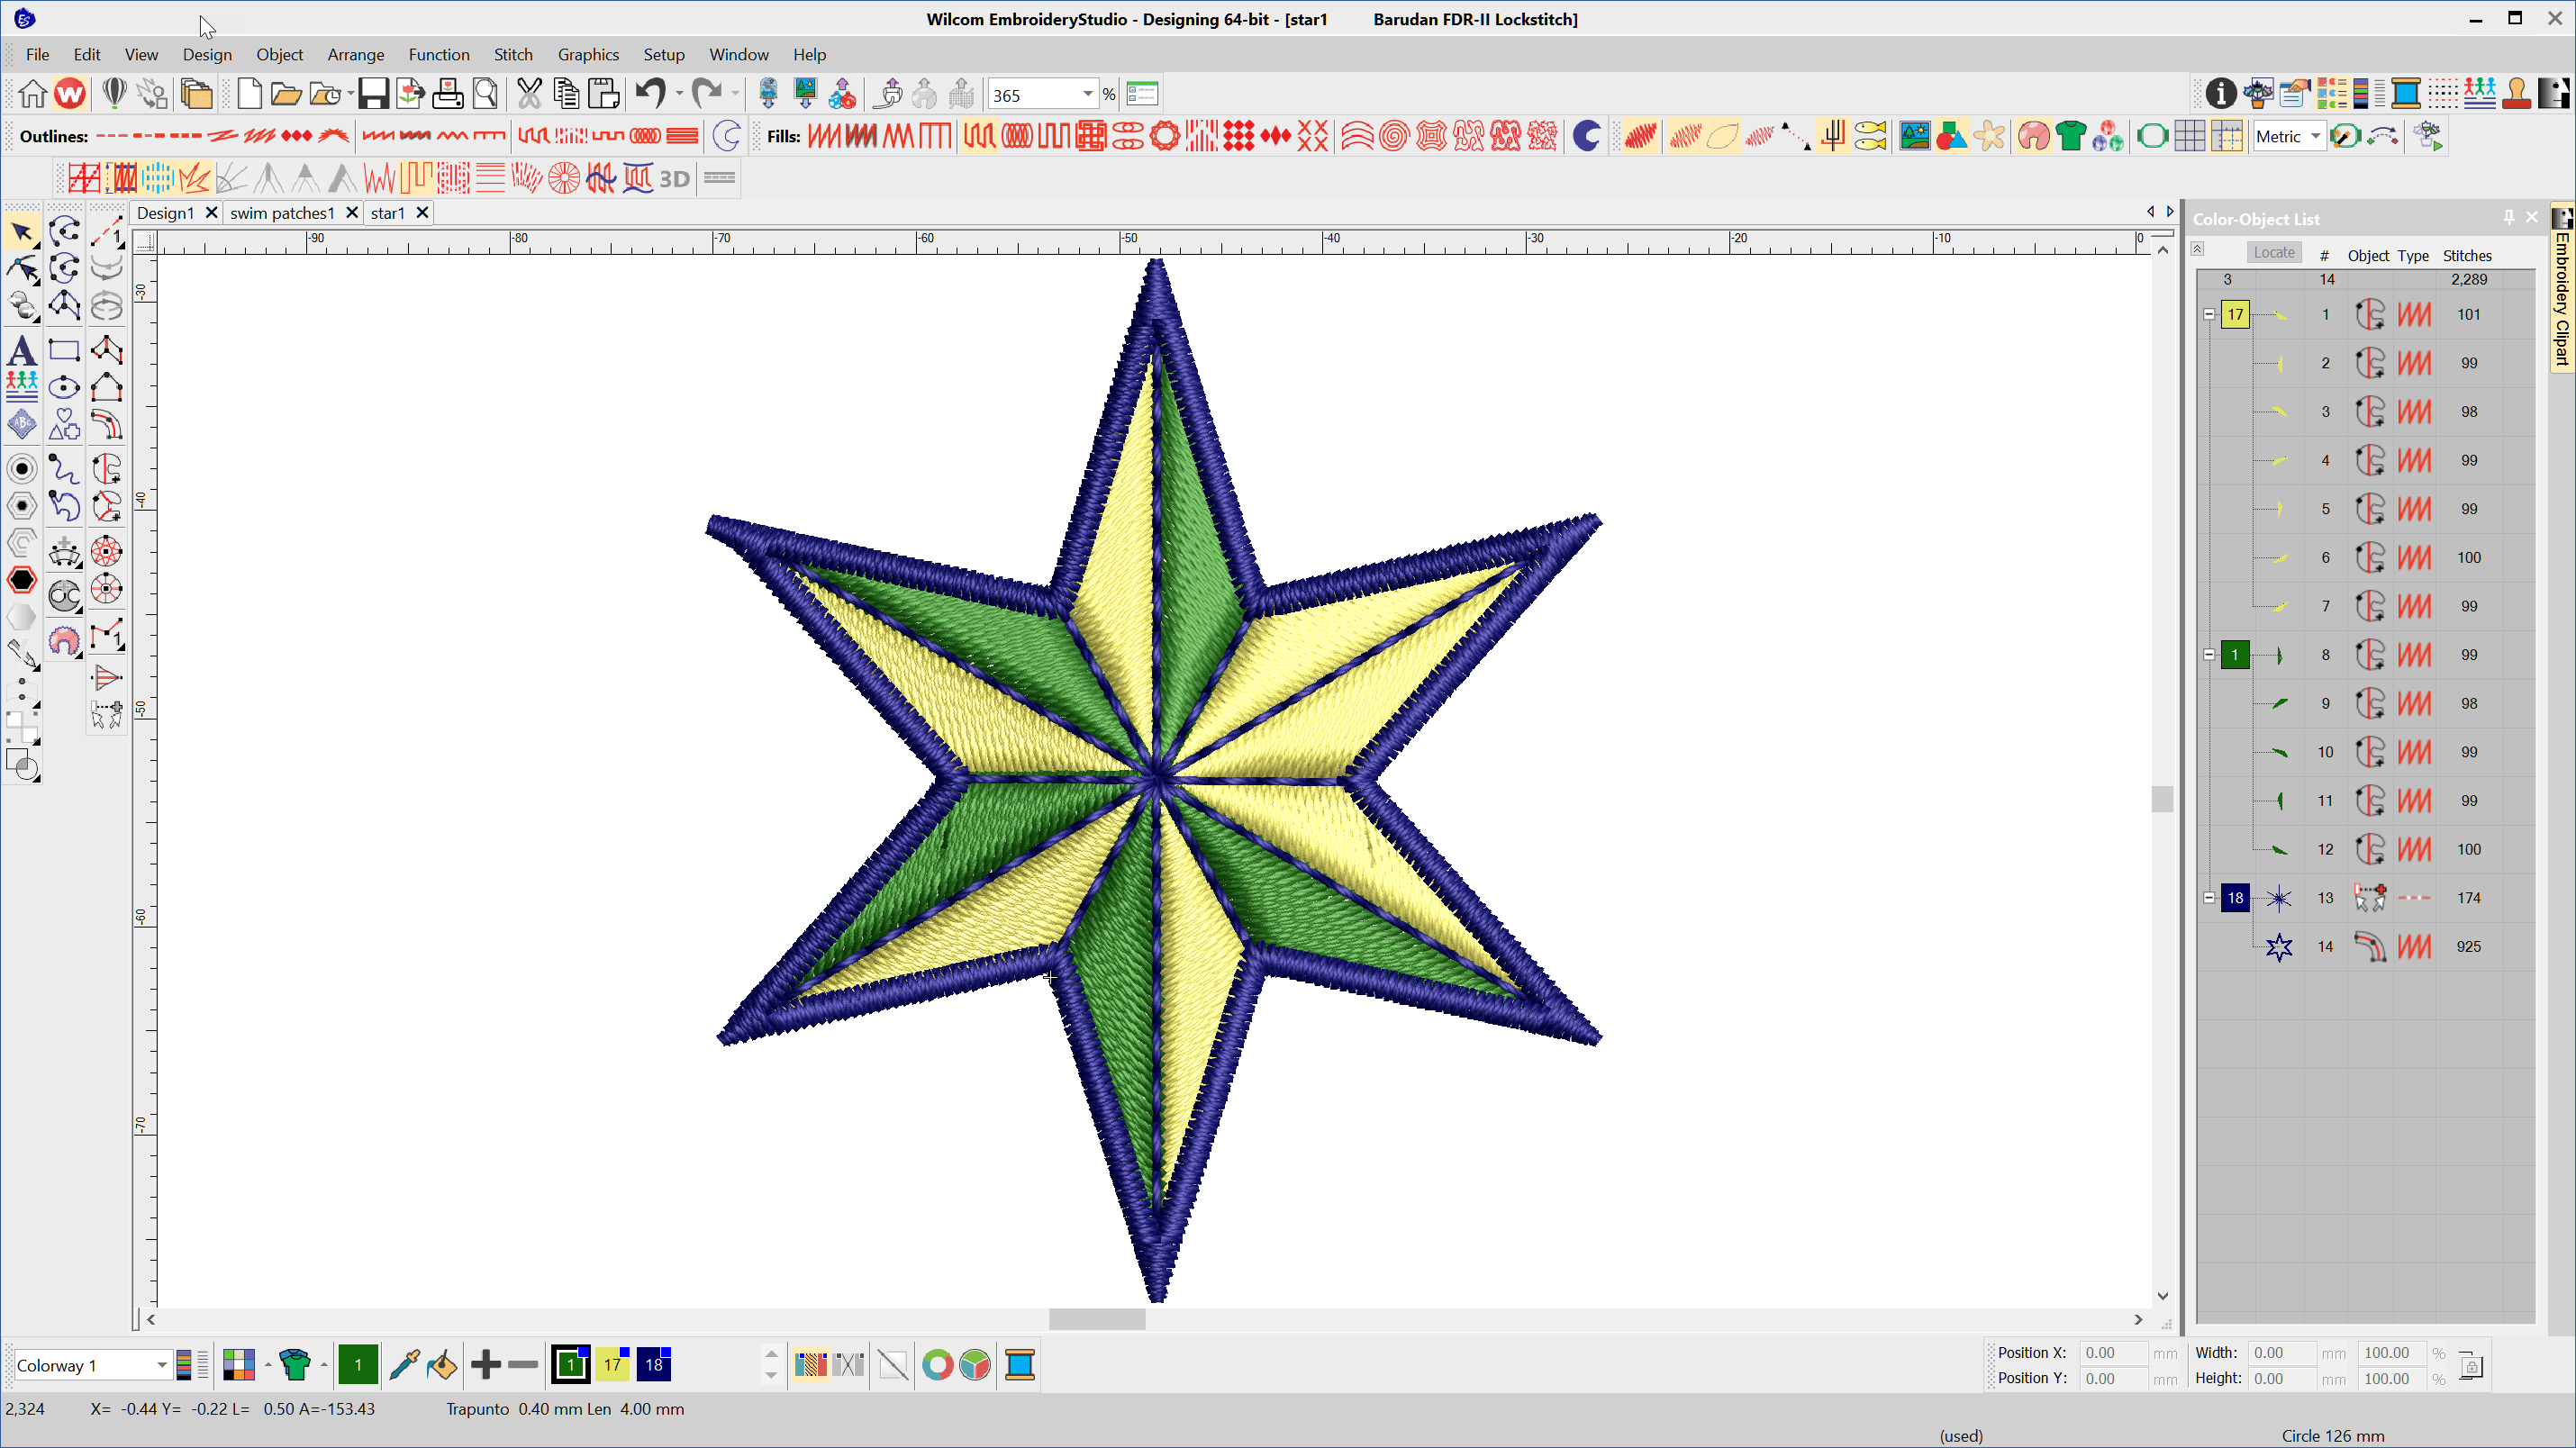
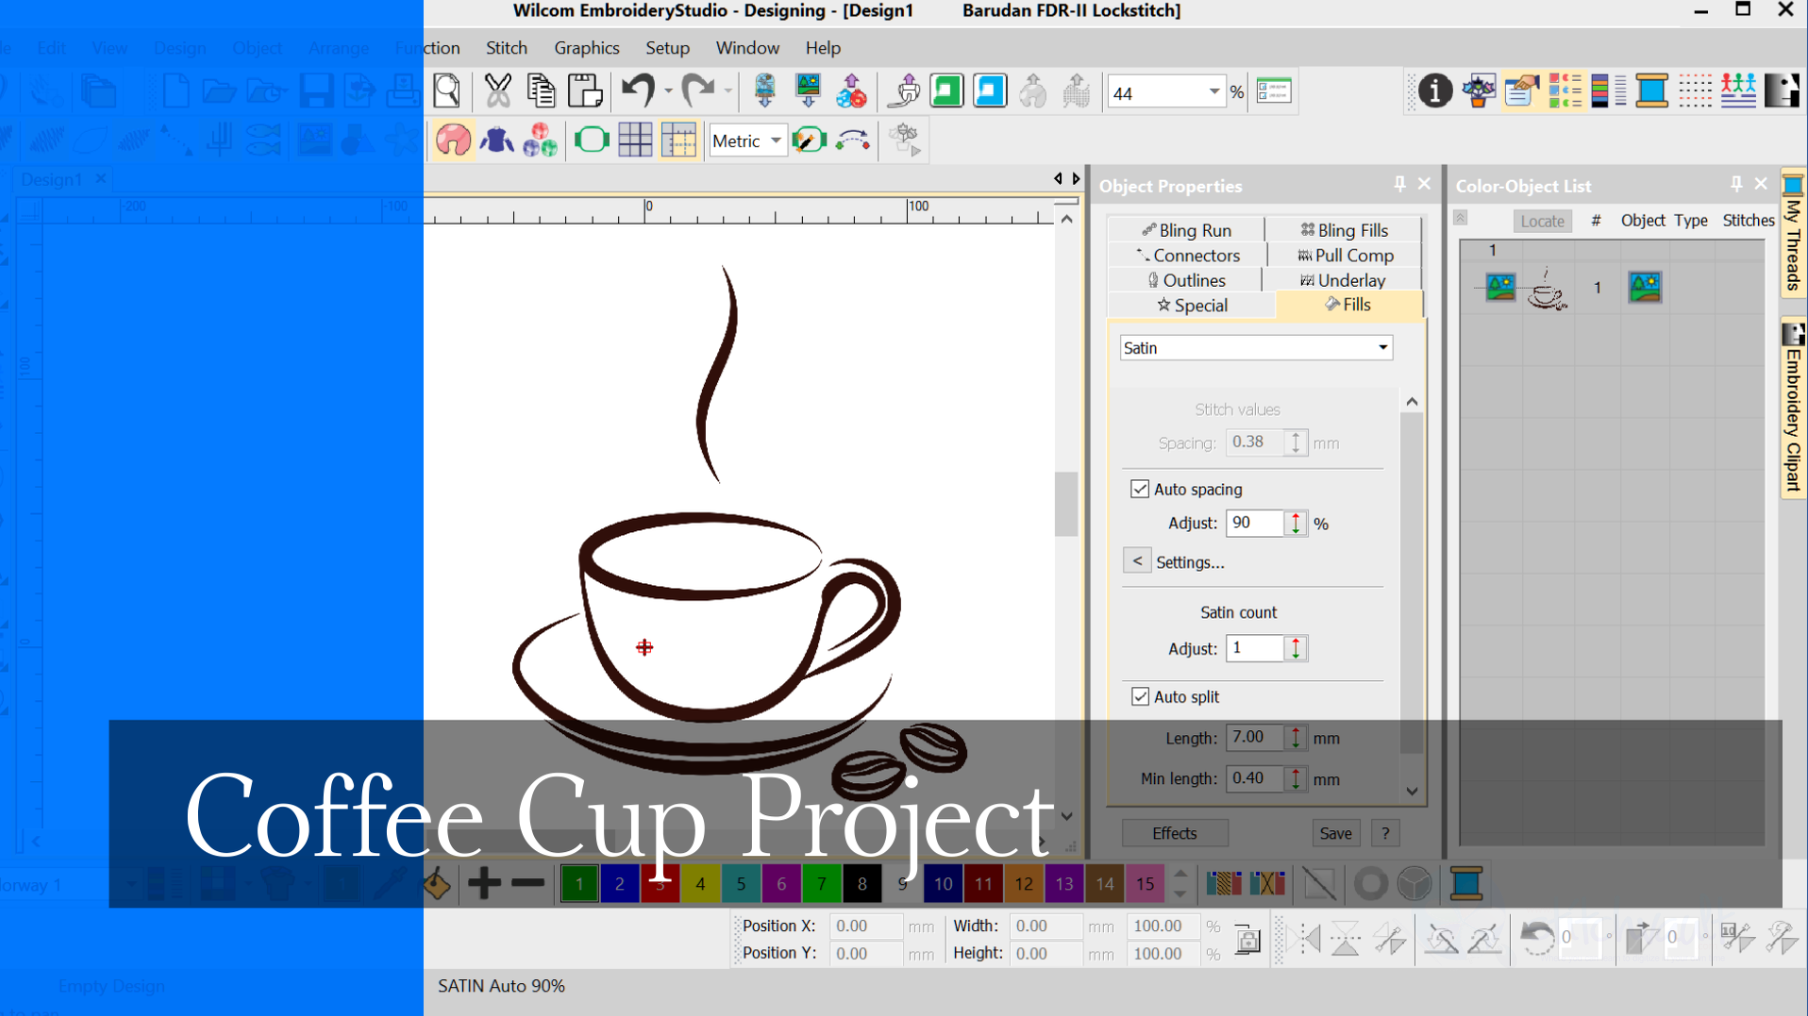
When creating anything it pays to have a plan. Understand the the list of components, the tools required and the construction sequence is imperative to good design. This is particularly so in embroidery where the correct sequence of a design is critical to quality embroidery.The Color Object List shows the color blocks, individual objects, tool…
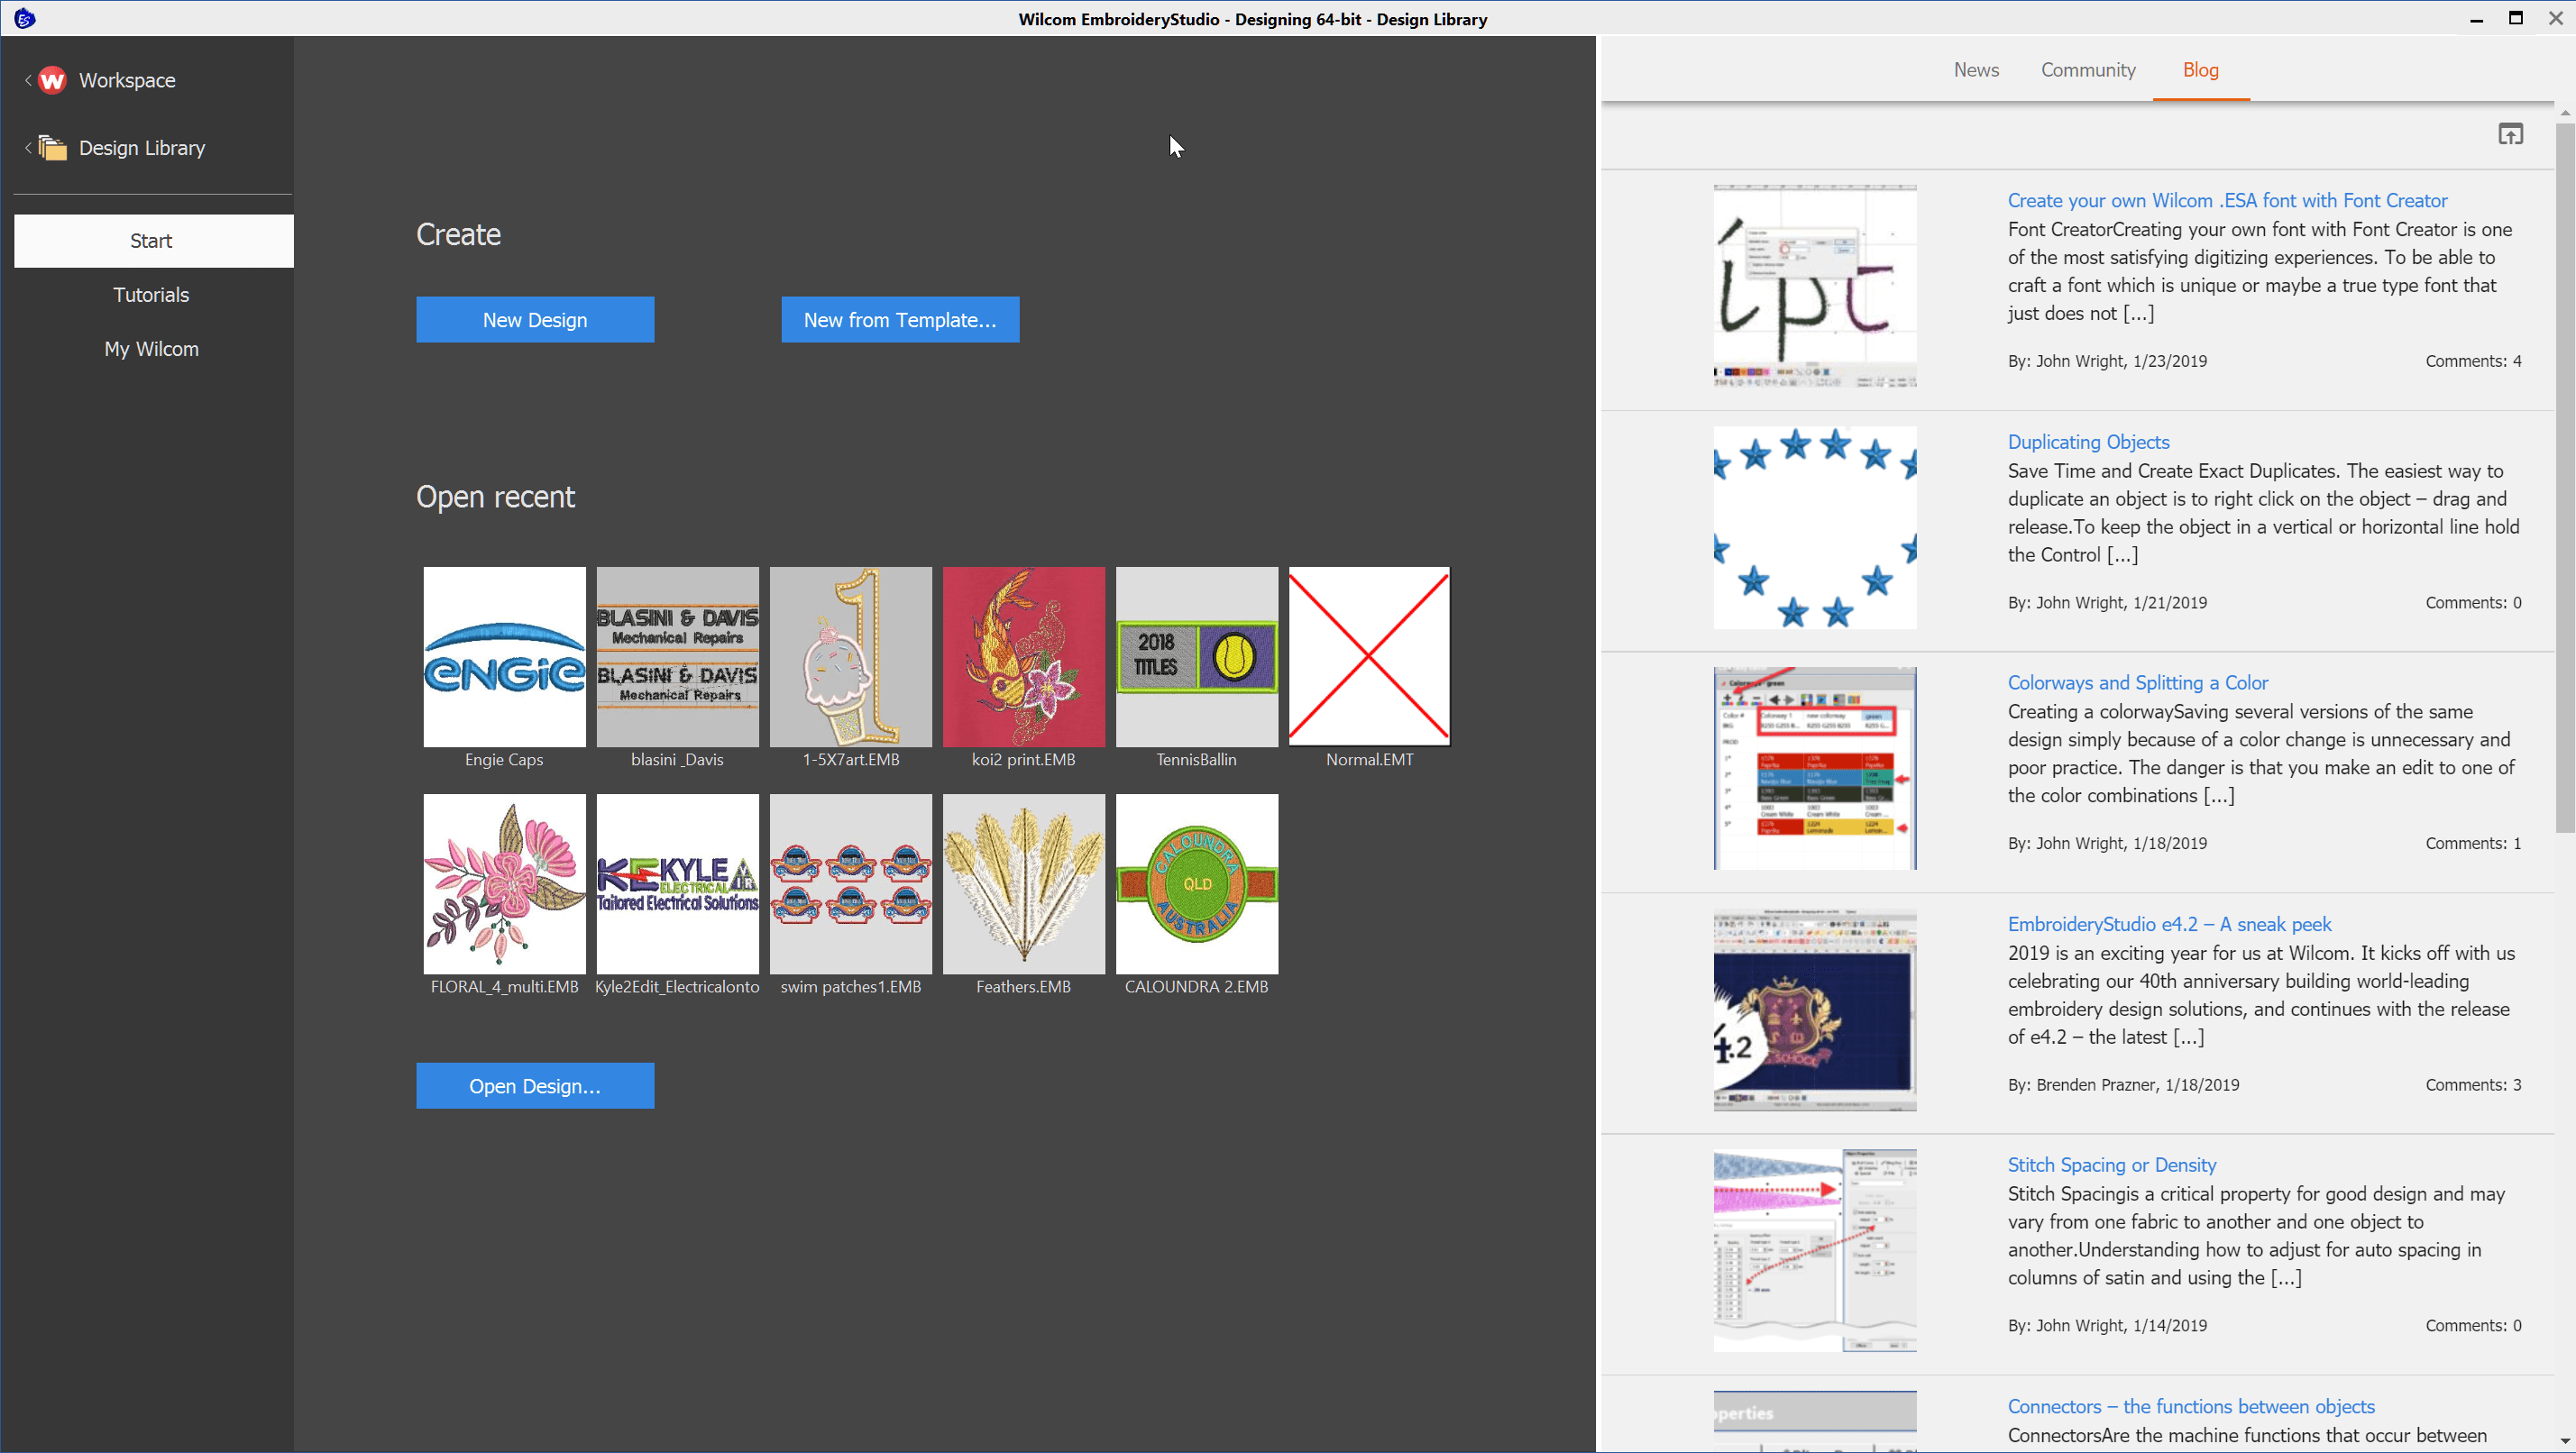
The soon-to-be-released EmbroideryStudio e4.2 introduces a new Home/Welcome Screen with handy links to Wilcom News, your Wilcom community where you can search for answers to questions you may have, offer help to others and learn and the Wilcom Blog. We are passionate about providing the product you need so here is the chance to make…
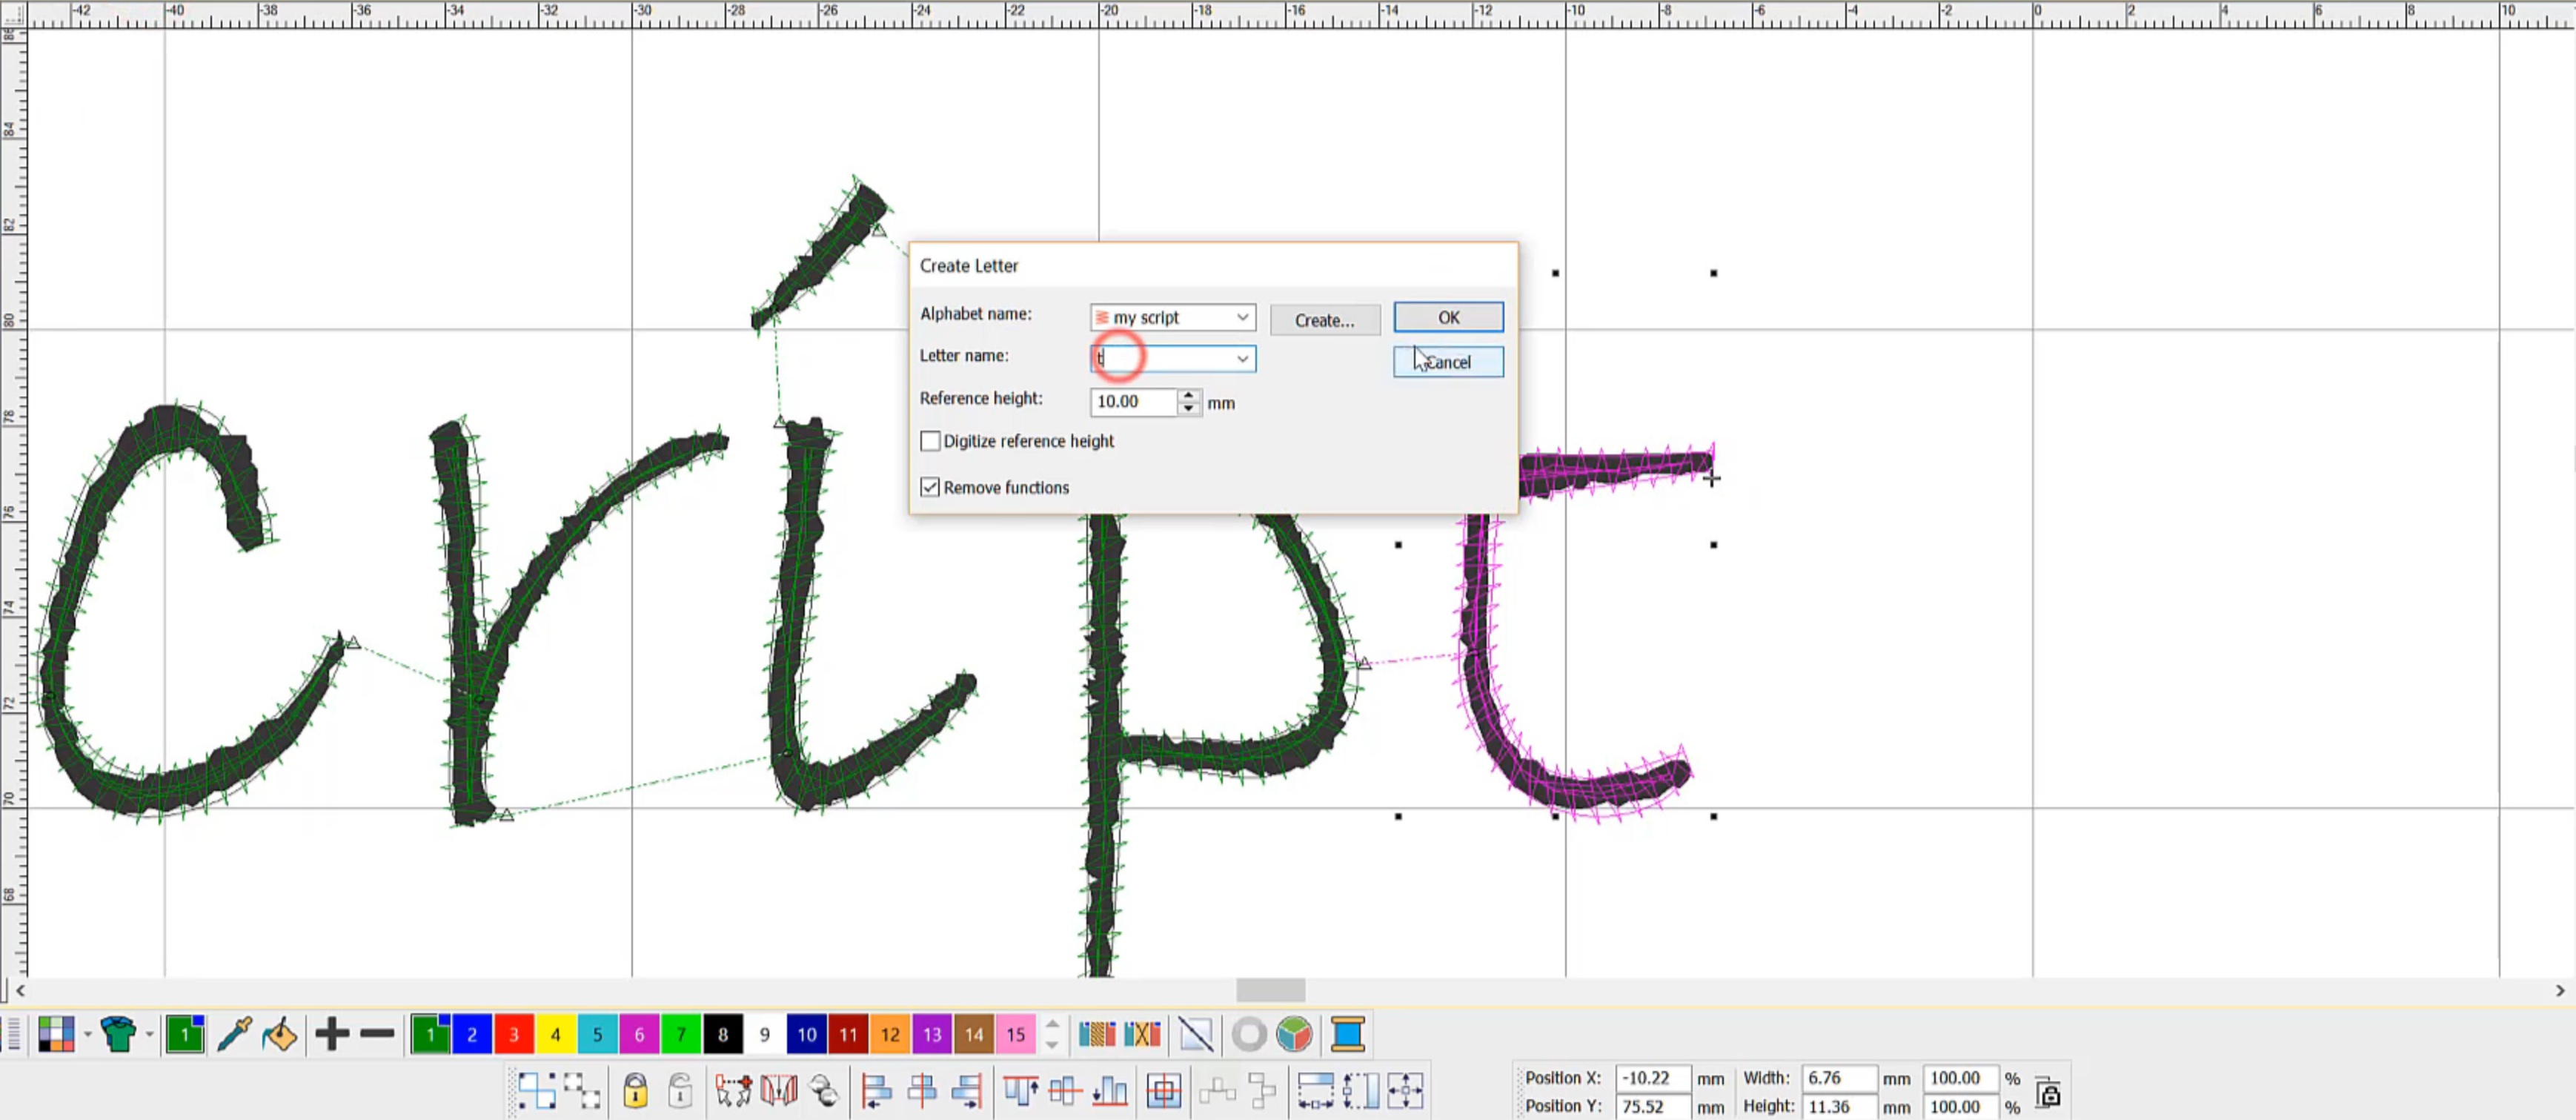
Font Creator Element Creating your own font with Font Creator is one of the most satisfying digitizing experiences. To be able to craft a font which is unique or maybe a true type font that just does not stitch well, is a real achievement of which you can be proud.Once the font has been created…
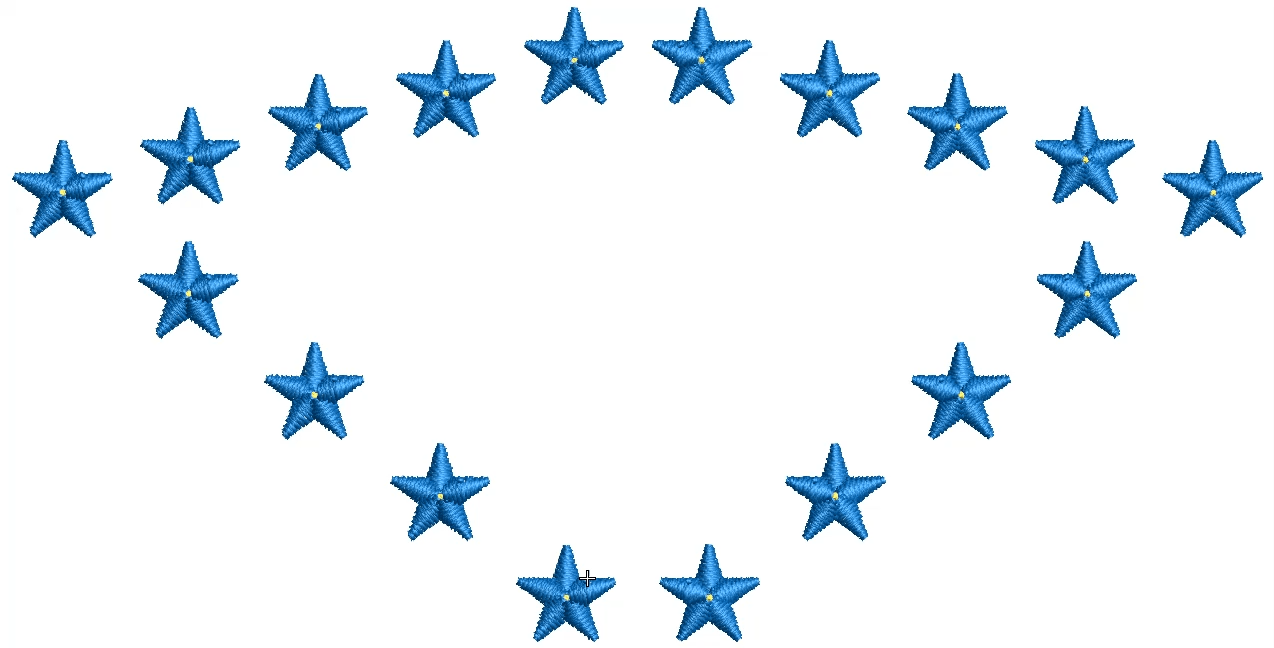
Save Time and Create Exact Duplicates. The easiest way to duplicate an object is to right click on the object – drag and release. To keep the object in a vertical or horizontal line hold the Control key while dragging.I find this particularly useful when duplicating hand digitized lettering along a baseline. To repeat the…
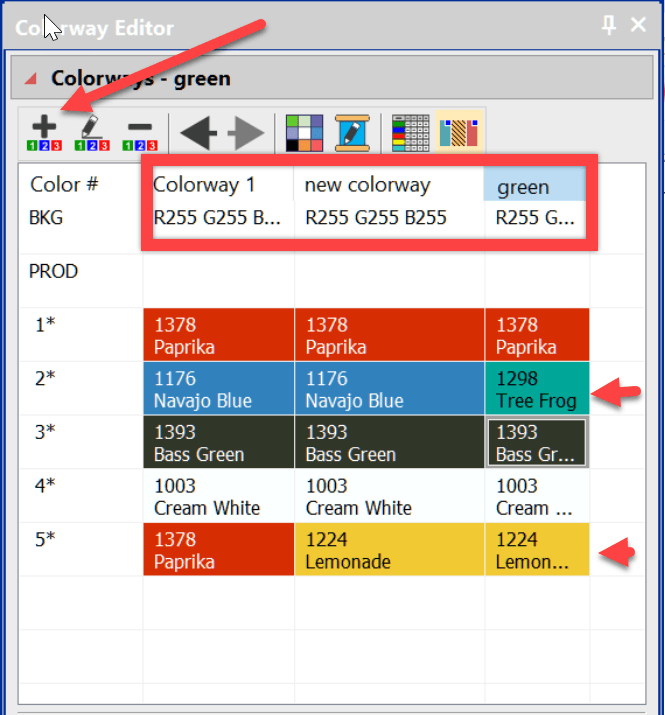
Creating a colorway Saving several versions of the same design simply because of a color change is unnecessary and poor practice. The danger is that you make an edit to one of the color combinations and forget to make it to the others. The best solution is to apply different colorways to the single design….
UPDATE: EmbroideryStudio e4.2 is released. Click here for more information. 2019 is an exciting year for us at Wilcom. It kicks off with us celebrating our 40th anniversary building world-leading embroidery design solutions, and continues with the release of e4.2 – the latest version of our flagship EmbroideryStudio application. The theme for e4.2 is speed…
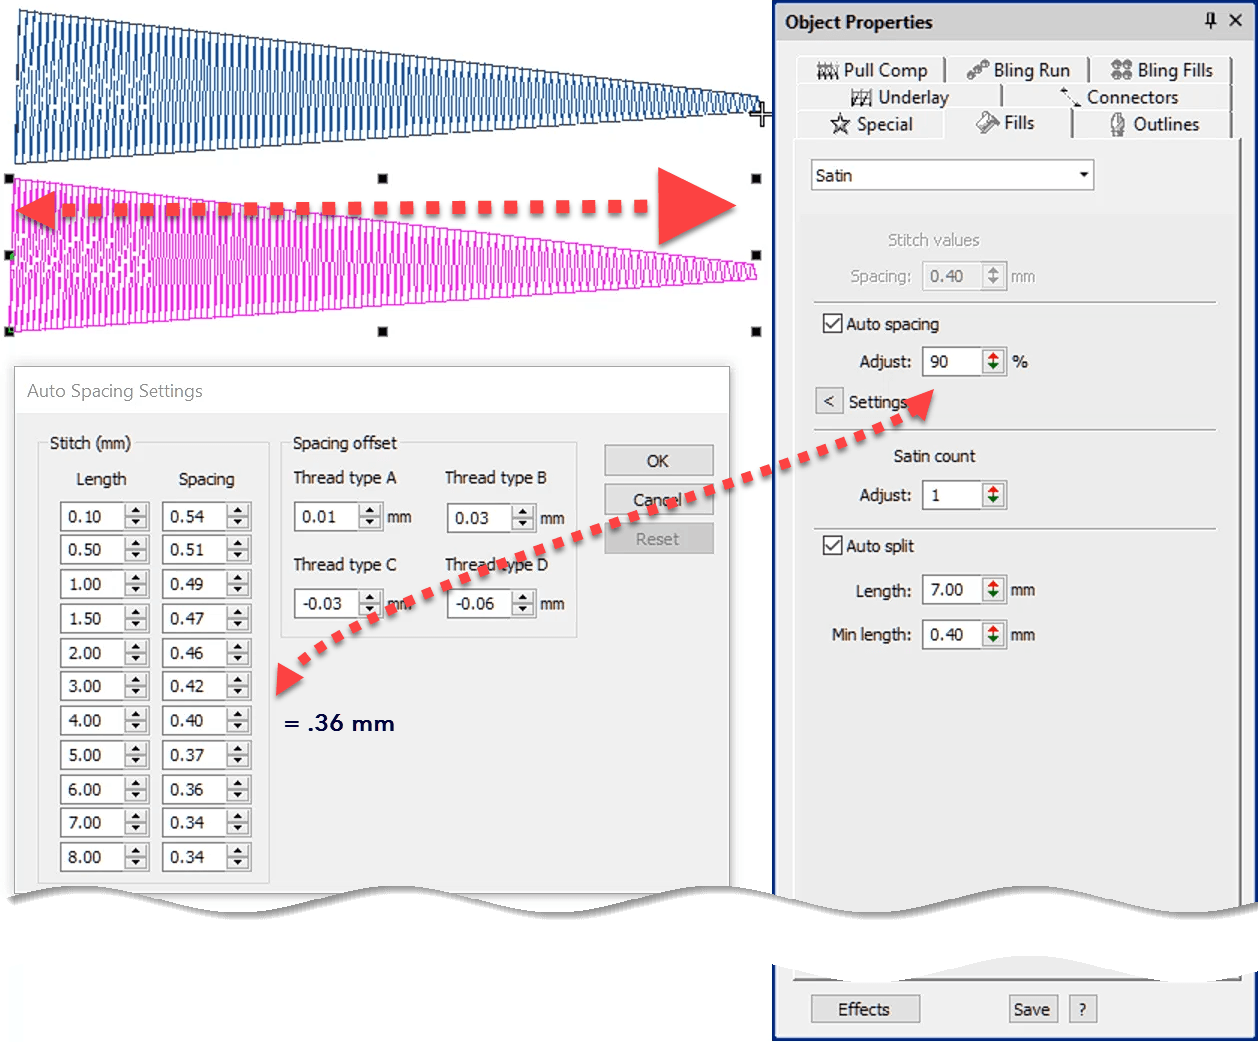
Stitch Spacing is a critical property for good design and may vary from one fabric to another and one object to another.Understanding how to adjust for auto spacing in columns of satin and using the trapunto effect in tatami fill, will help you create more imaginative designs that run efficiently and reduce the chance of…
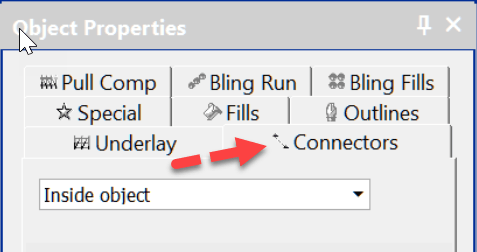
Connectors are the machine functions that occur between objects or in the case of lettering inside the object and between each letter. The functions are: tie off trim jump/run (the method of moving from one object to another) tie in These functions can be embedded into the objects using the Function toolbar.Remember if the function…
When learning to digitize I think it is important to begin with simple designs, after all even the most complicated embroidery design is created with a few simple tools and a few stitch types.Understanding the basics while creating a manageable design will make your learning more enjoyable and at the end of the day you…
The Transform Toolbar contains icons (functions) to resize, reflect, rotate and slant images and or embroidery objects in a precise and accurate manner. The Transform by reference line function removes the guesswork from resizing and rotating a design image. Simply select the tool, plot a line with two points and make the setting to rotate…
| Powered by WordPress | Theme by TheBootstrapThemes