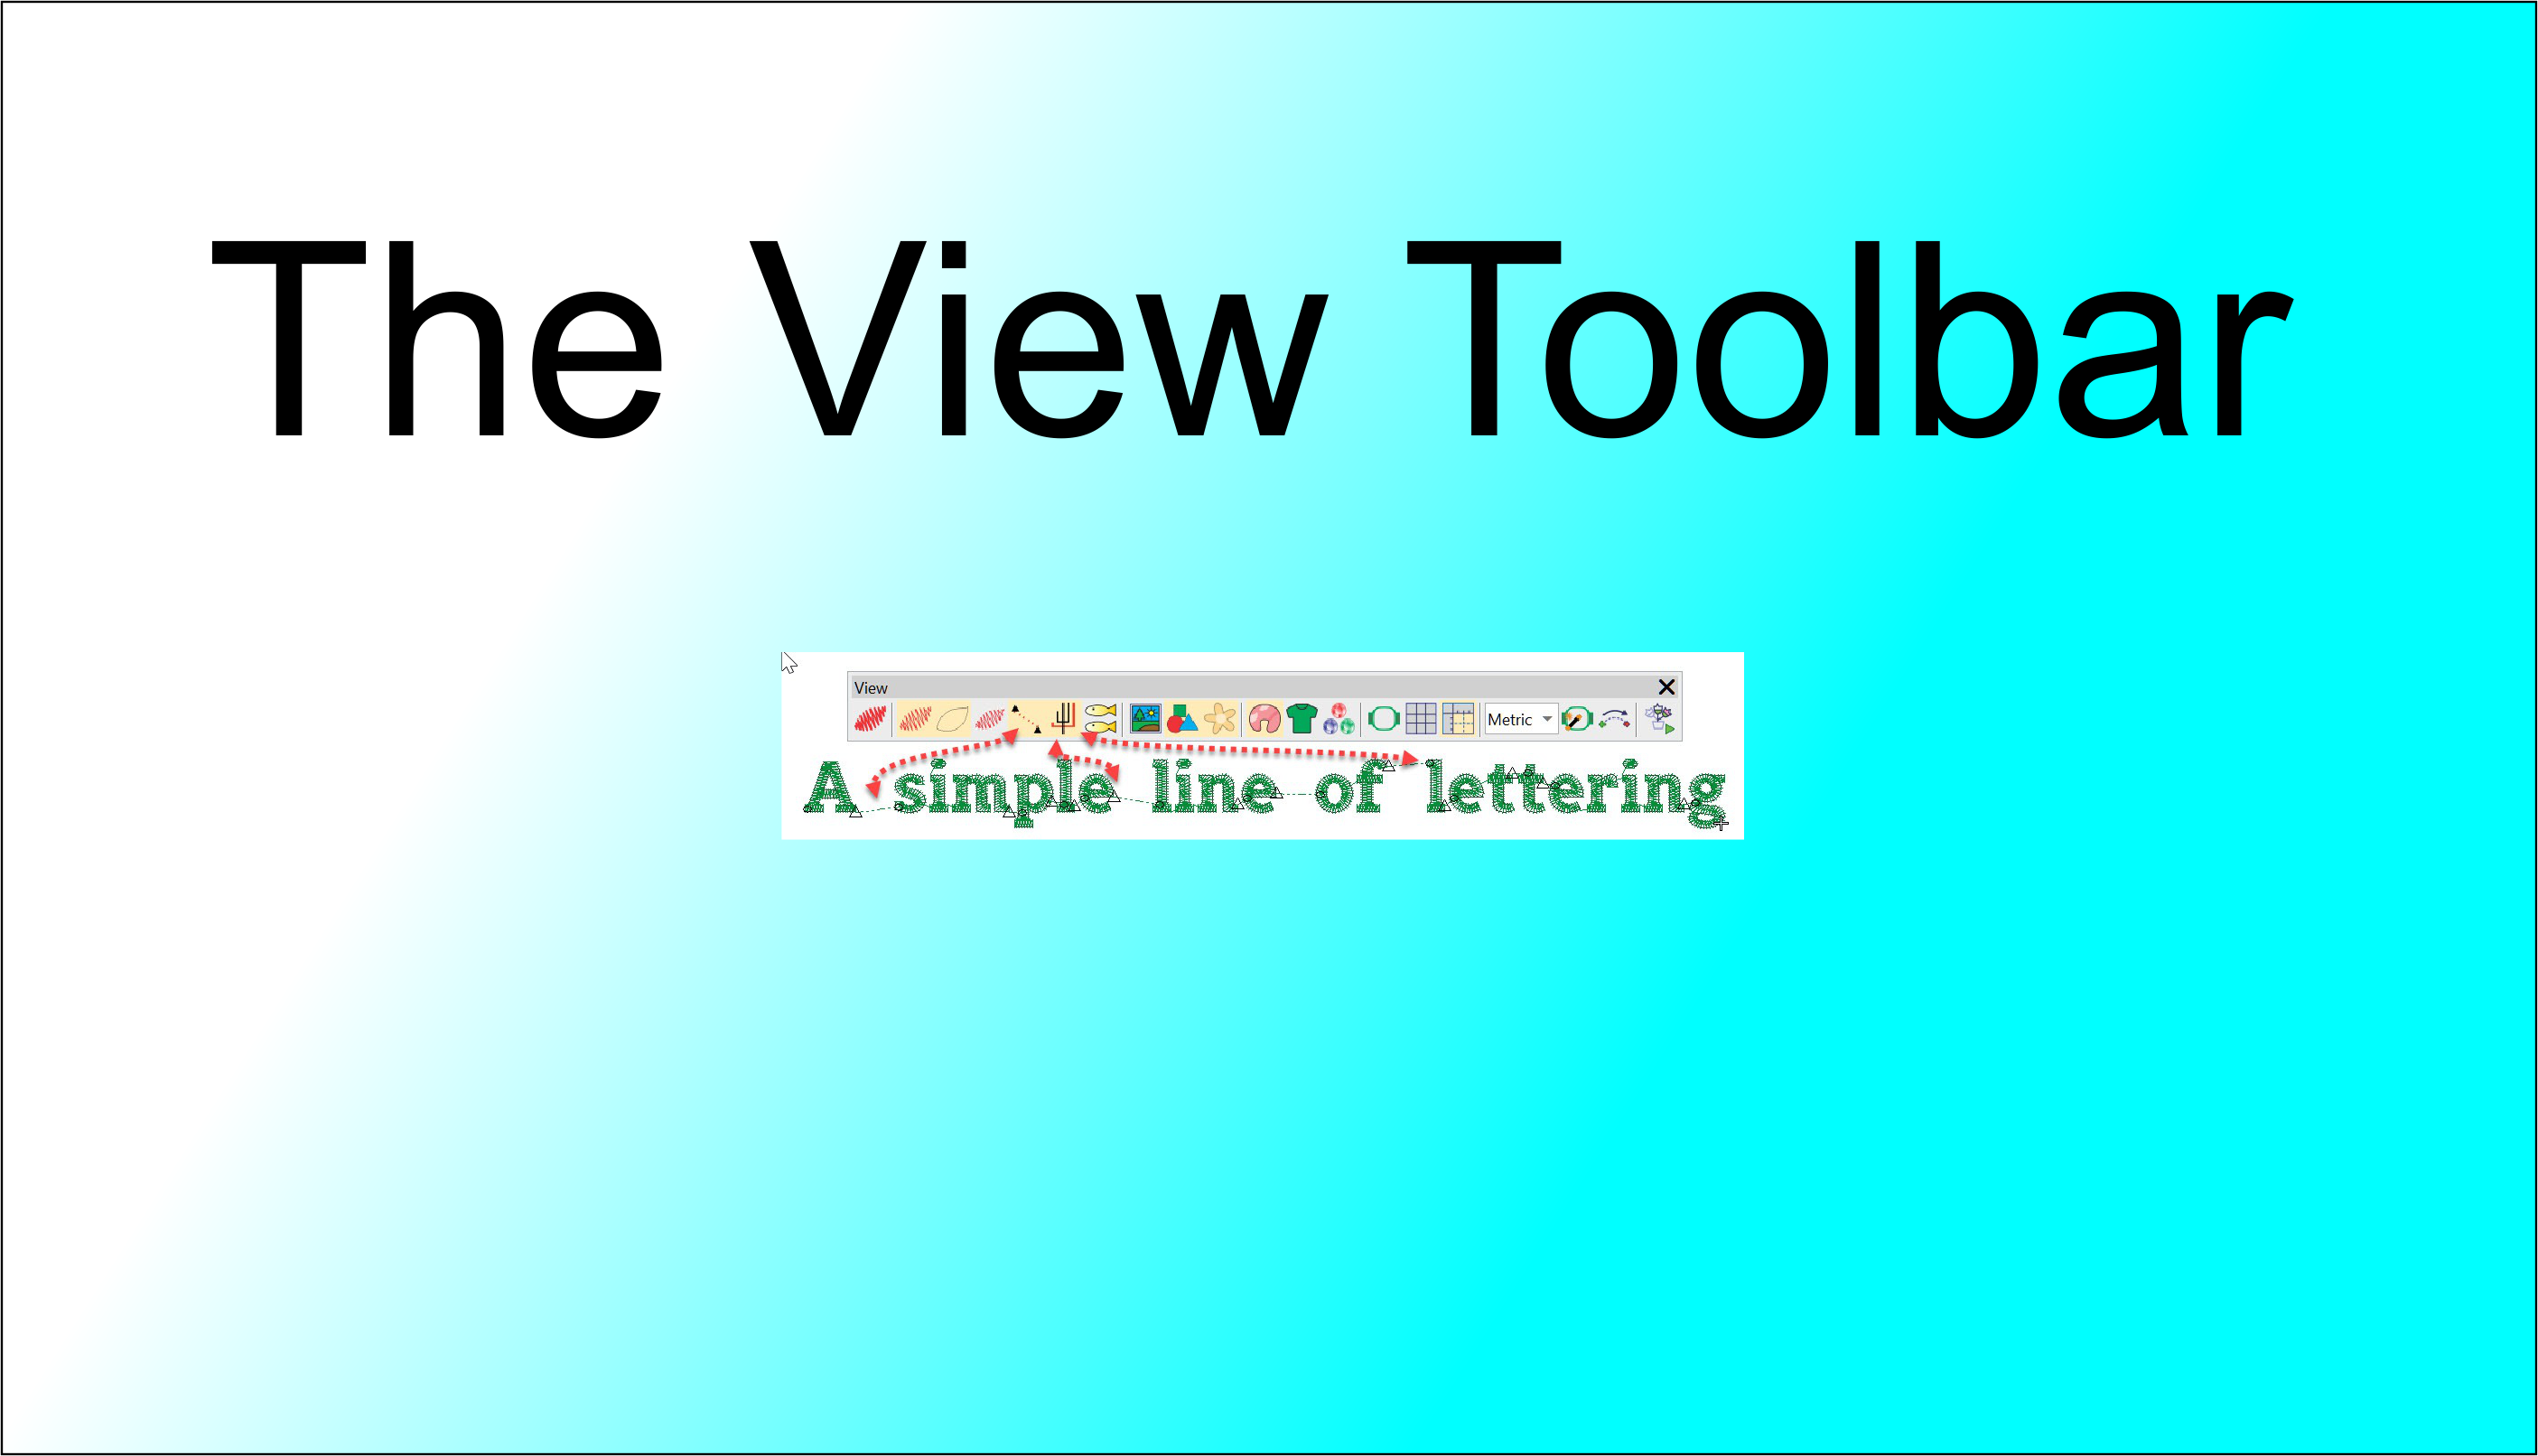
In this article we look at what we can learn about an embroidery file in the different views available in the VIEW TOOLBAR.
The First 4 icons determine how you view the design, in turn from left to right:
Keyboard shortcut “T” for True View.
This view simulates the finished Embroidery Stitch out.
Keyboard shortcut “S” for Stitch View.
This is my preferred digitizing option as it allows you to see through the stitches and view the underlay.
Keyboard shortcut “L” for Line View.
Also very useful while digitizing to show Pull Compensation.
Keyboard shortcut “.” for Stitch Penetration View.
Viewing the stitch penetrations help to identify each stitch in the design
The next two icons display the Connectors and Machine Functions.
The fifth icon shows the connecting stitches between objects the sixth icon shows the machine functions, namely the trim, represented by the small triangle and the tie in represented by the small circle ant the beginning of the object.
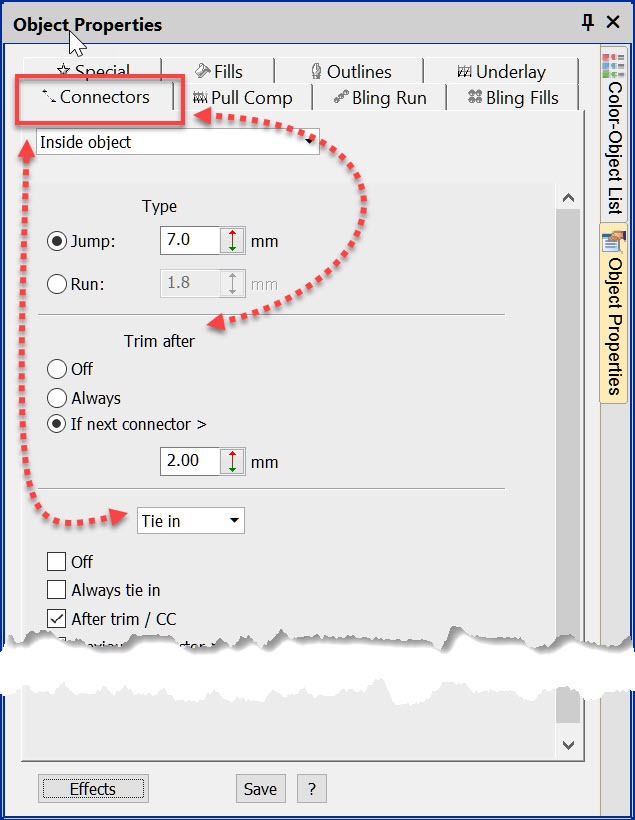
Of course we can see these properties in the Object properties box by selecting the Connectors Tab but I find it useful to have the correct view selected and at a glance your attention is drawn to properties that may need attention.


One thought on “What can I learn from a simple Line of Lettering?”