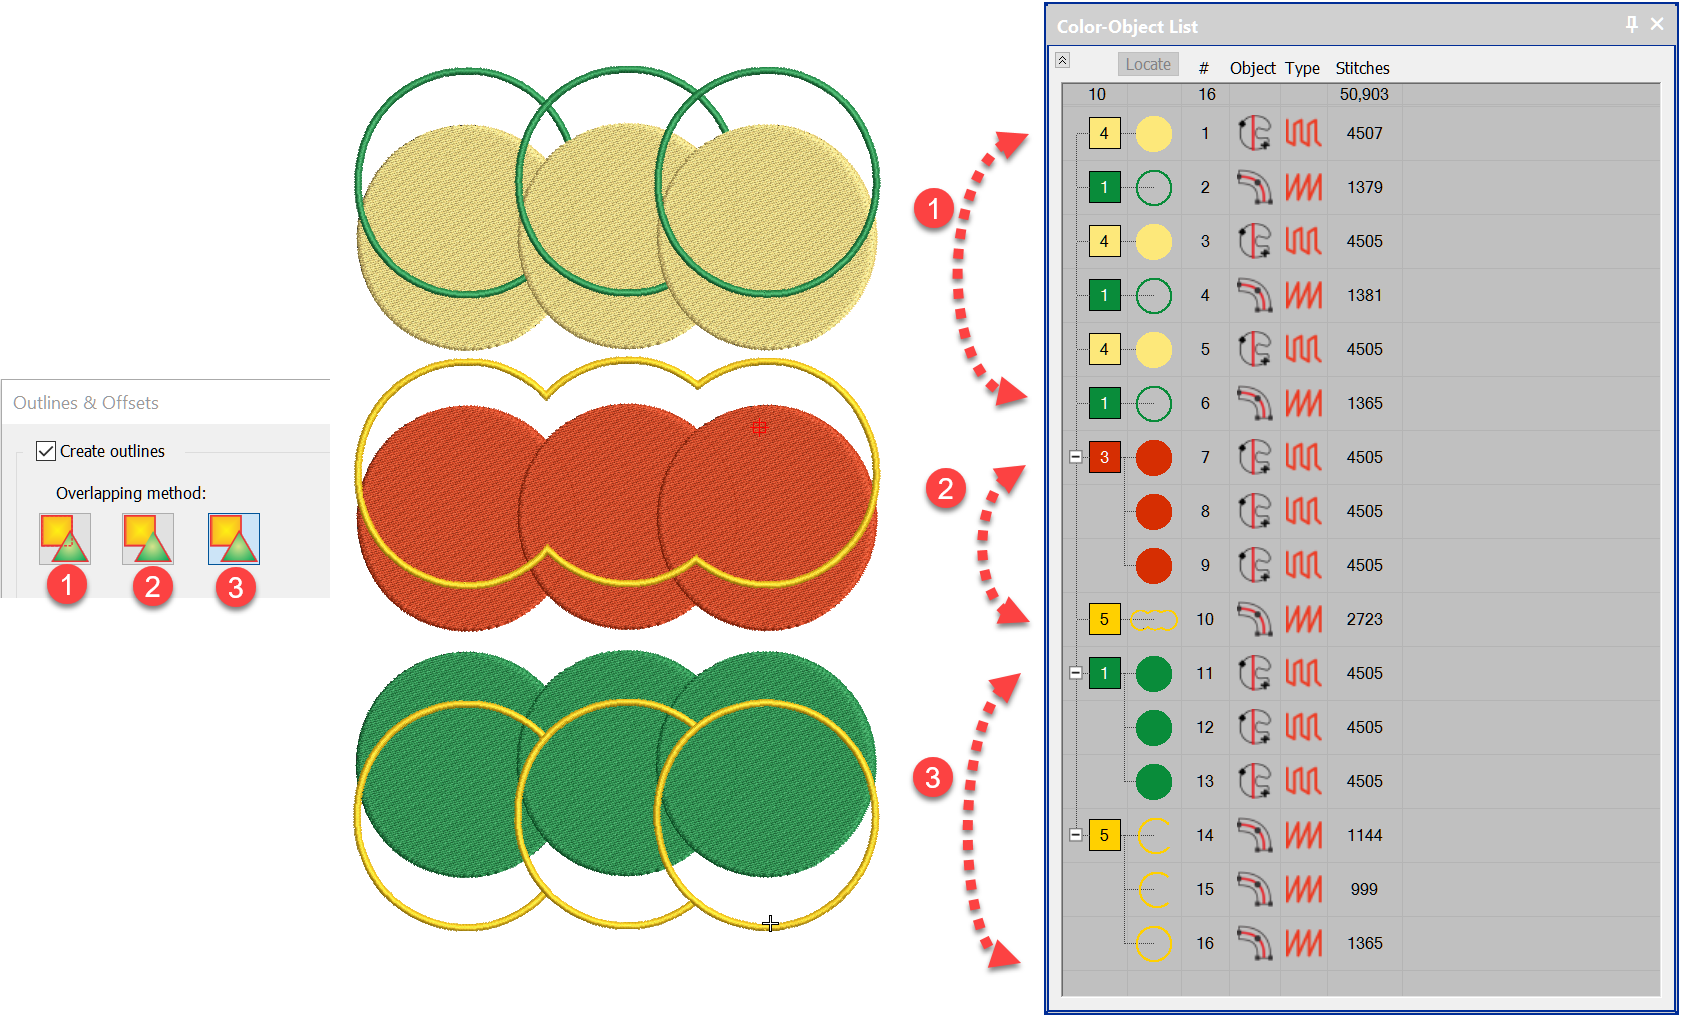
All of the digitising levels from Decorating up include the basic Outline Tool which is identified as around target icon in the Toolbox. The Advanced Outline and Offsets is a paid Element identified as the hexagon icon below, I will talk about that shortly. Simple Offset Select the object you wish to place an outline…
In an earlier article we looked at Curved Fills, Florentine and Liquid Fills, the ideal companion Element to those is Color Blending. Color Blending can only be applied to to Satin and Tatami fills if created withColumn A orColumn B tools but only to Tatami Fill if the shape is created with Complex Fill. The…
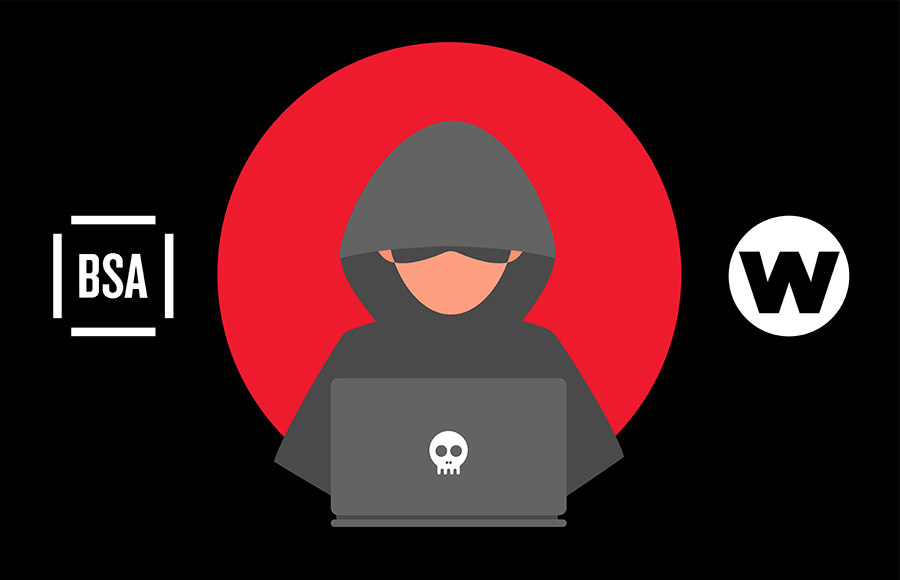
Wilcom has increased its efforts to support legitimate licensed users by partnering with BSA | The Software Alliance. Together they are working to crack down on both pirate sellers and users who then face large fines. Software piracy is a $46 billion a year worldwide problem. South East Asia, Latin America, Africa and the Middle…

Tools and Fills The tools are found in the Stitch Effects Toolbar.Florentine and Liquid fills are stitch angle baselines that can be applied to Tatami or Motif filled objects.Florentine has one angle line while Liquid has two baselines which can oppose each other as in the red image above.Or the lines can have multiple points…
We should all be aware of the closest join feature in Wilcom lettering. Did you know there is an automatic setting to adjust the start and finish points of objects as you digitize. Why is Closest join so important? Without aligning the start and end points of consecutive objects you will be creating possible unnecessary…
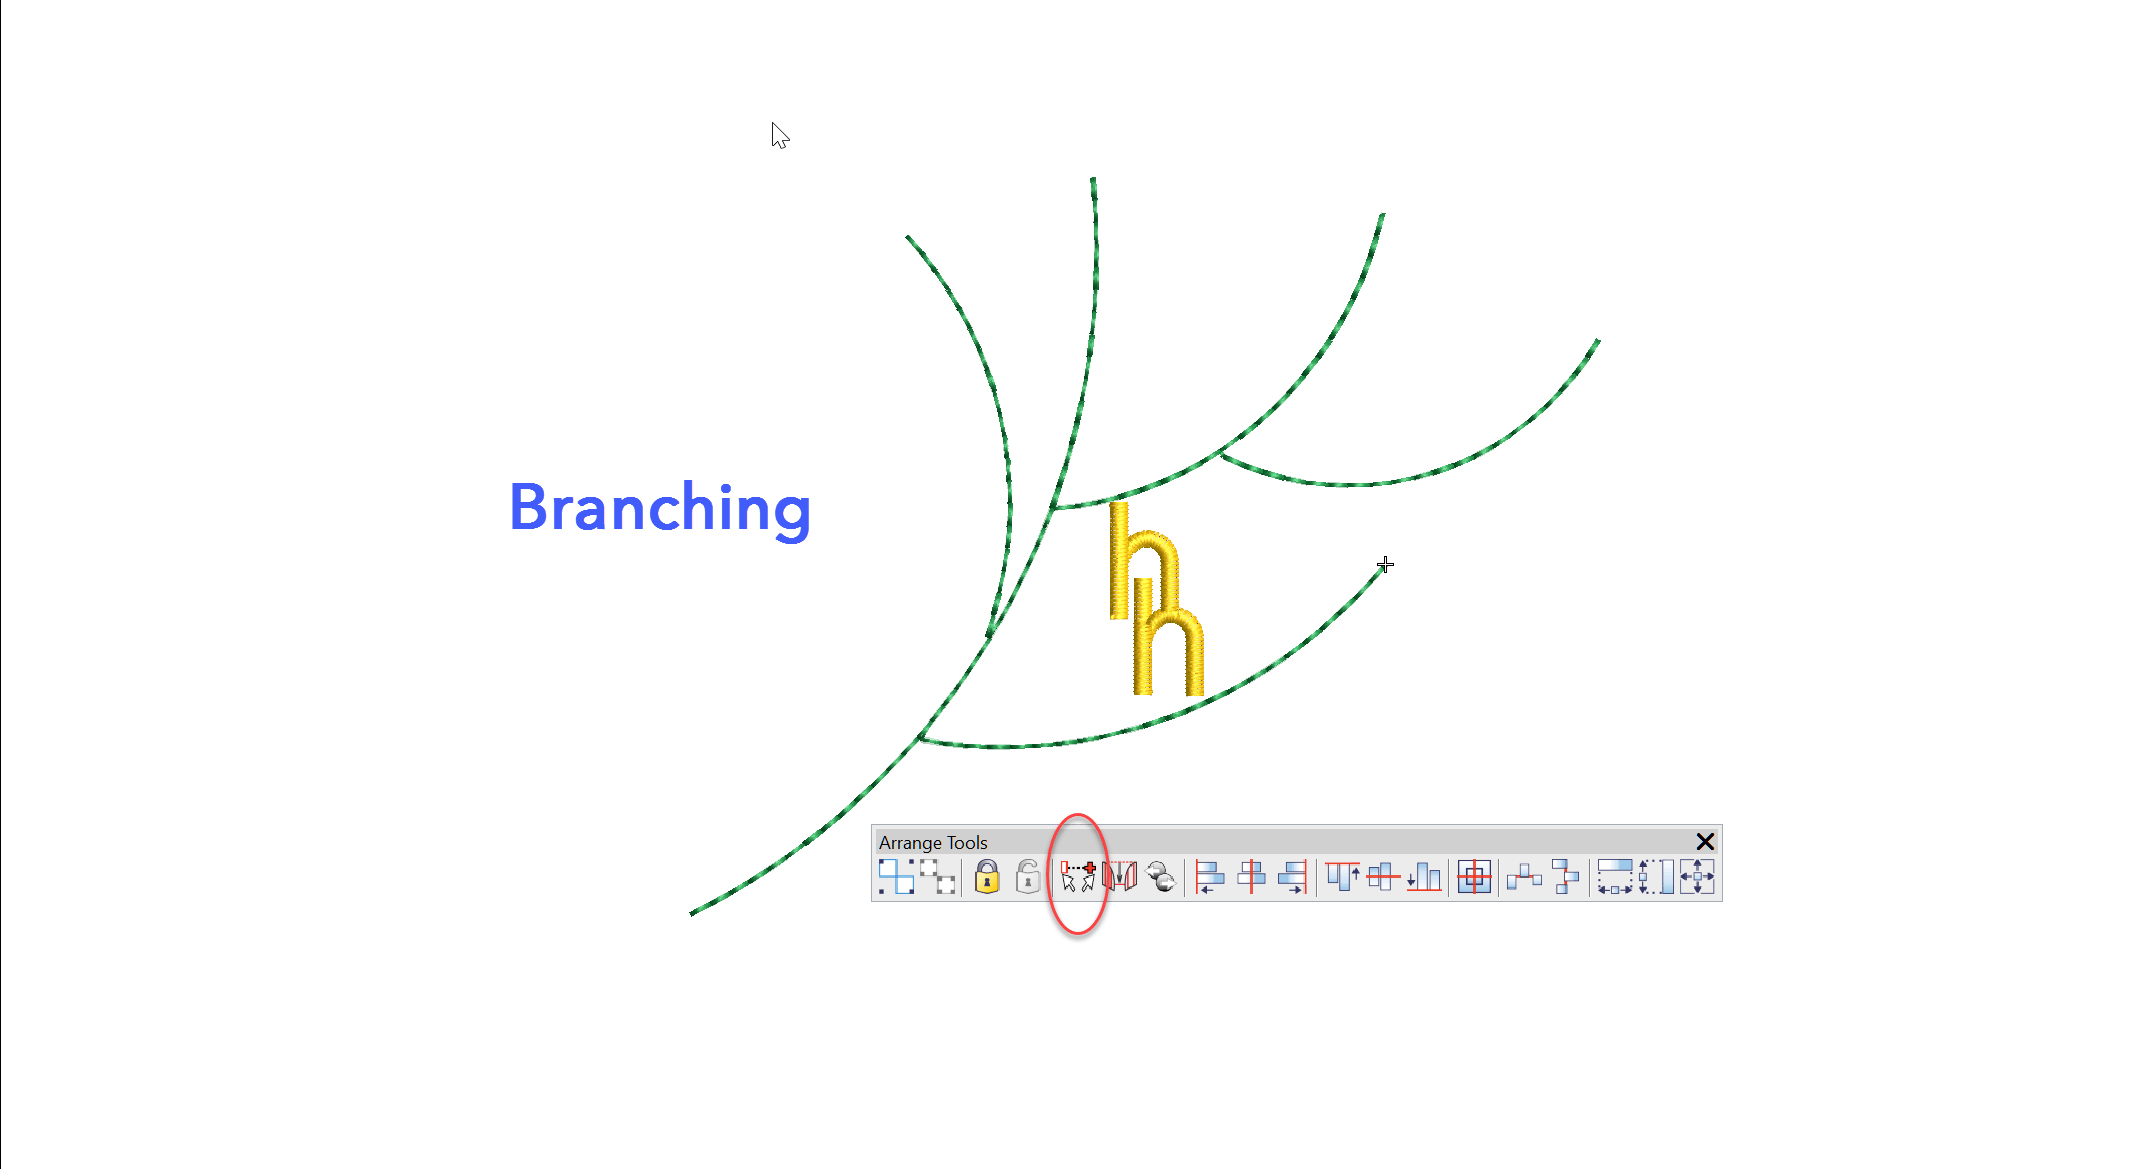
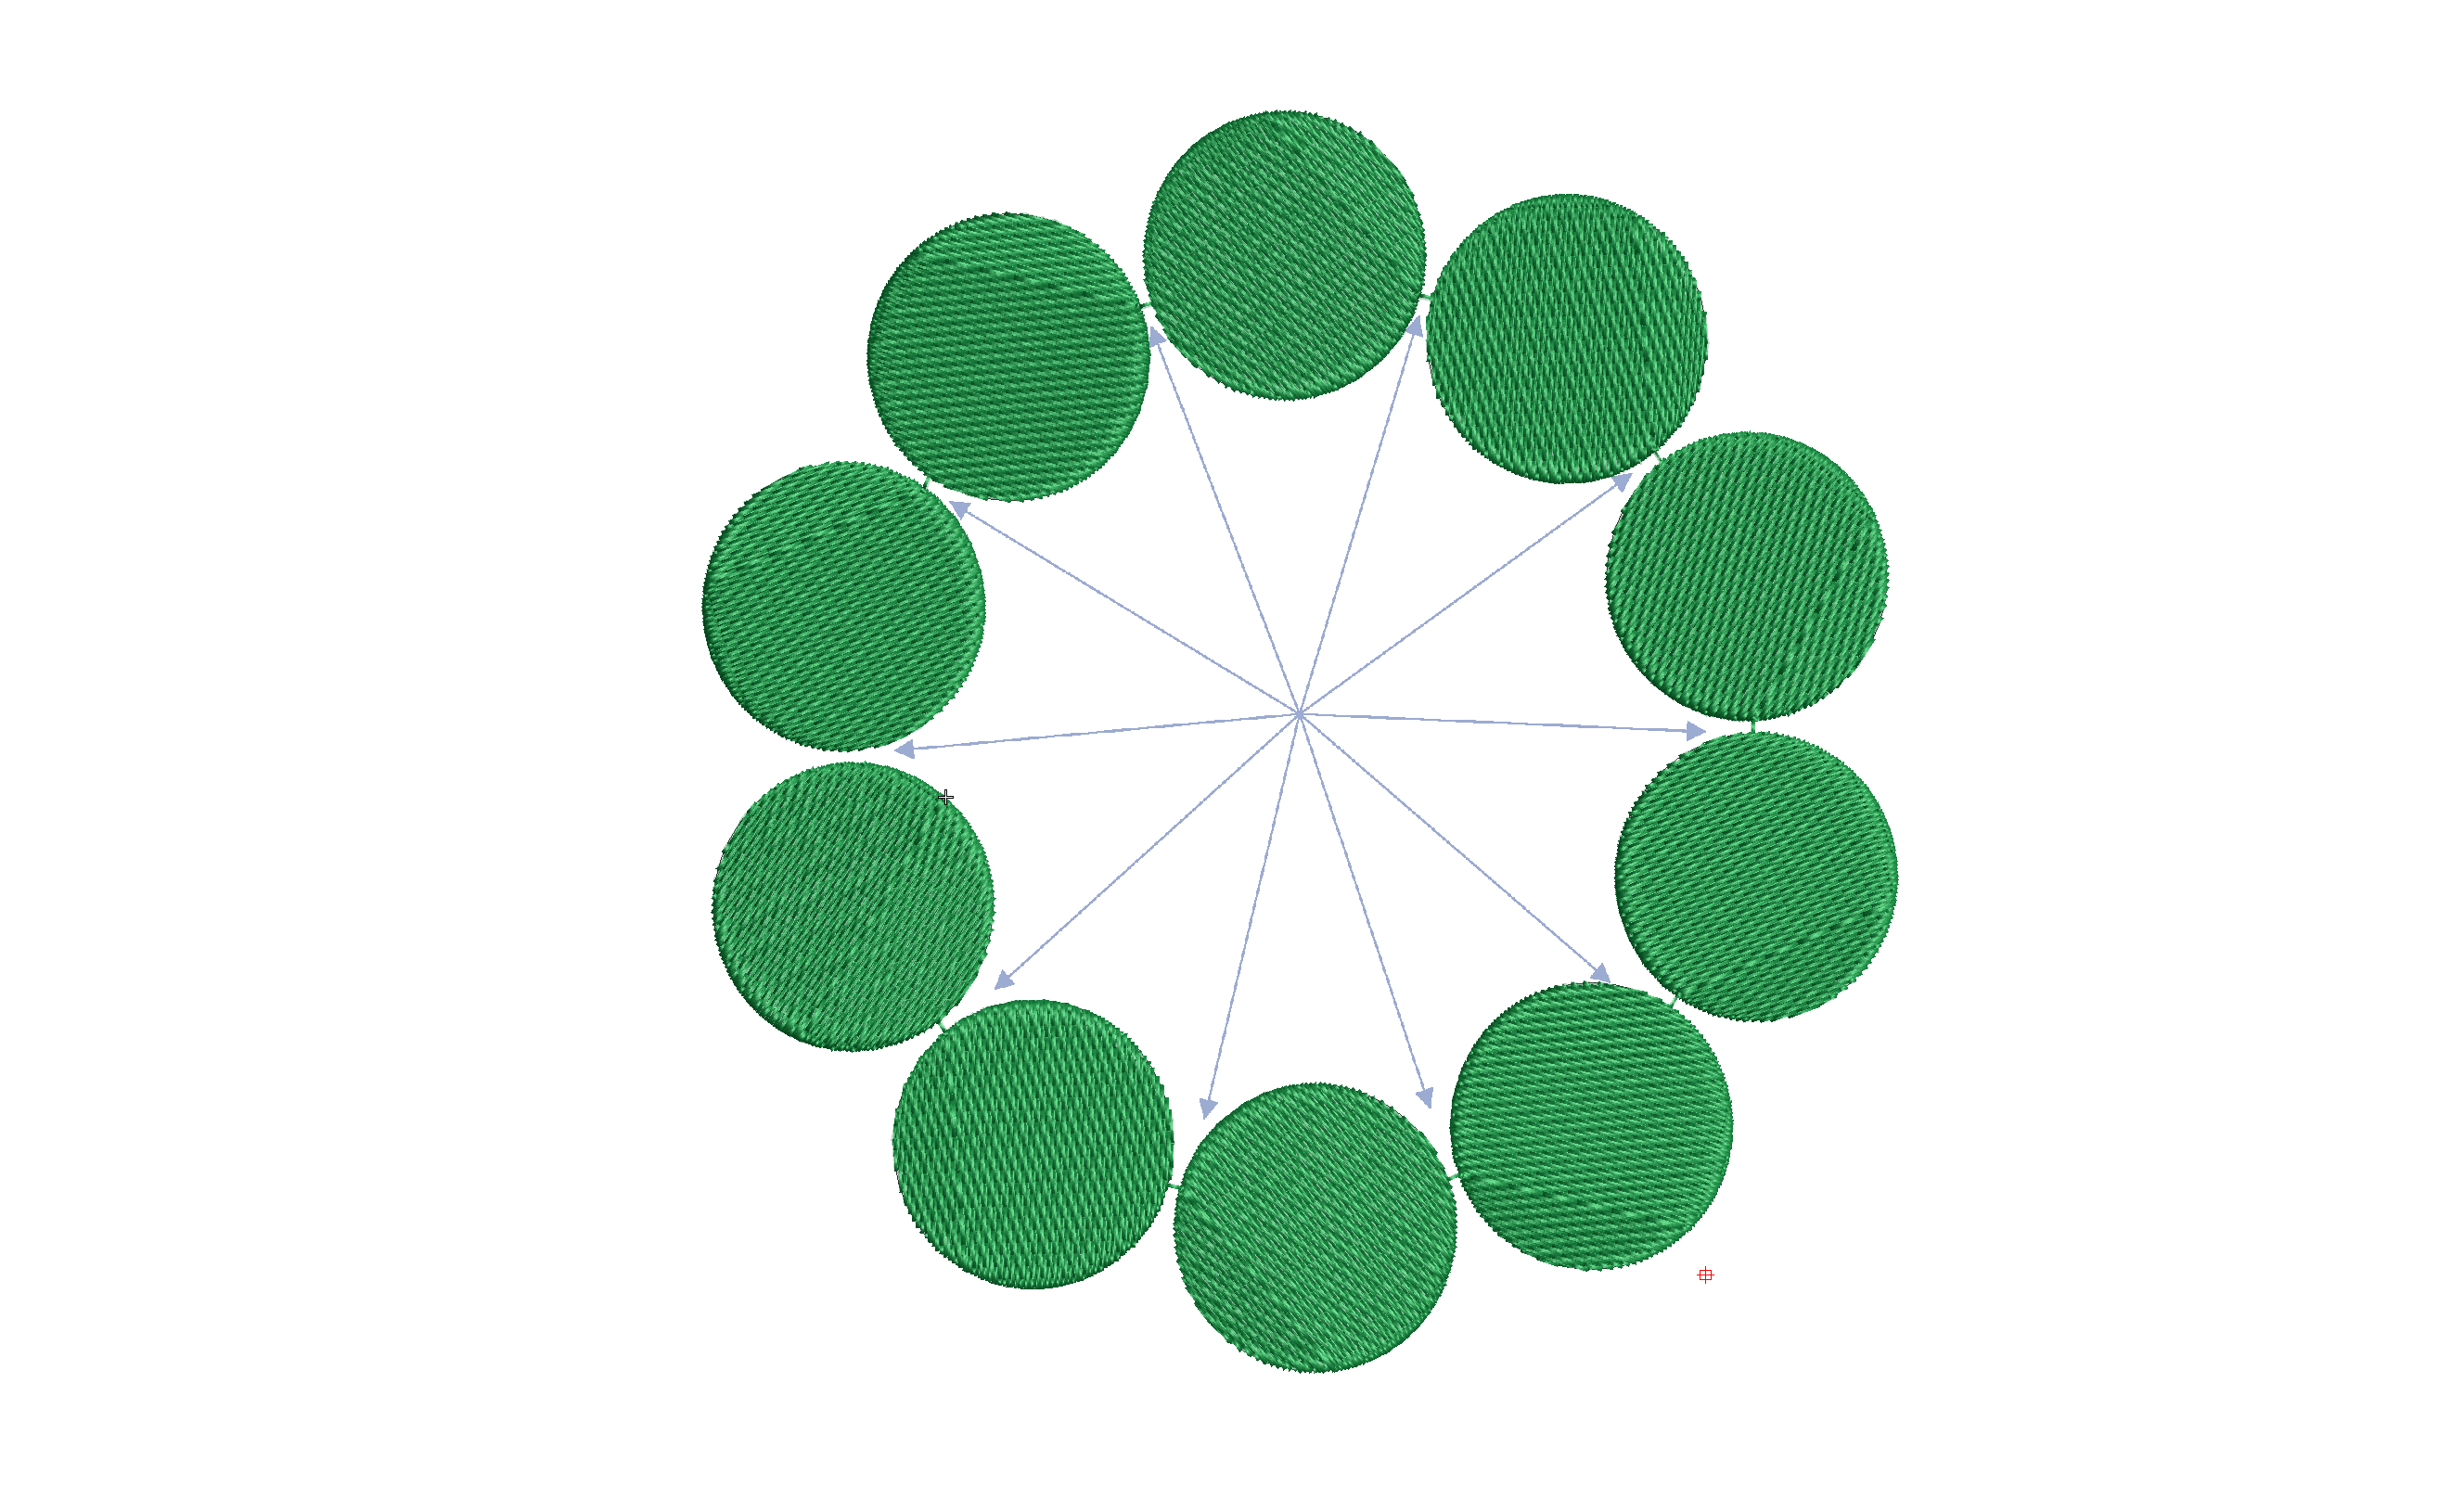
The Branching feature intelligently sequences objects then groups them so a start and finish point can be allocated to the group. Each object must touch or be overlapped by another object in the group that is to be branched.Overlapped segments will be hidden behind objects that are later in the stitch order. The keyboard shortcut…
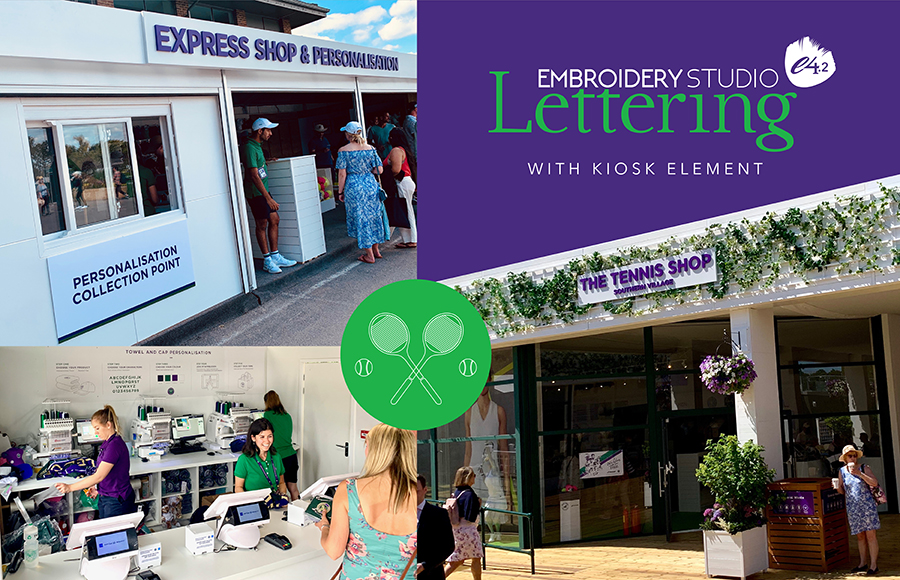
Last year, Embroidery Training Ltd ran an embroidery personalization booth at Wimbledon. After incredible success and a surging demand, they returned in 2019 and have doubled the shop size. Wilcom’s EmbroideryStudio e4 Kiosk makes this simple to setup and manage, and is perfect for a pop-up environment. Read last year’s story Click here Previous Next…
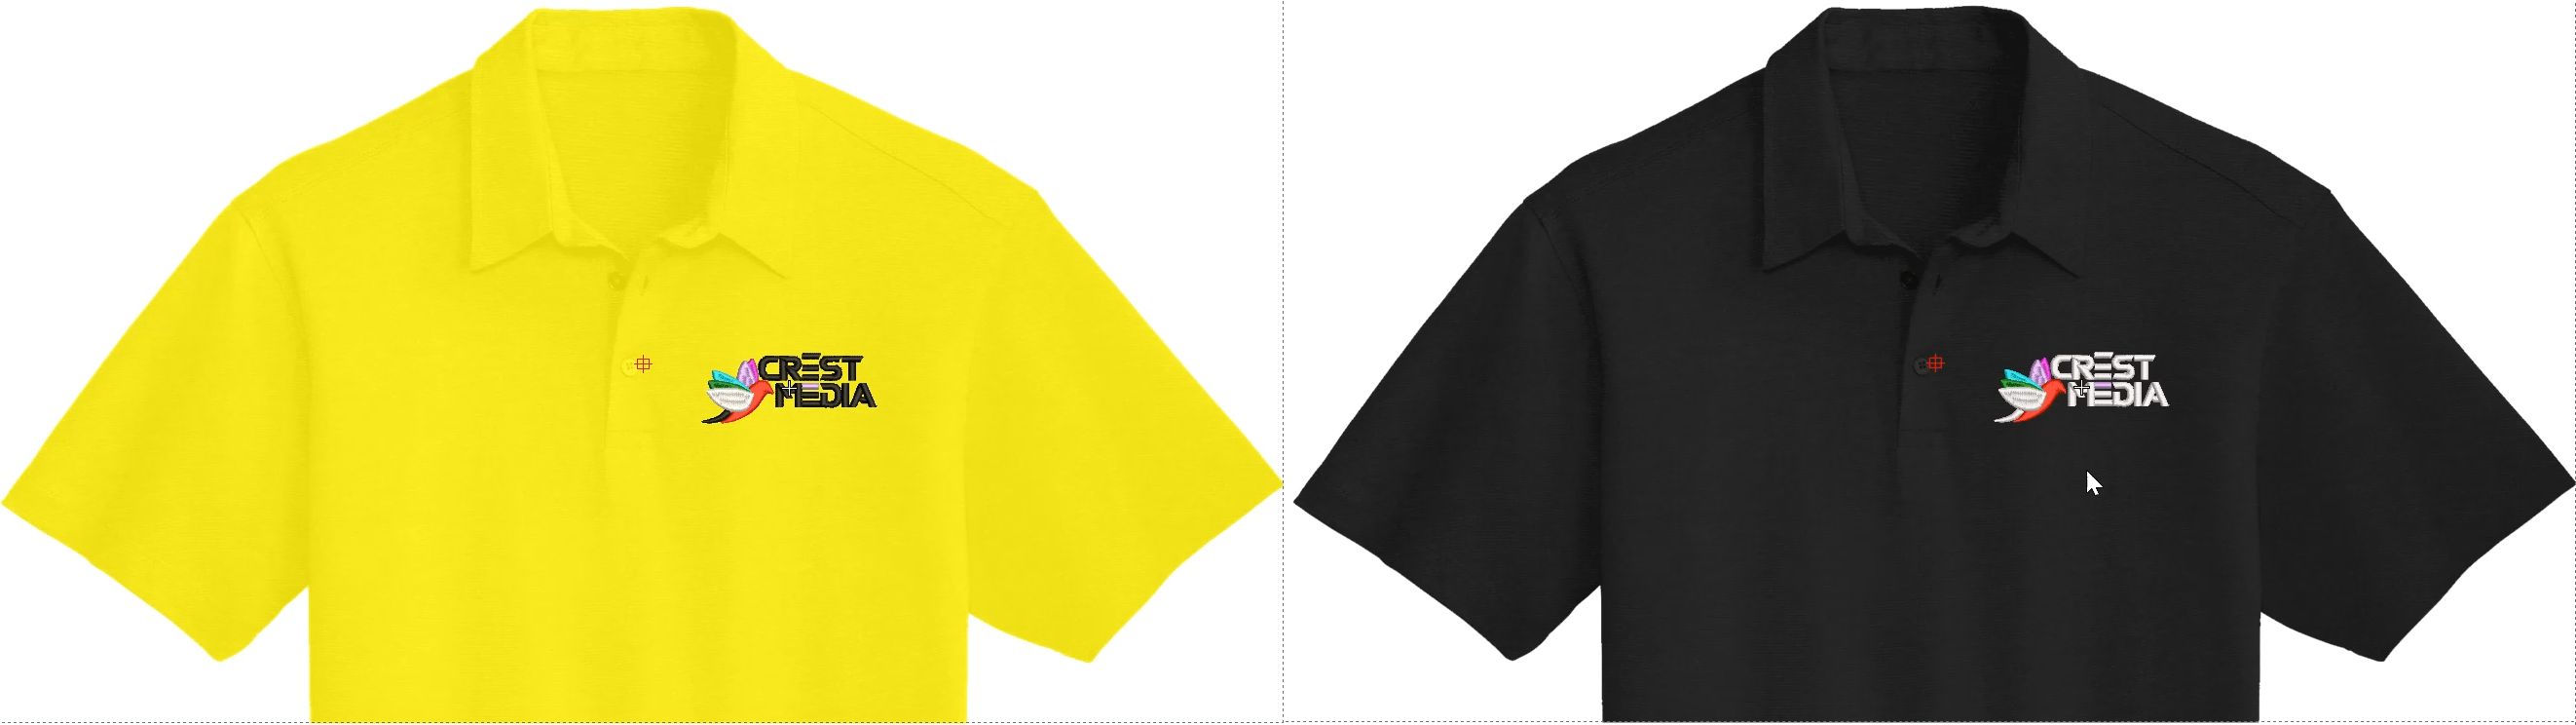
Do you have several versions of the same design, the only difference being the colors? Creating separate colorways for one design to accommodate different colored garments is a more efficient and much safer method than creating separate designs for each garment. If a change is required to the design then instead of having to change…
Analyzing completed embroidery files is an excellent method to learn from others. Knowing what to look for is key to the learning process and the best places to begin are the Color Object and the Object Properties Lists. Understanding the settings and sequence of objects in a will give you confidence and help you develop…
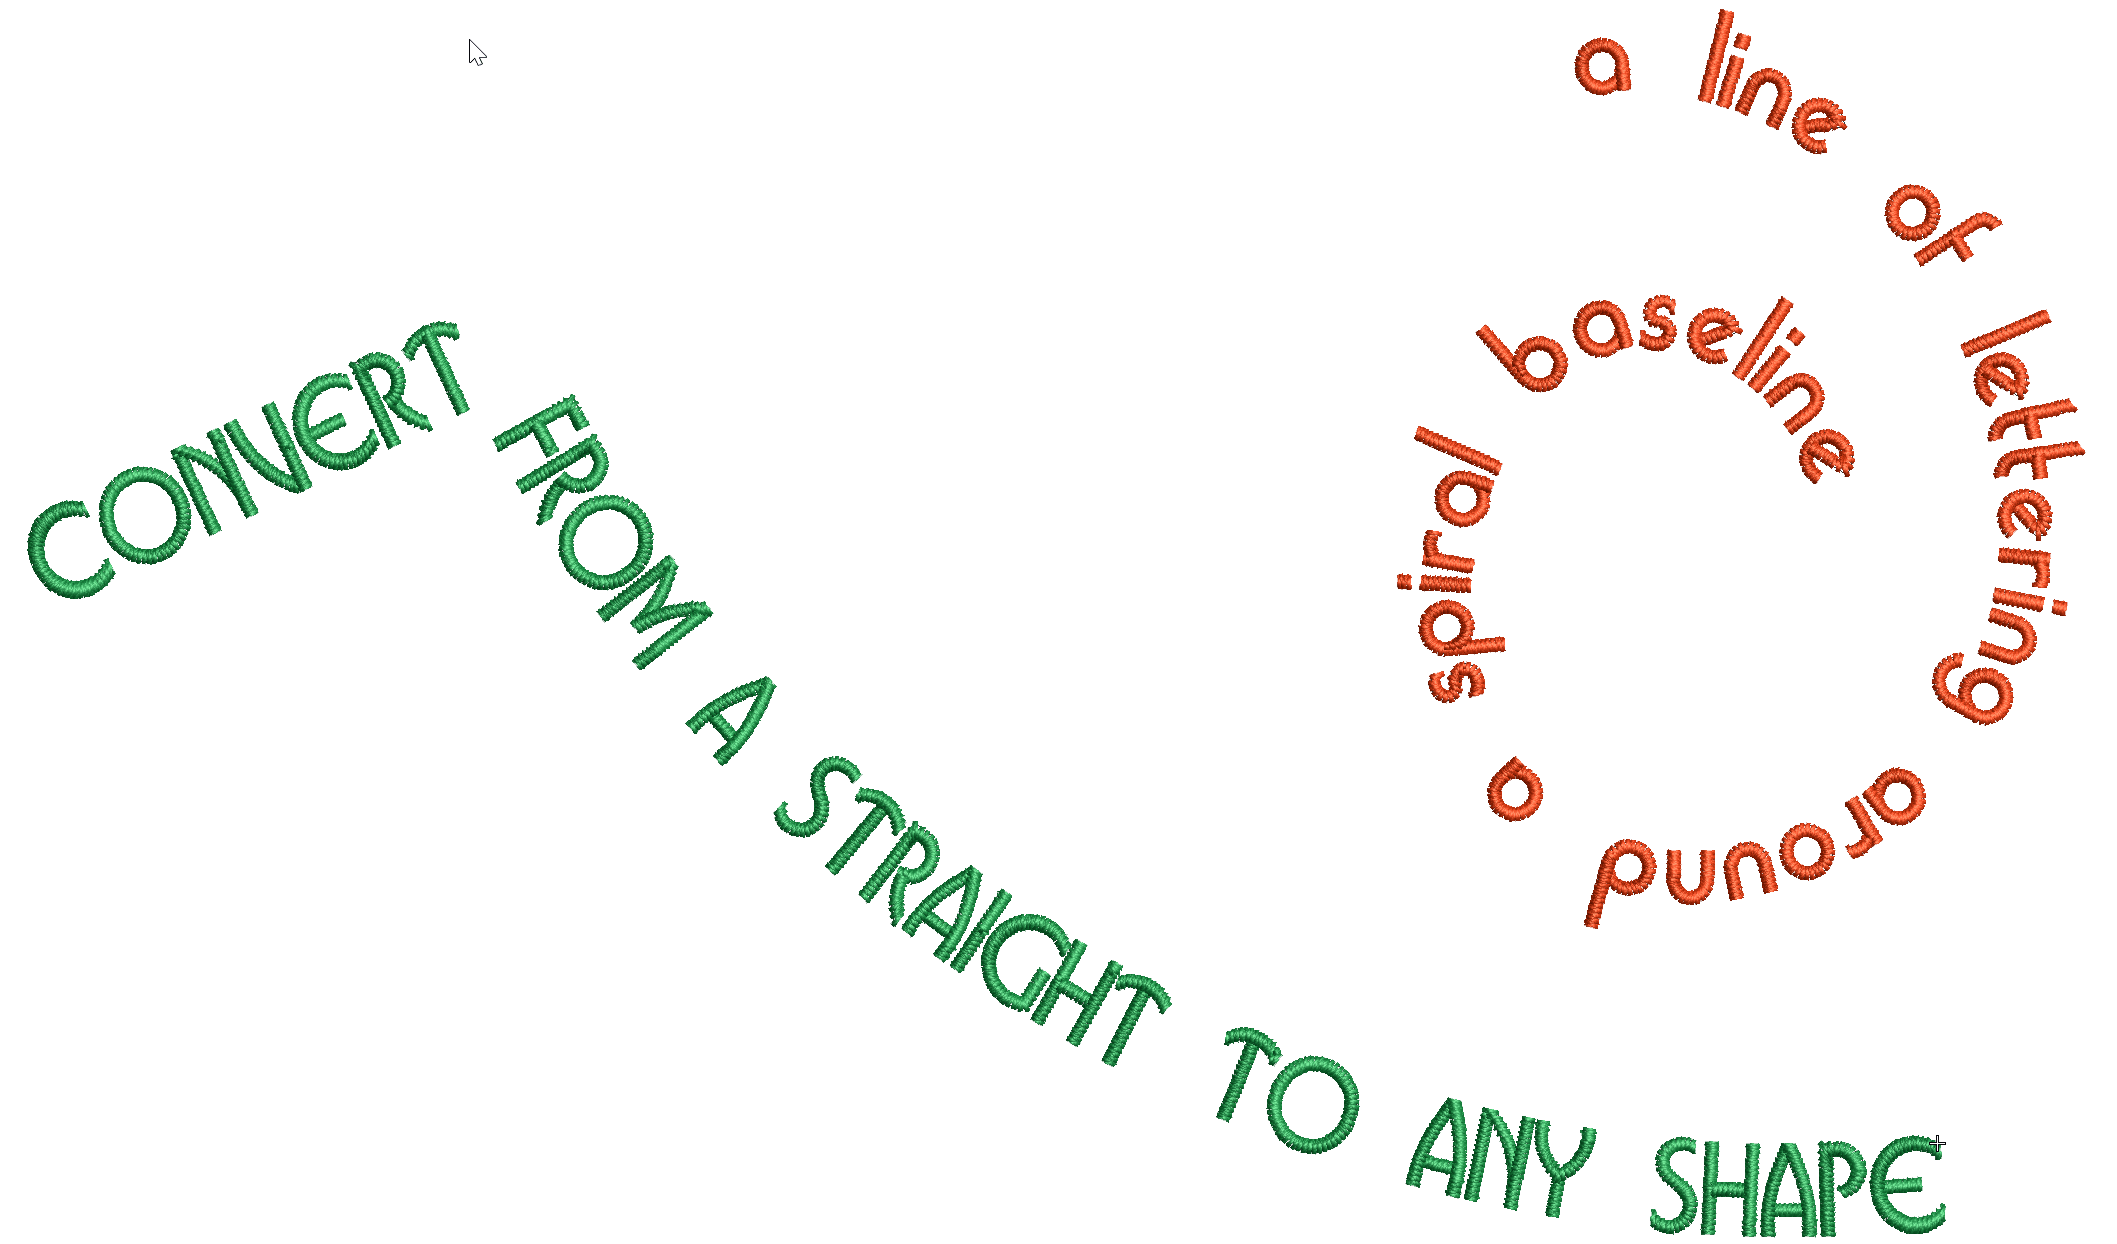
The Any Shape baseline is the most versatile of all, able to create a straight line of lettering through to a complex Spiral. Look for the baseline in the list As with all tools left clicking creates an angle node and a right click creates a curved node, once you have clicked the Create Text…
| Powered by WordPress | Theme by TheBootstrapThemes