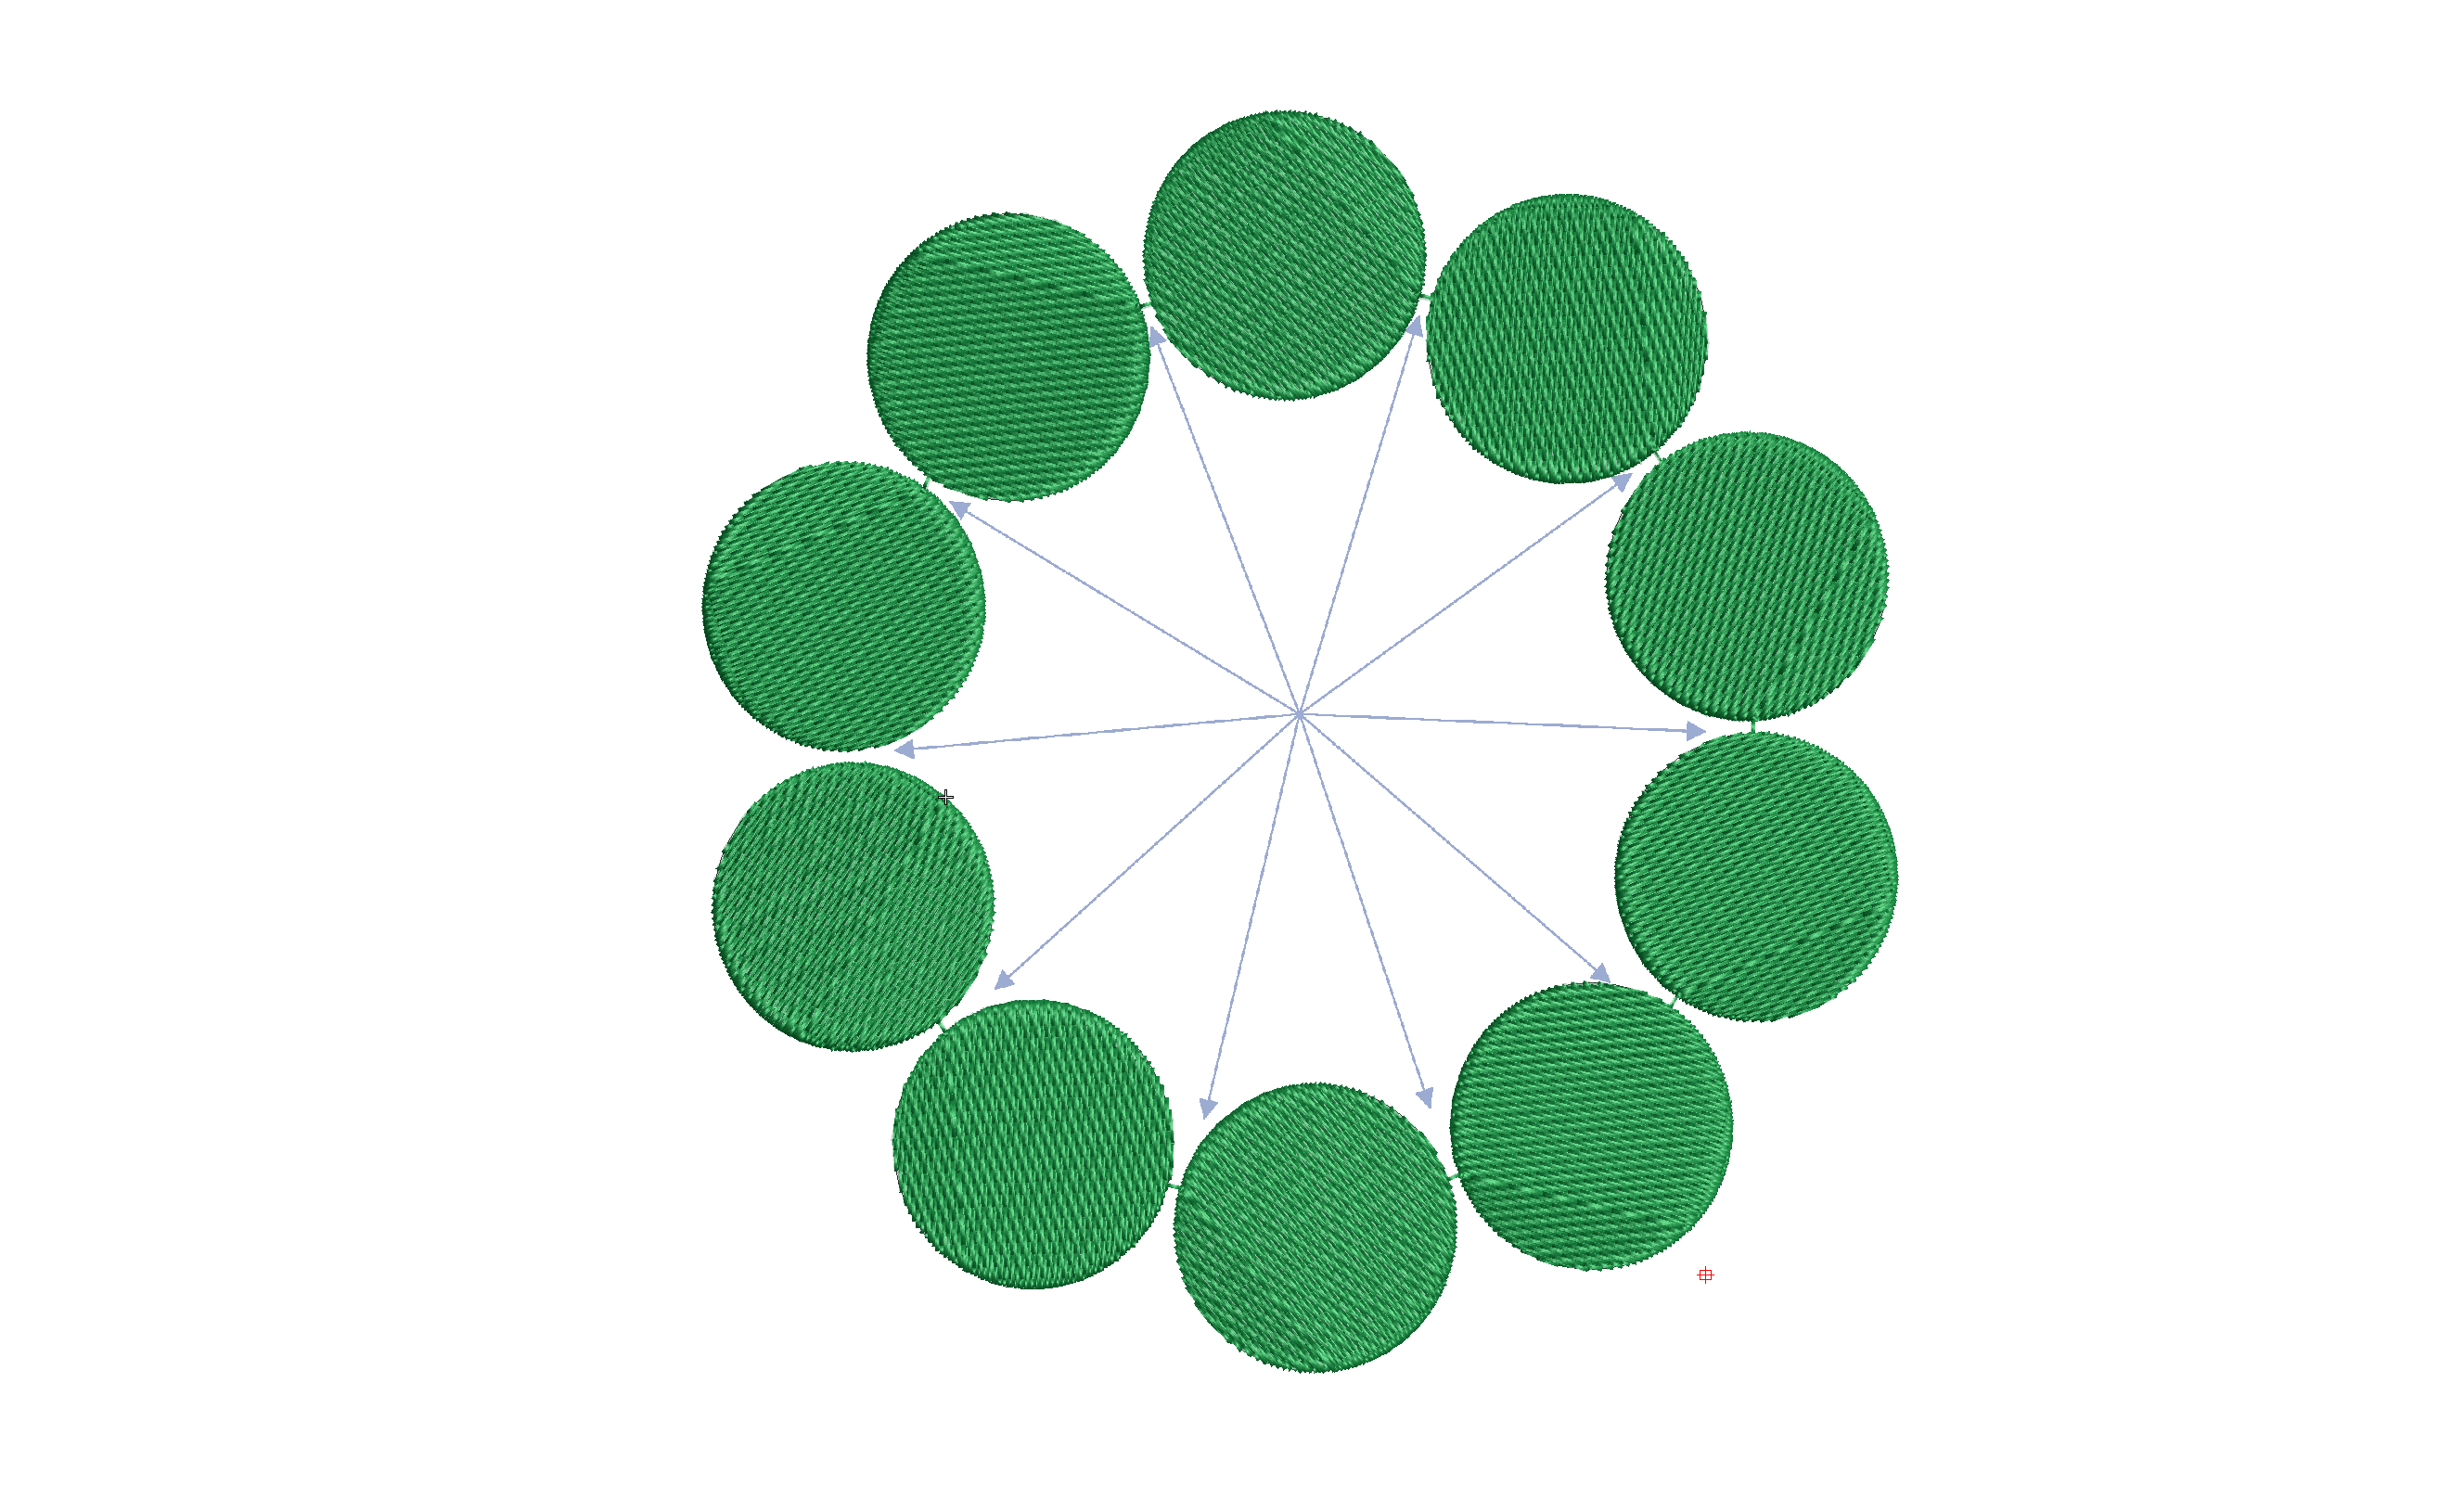
We should all be aware of the closest join feature in Wilcom lettering. Did you know there is an automatic setting to adjust the start and finish points of objects as you digitize. Why is Closest join so important? Without aligning the start and end points of consecutive objects you will be creating possible unnecessary…
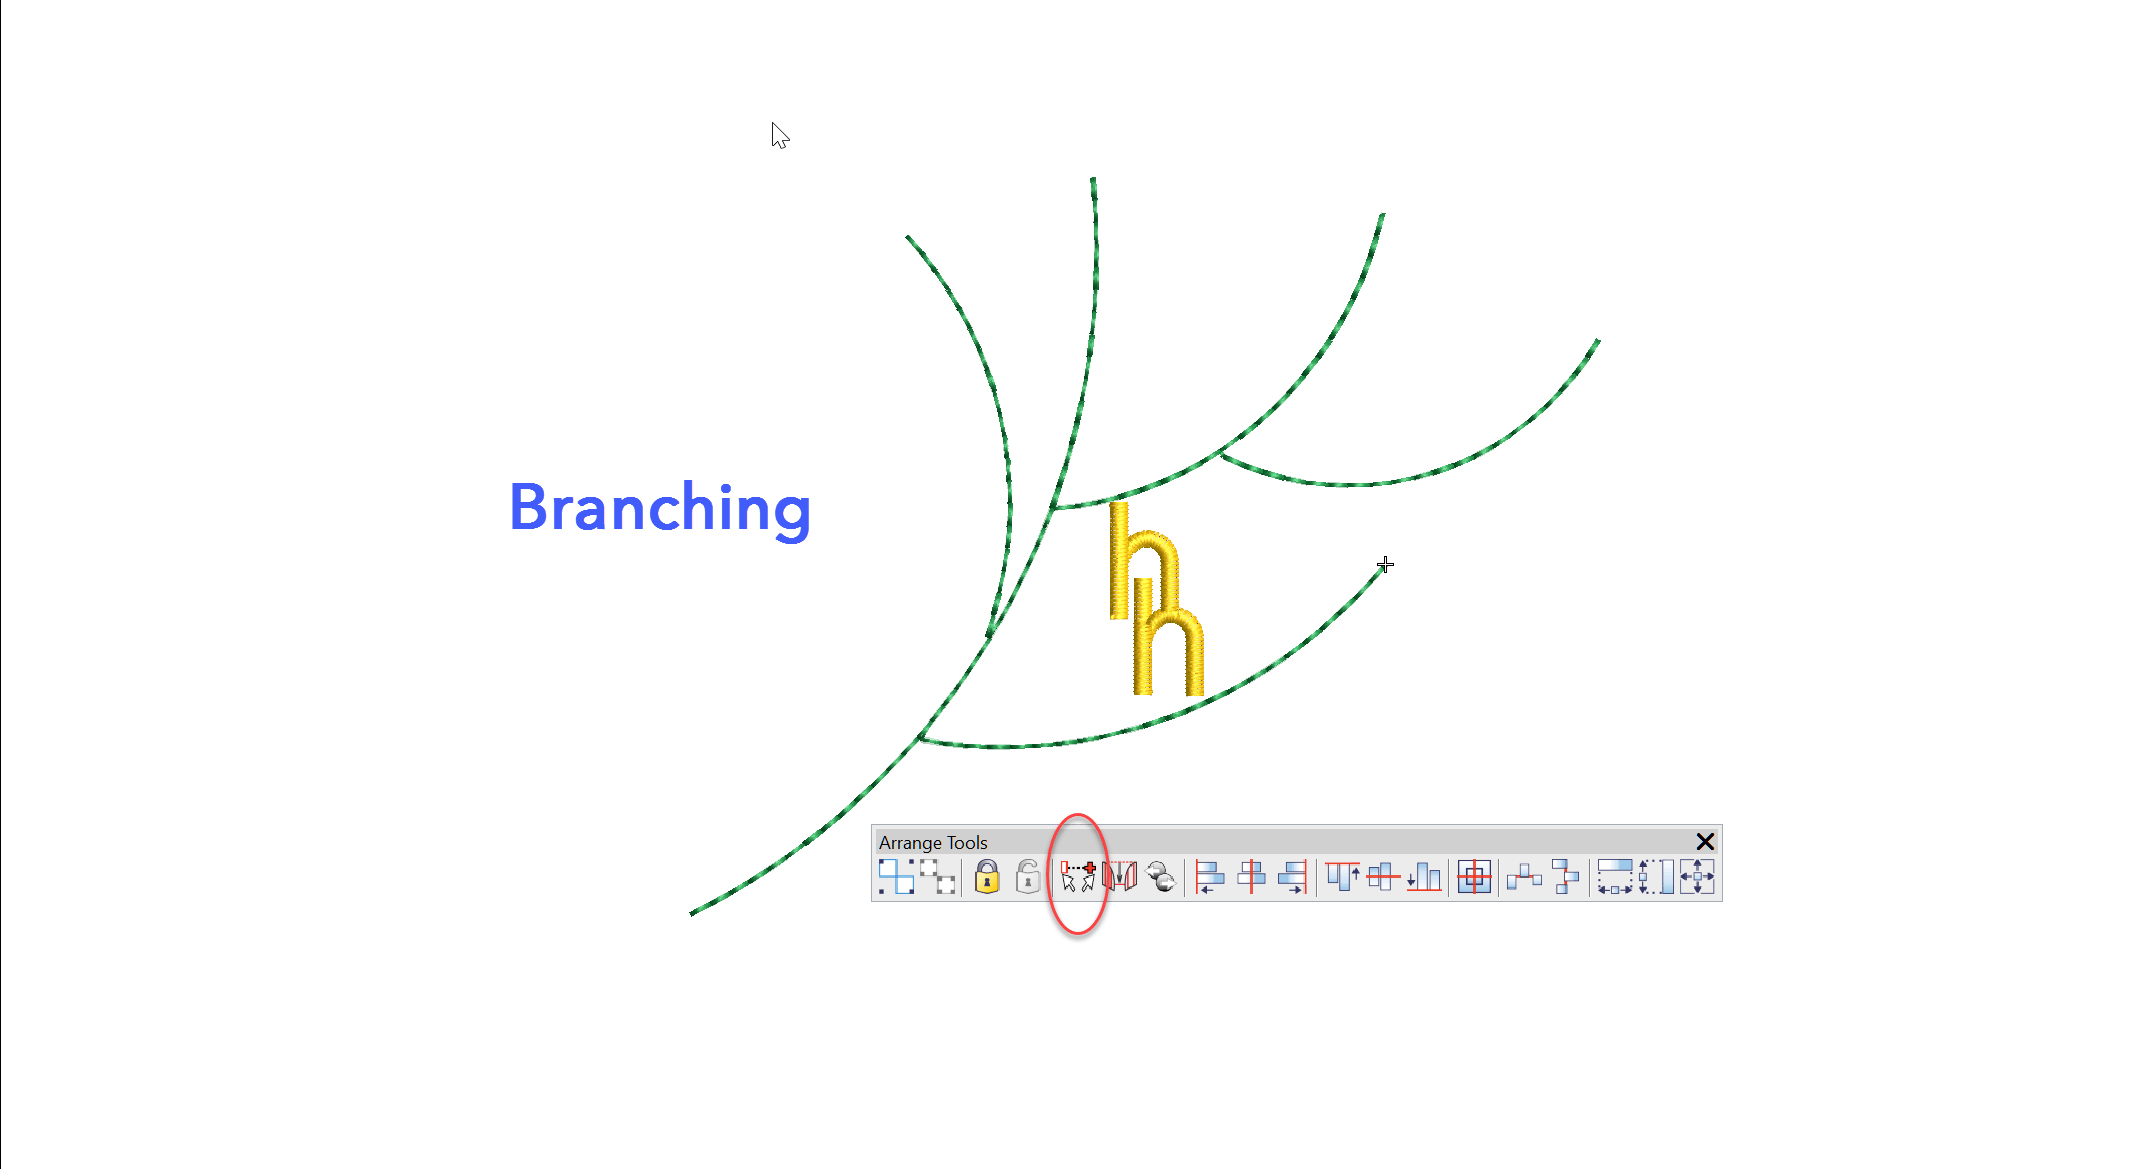
The Branching feature intelligently sequences objects then groups them so a start and finish point can be allocated to the group. Each object must touch or be overlapped by another object in the group that is to be branched.Overlapped segments will be hidden behind objects that are later in the stitch order. The keyboard shortcut…
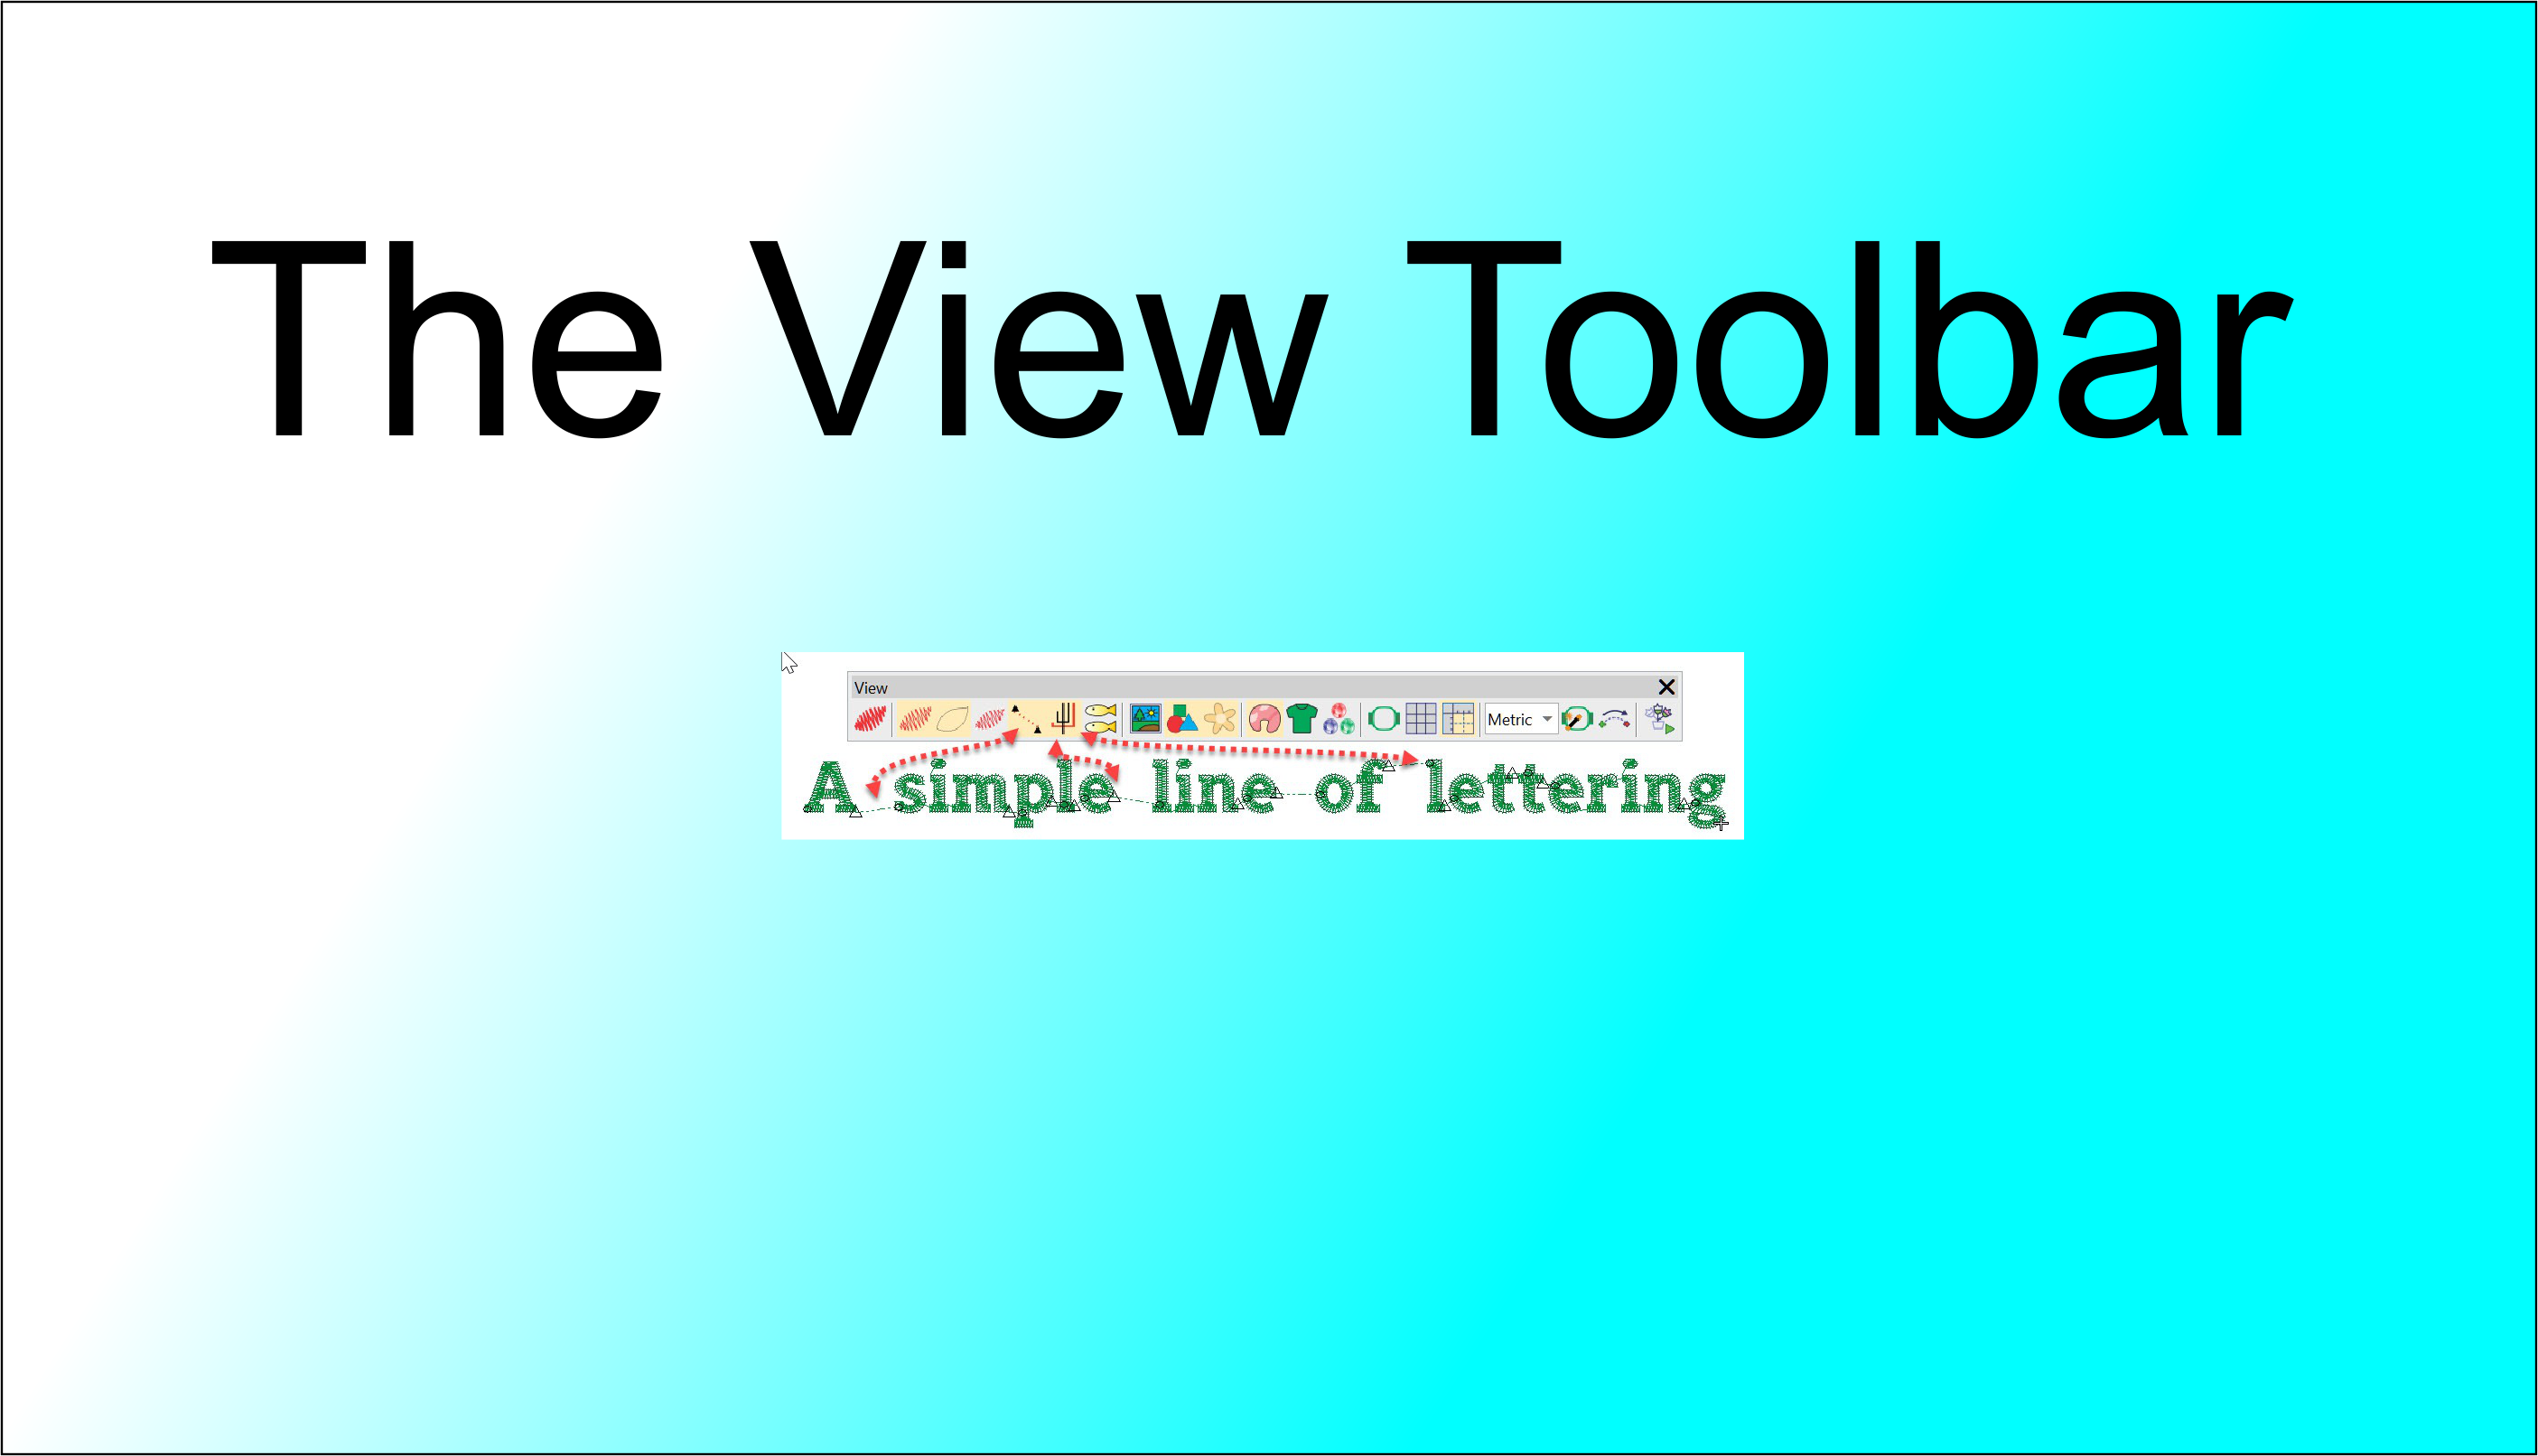
In this article we look at what we can learn about an embroidery file in the different views available in the VIEW TOOLBAR. The First 4 icons determine how you view the design, in turn from left to right: Keyboard shortcut “T” for True View. This view simulates the finished Embroidery Stitch out. Keyboard shortcut…
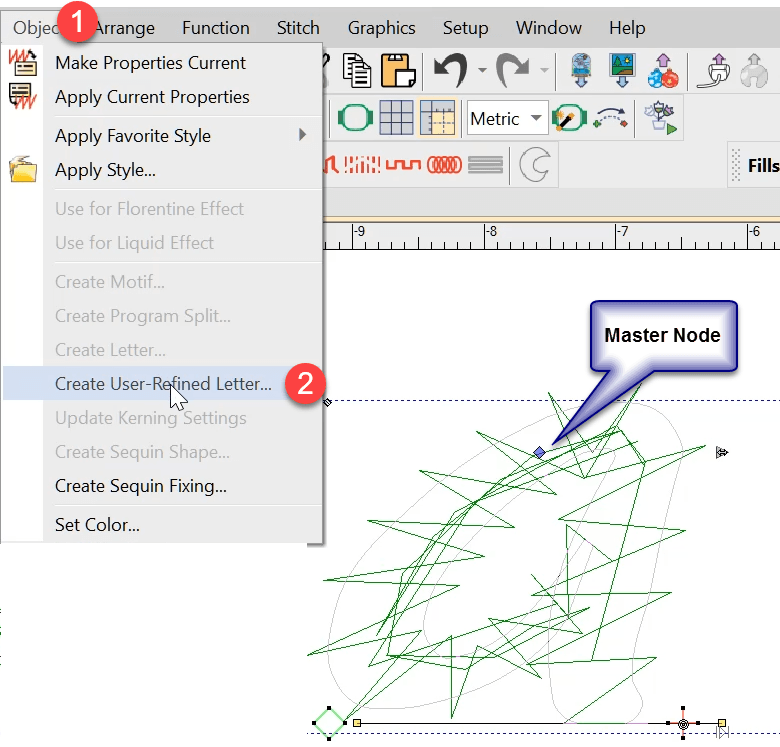
User Refined Letters You may have noticed some letters in some fonts do not perform well when stitched out if the letter size is too small or perhaps too large. Classic examples are the lower case “i”, when the dot on top merges into the vertical column and makes a single shape, and the inside…

Here is a fun exercise creating a Father’s Day design with a minimum of effort.Sometimes you need to get a design out quickly and you know you have suitable and available Clipart to draw from.In this exercise we create a single word – Duplicate – Edit – Modify then add Clipart. Drag and Drop As…

Twan Lentjes shares his journey on how he used Wilcom EmbroideryStudio and machine embroidery to create classic hand-embroidery effects. This is my story I set my goals high, and with aspirations of working in theatre costume design, I decide on creating a beautifully embroidered habit à la française for my final year project. Is this…
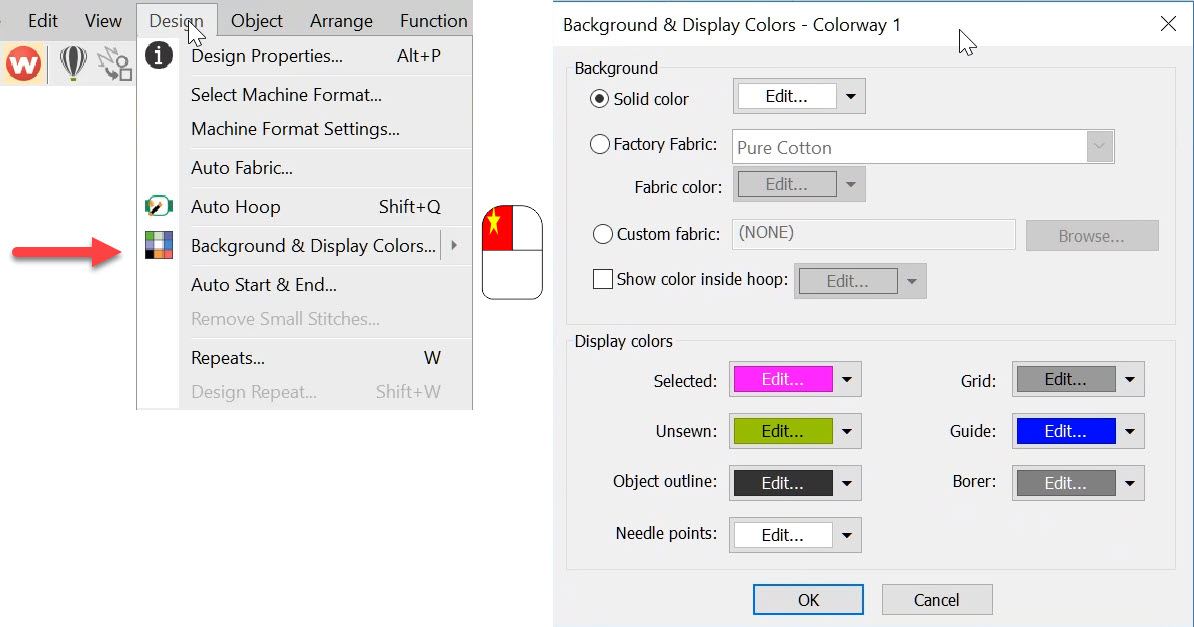
The Background and Display dialog can be accessed from the Design menu. Or the colored cubes and the left end of the color palette. The top half of the dialog box deals with the background on your work area which can be a solid color or a fabric image. It is the bottom of the…
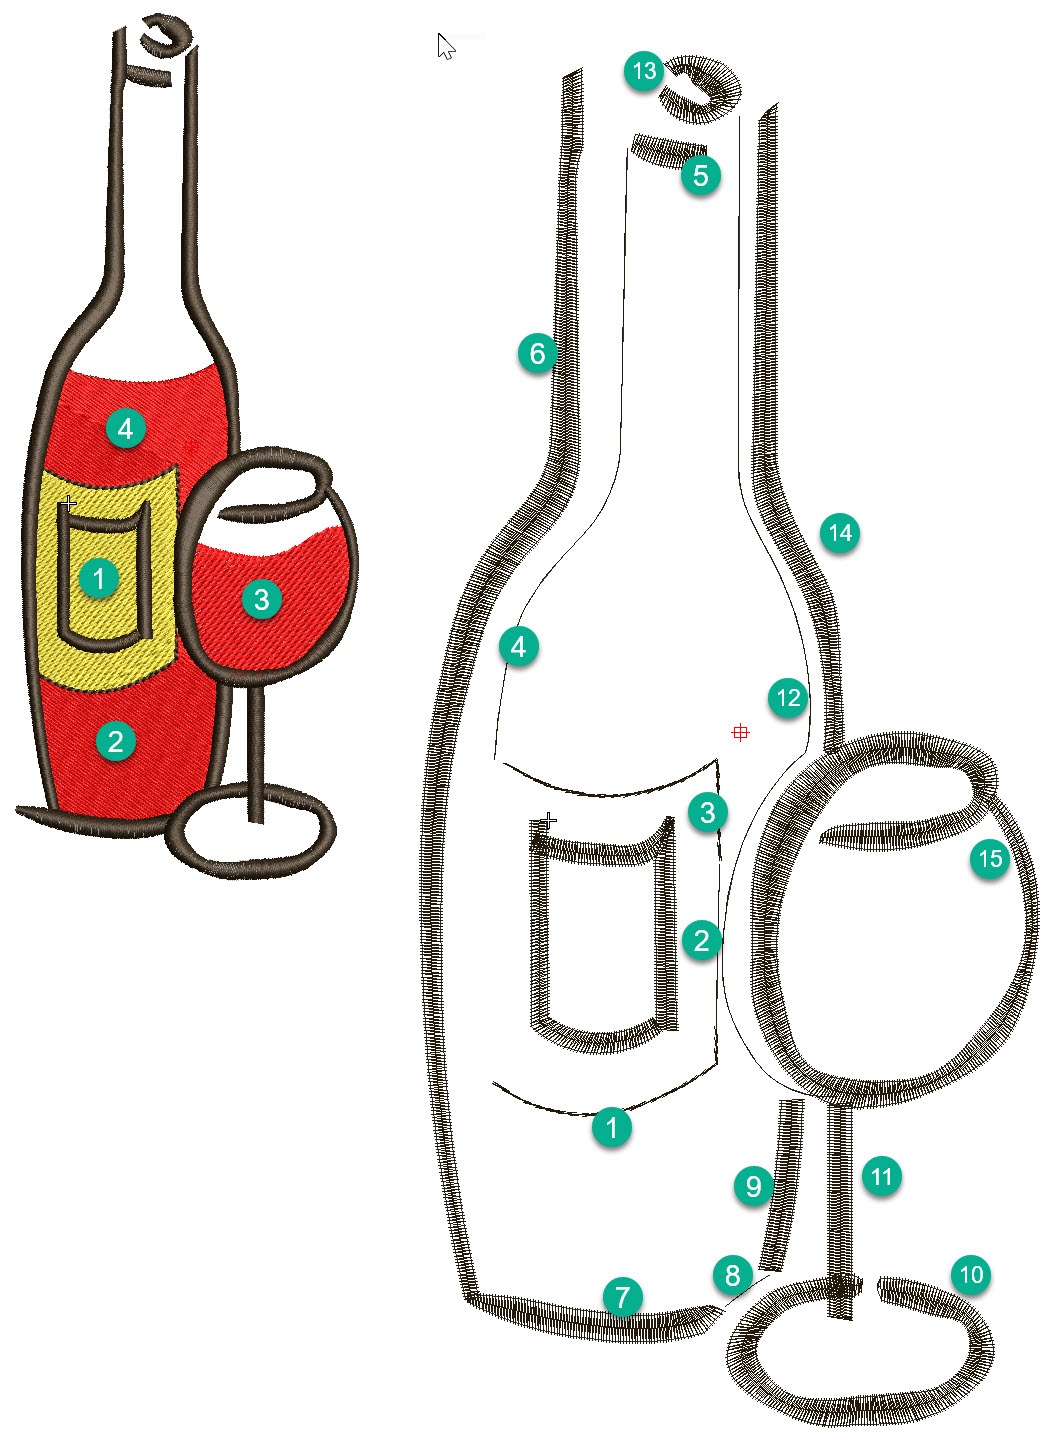
In this article and video I would like to discuss some ideas about sequencing objects in a design and choosing the tools and stitch types I think are most suited to create the vector shapes. When planning the design I take into account, the garment and fabric the design is to be stitches on to,…
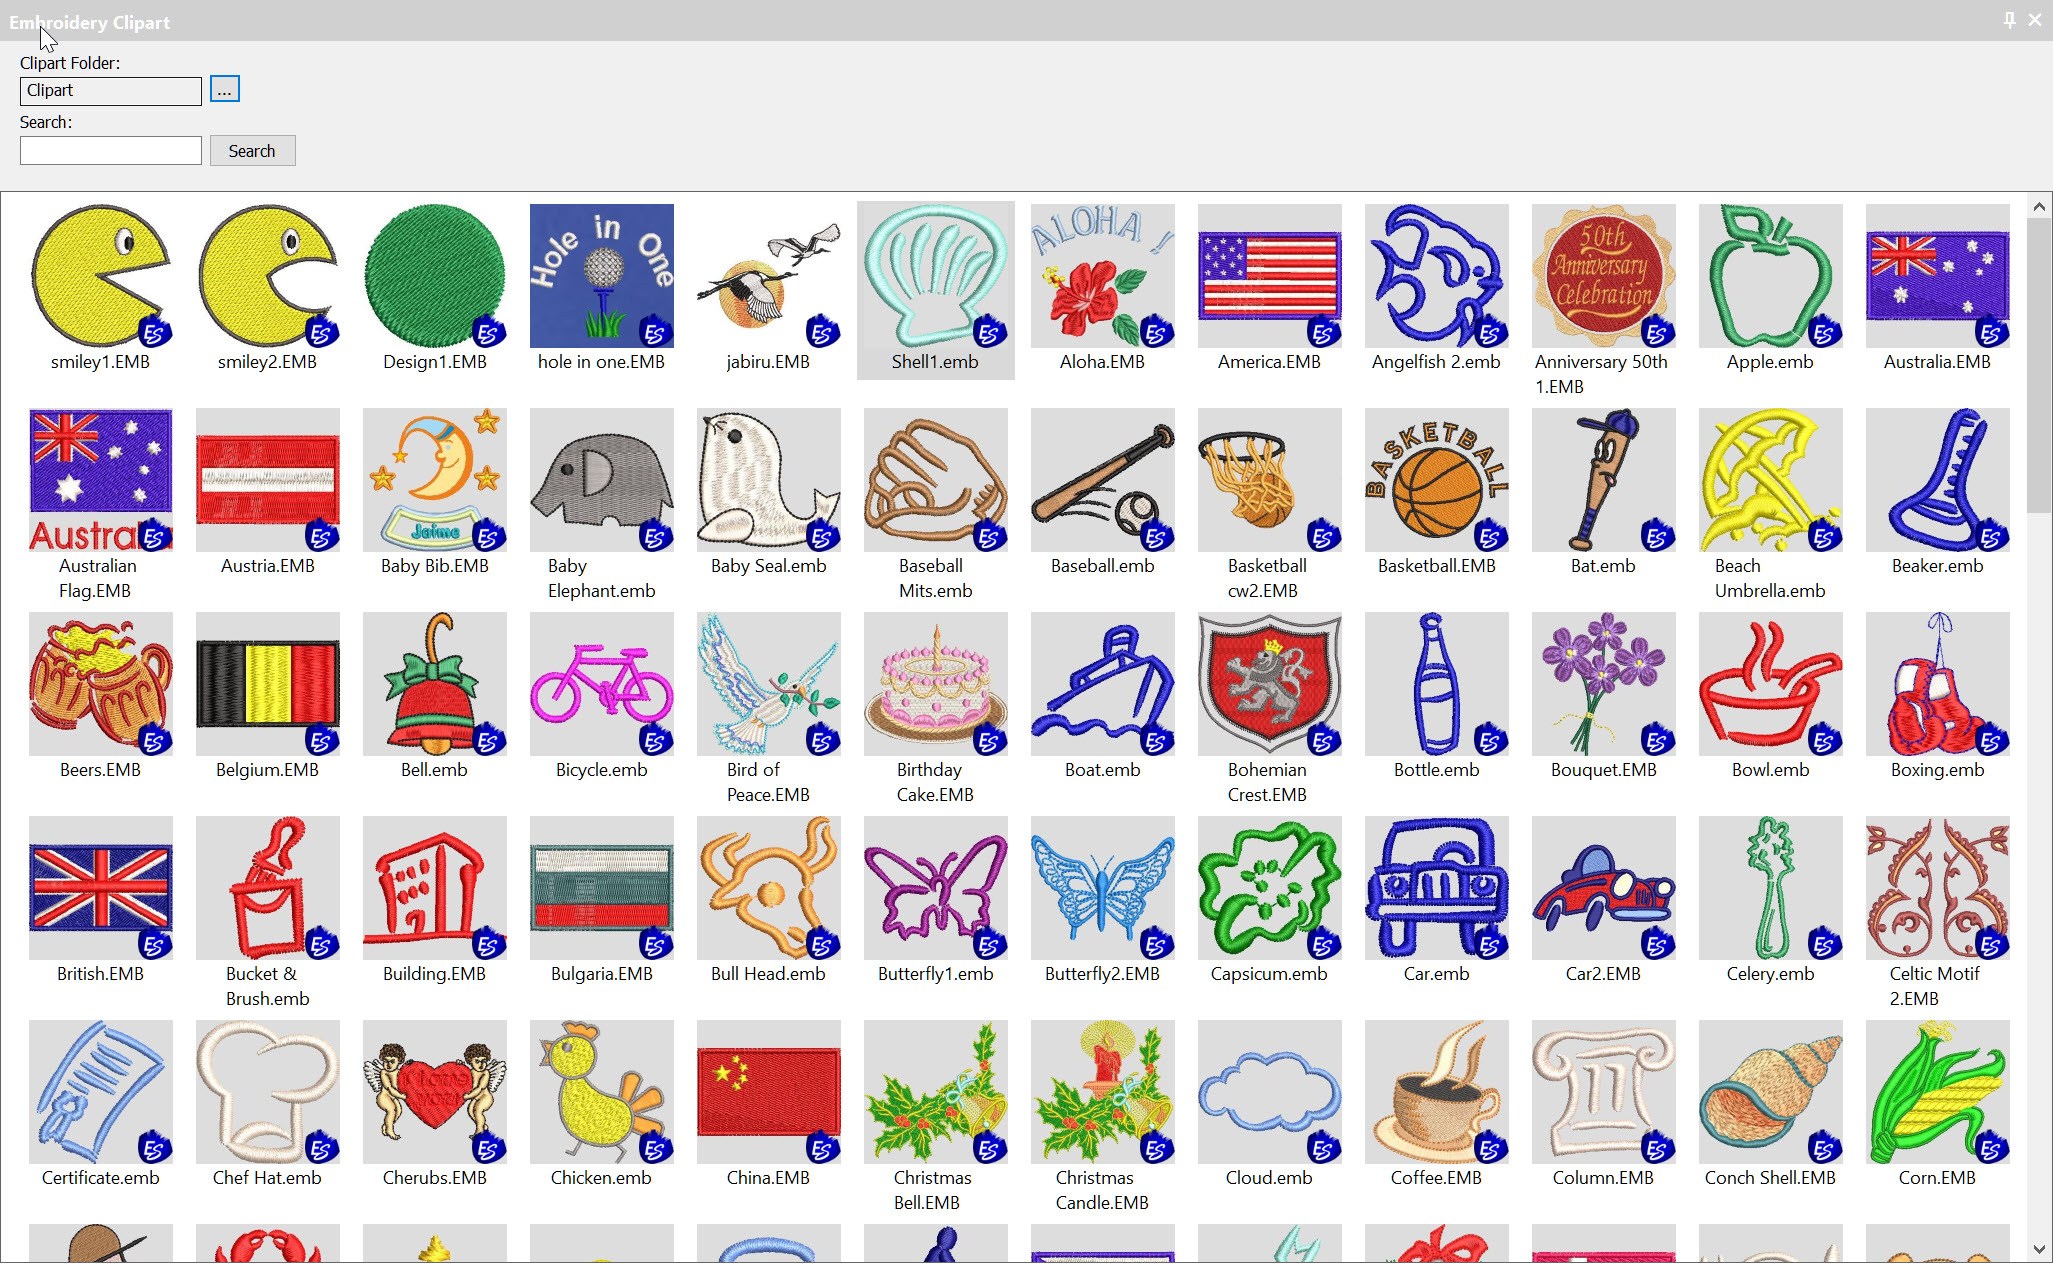
Clipart is a convenient way to store and add embroidery files to your designs.Clipart is usually used for generic type files that can be re used in more than one design.But you can add any file or part of a file that you create yourself to Clipart.The Clipart icon is found in the Docker Toolbar.Once…

Bling refers to decorative objects placed on garments or templates, either on their own or in combination with other design elements. Bling is supplied in varying sizes, shapes, colors and materials. Wilcom EmbroideryStudio provides a dedicated Bling toolset to add bling to multi-decoration designs. This allows you to create and visualize bling embellishments in combination…
| Powered by WordPress | Theme by TheBootstrapThemes